 Save
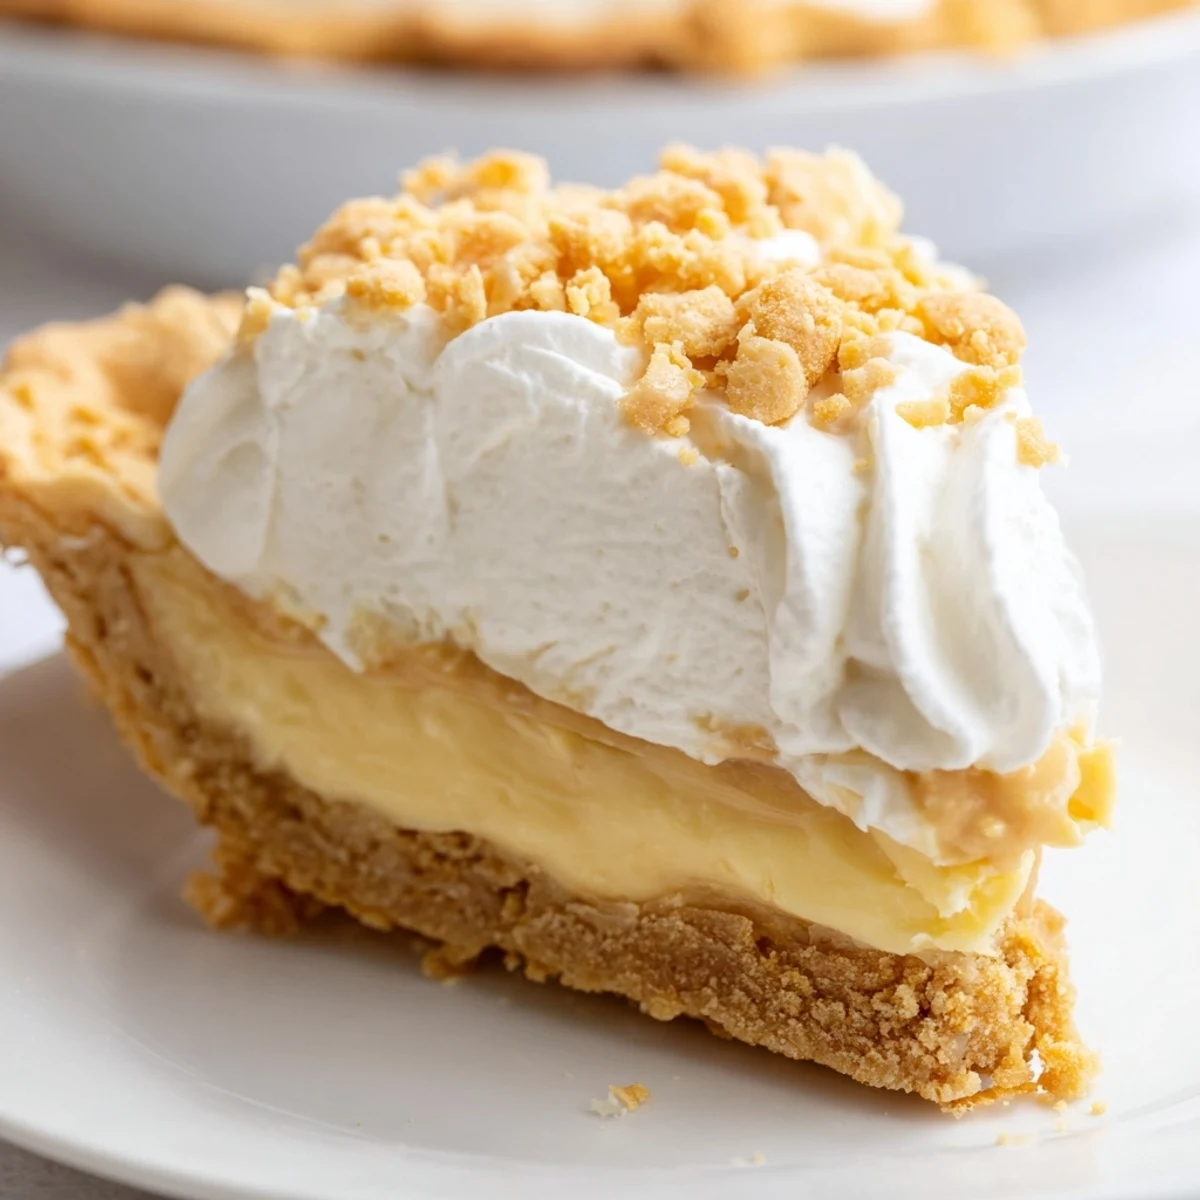
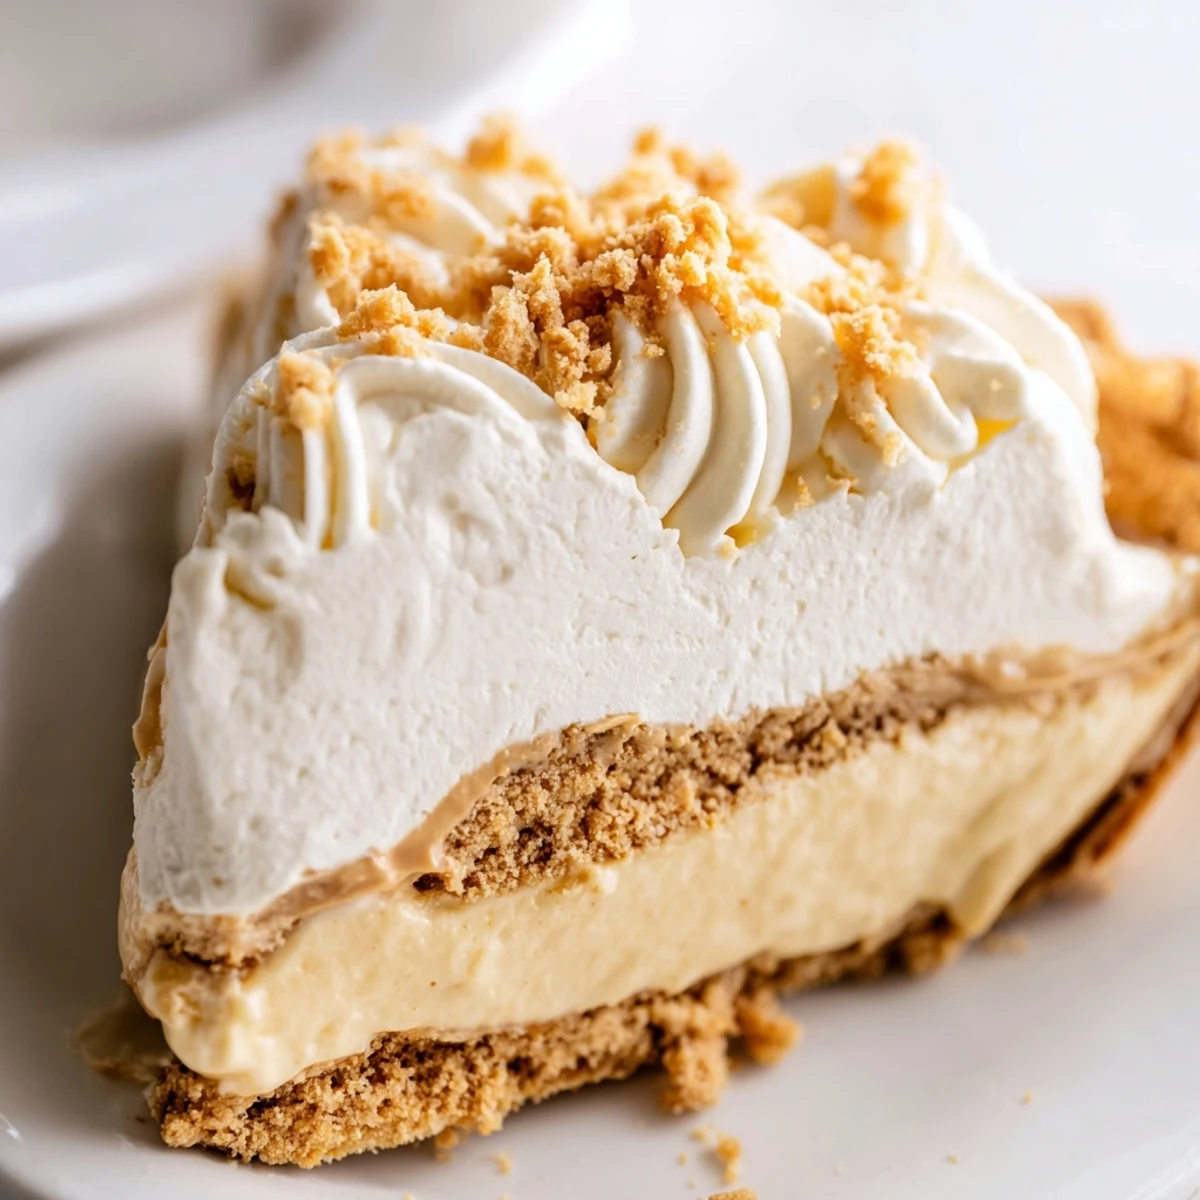
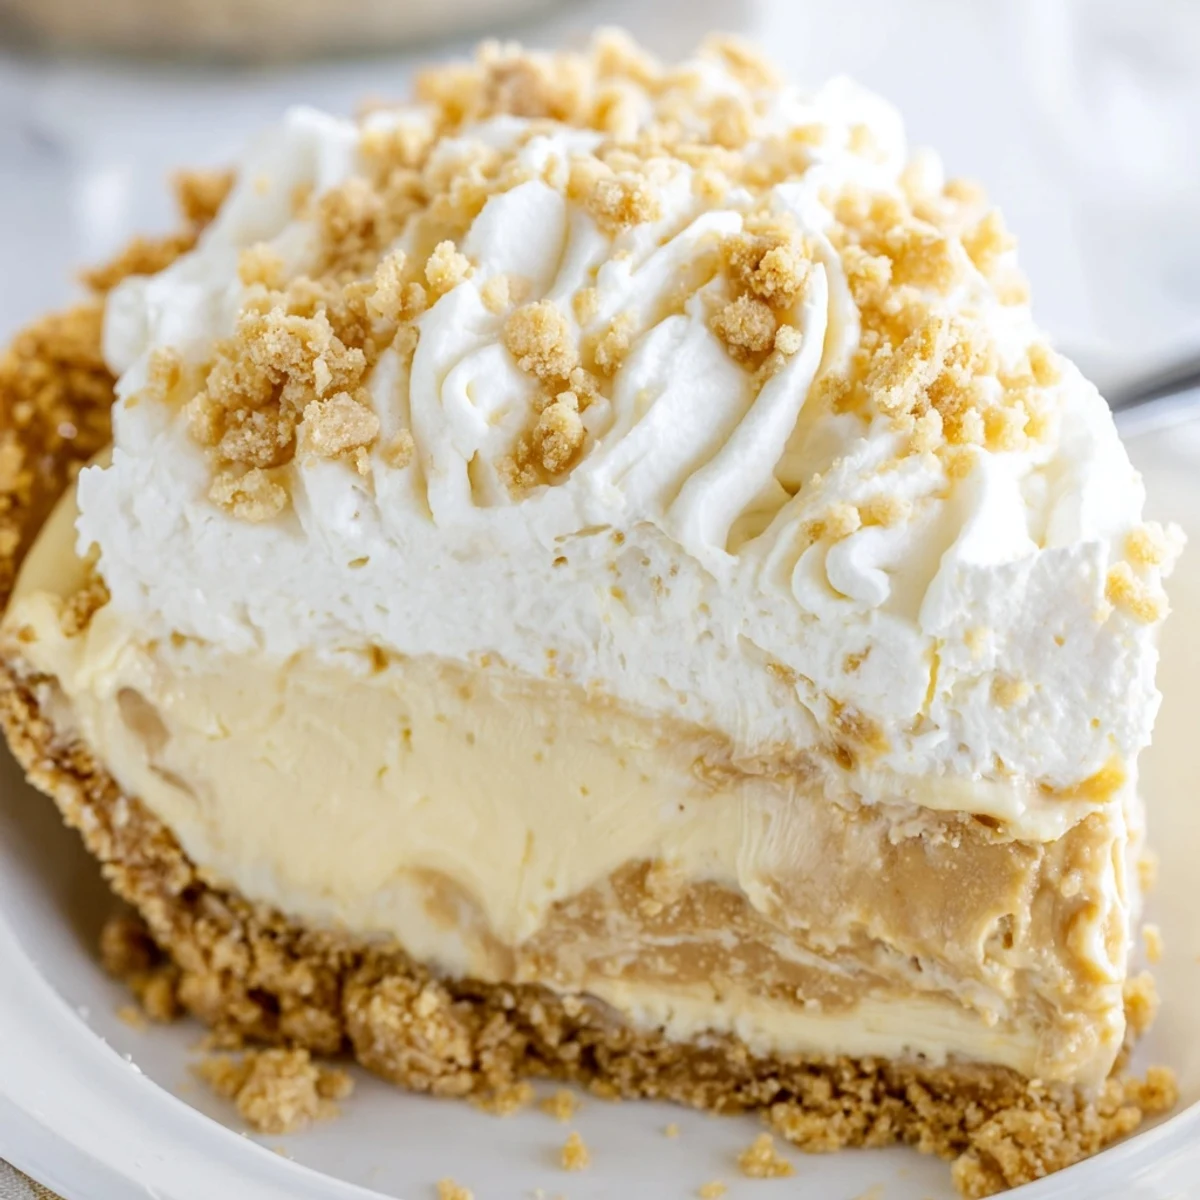
Save This indulgent Amish-style dessert features layers of creamy peanut butter custard filling nestled between buttery peanut butter crumbs. The velvety texture comes from slowly cooked milk and egg yolks, while fresh whipped cream adds lightness. After chilling until set, the final topping of crumbly peanut butter-sugar mixture creates delightful texture contrast against the smooth filling. Perfect for gatherings or special occasions, this nostalgic treat delivers pure comfort in every bite.
The first time I encountered this pie at an Amish market in Lancaster County, I honestly thought they'd made a mistake labeling it. Something that creamy and rich couldn't possibly come from such simple ingredients. I stood there watching an older Amish woman package up slices, the way the peanut butter crumbs caught the morning light through the bakery window, and I bought an entire pie on the spot. My family demolished it that same evening, and I've been making it ever since.
I made this for my father's birthday one year when he was watching his sugar intake, and I felt terrible serving him something so indulgent. He took one bite and closed his eyes, telling me some desserts are worth every single gram. Now he requests it specifically, claiming the Amish really understood what comfort food should taste like. There's something about the combination of that cooked filling with the sweet peanut butter crumbs that feels like being wrapped in a warm blanket.
Ingredients
- 1 9-inch prepared pie crust: Using a store-bought crust saves time but homemade graham cracker adds an extra layer of buttery nostalgia
- 3/4 cup creamy peanut butter: The creamy variety blends smoothly into those perfect sandy crumbs without any grit
- 1 cup powdered sugar: This sweetens the crumbs just enough while keeping that crumbly texture we want
- 2/3 cup granulated sugar: Balances the rich peanut butter flavor in the custard filling
- 1/3 cup all-purpose flour: The essential thickener that transforms milk into silken pudding
- 1/4 teaspoon salt: A tiny pinch that makes all the peanut butter flavors pop
- 2 cups whole milk: Whole milk creates the richest, most luxurious custard base
- 3 large egg yolks: These give the filling that gorgeous glossy finish and velvety mouthfeel
- 1 teaspoon pure vanilla extract: Pure vanilla makes all the difference in the final flavor
- 2 tablespoons unsalted butter: Adds an extra layer of richness to the cooked filling
- 1 cup heavy whipping cream: Whips into that perfect cloud-like topping
- 2 tablespoons powdered sugar: Just enough sweetness to balance the tart cream
- 1/2 teaspoon vanilla extract: Rounds out the whipped cream flavor beautifully
Instructions
- Mix the magic crumbs:
- Combine the peanut butter and powdered sugar in a medium bowl, working with a fork until the mixture transforms into sandy, crumbly bits that hold together when squeezed.
- Create the hidden layer:
- Press half of those crumbs into the bottom of your cooled pie crust, creating an even foundation that will surprise everyone later.
- Start the custard base:
- Whisk together the granulated sugar, flour, and salt in your saucepan until no flour lumps remain, then slowly whisk in the milk until completely smooth.
- Cook to perfection:
- Place the pan over medium heat, whisking constantly without pause, until the mixture thickens and you see those first bubbles just beginning to break the surface.
- Temper those eggs:
- Whisk your yolks in a separate bowl while the milk heats, then gradually stream in about half a cup of the hot mixture while whisking vigorously.
- Complete the filling:
- Pour the warmed egg mixture back into the saucepan, cooking for two more minutes while whisking until everything becomes thick and glossy.
- Finish with richness:
- Remove from heat completely and stir in the butter and vanilla until the filling is silky smooth.
- Assemble the layers:
- Pour the warm filling over the crumb layer in your crust and let it cool for fifteen minutes before refrigerating for at least two hours until set.
- Whip the cloud topping:
- Beat the heavy cream with powdered sugar and vanilla until those beautiful stiff peaks form that hold their shape perfectly.
- Final presentation:
- Spread the whipped cream over your completely chilled pie and sprinkle with those remaining peanut butter crumbs right before serving.
 Save
Save This pie became my go-to contribution for every church potluck and family gathering after my aunt asked for the recipe three times in one month. There's something about watching people take that first bite, their eyes widening at the unexpected crumb layer, that never gets old. It's the dessert that disappears fastest, always leaving an empty pie plate and requests for the recipe.
Making It Your Own
I've discovered that using a chocolate graham cracker crust adds another dimension that chocolate lovers go absolutely crazy for. Sometimes I'll drizzle melted peanut butter over the whipped cream in zigzag patterns before adding the final crumb sprinkling. The variations are endless once you understand the basic structure.
Timing Matters
This pie needs those full two hours of chilling time to set properly, so I always make it the night before serving. The flavors actually develop and meld together overnight, making it taste even better the next day. Rushing the chilling step is the most common mistake I see people make.
Serving Suggestions
A warm cup of coffee alongside a cold slice of this pie is one of life's simple pleasures that shouldn't be underestimated. I've also found that a glass of cold milk cuts through the richness perfectly for anyone who finds it too sweet on its own.
- Let slices sit at room temperature for ten minutes before serving for the best texture
- Use a sharp knife dipped in hot water to get clean beautiful slices
- Store any leftovers covered in the refrigerator for up to three days
 Save
Save There's genuine joy in serving a dessert that makes people close their eyes and savor every single bite. This pie has that magical quality of turning an ordinary Tuesday dinner into something worth celebrating.
Common Recipe Questions
- → How long should I chill the pie before serving?
-
Refrigerate for at least 2 hours until completely set. For best results, chill 3-4 hours to ensure the filling firms up properly before slicing.
- → Can I make this ahead of time?
-
Yes, prepare up to 24 hours in advance. Store covered in the refrigerator. Add the whipped cream topping and final crumb sprinkle just before serving for optimal texture.
- → What type of peanut butter works best?
-
Creamy peanut butter creates the smoothest texture for both the filling and crumbs. Avoid natural varieties with oil separation, as they may affect consistency.
- → Can I use a store-bought crust?
-
Absolutely. A 9-inch prepared pie crust works perfectly. For extra flavor, consider a graham cracker or shortbread crust instead of standard pastry.
- → Why do I need to temper the eggs?
-
Tempering prevents the eggs from scrambling when added to the hot milk mixture. Whisking a small amount of hot liquid into the yolks first gradually raises their temperature safely.
- → How do I store leftovers?
-
Cover loosely and refrigerate for up to 3 days. The crust may soften slightly over time, but the flavor remains delicious. Avoid freezing as it affects the creamy texture.
