 Save
Save Start by whisking melted butter with granulated and brown sugar until glossy, then stir in eggs and vanilla. Sift cocoa, flour and salt and fold gently for a fudgy batter. Bake until edges are set but center is slightly soft. Cool fully, pour a glossy ganache of hot cream and chopped chocolate, smooth, scatter candy-coated chocolates and chill before slicing.
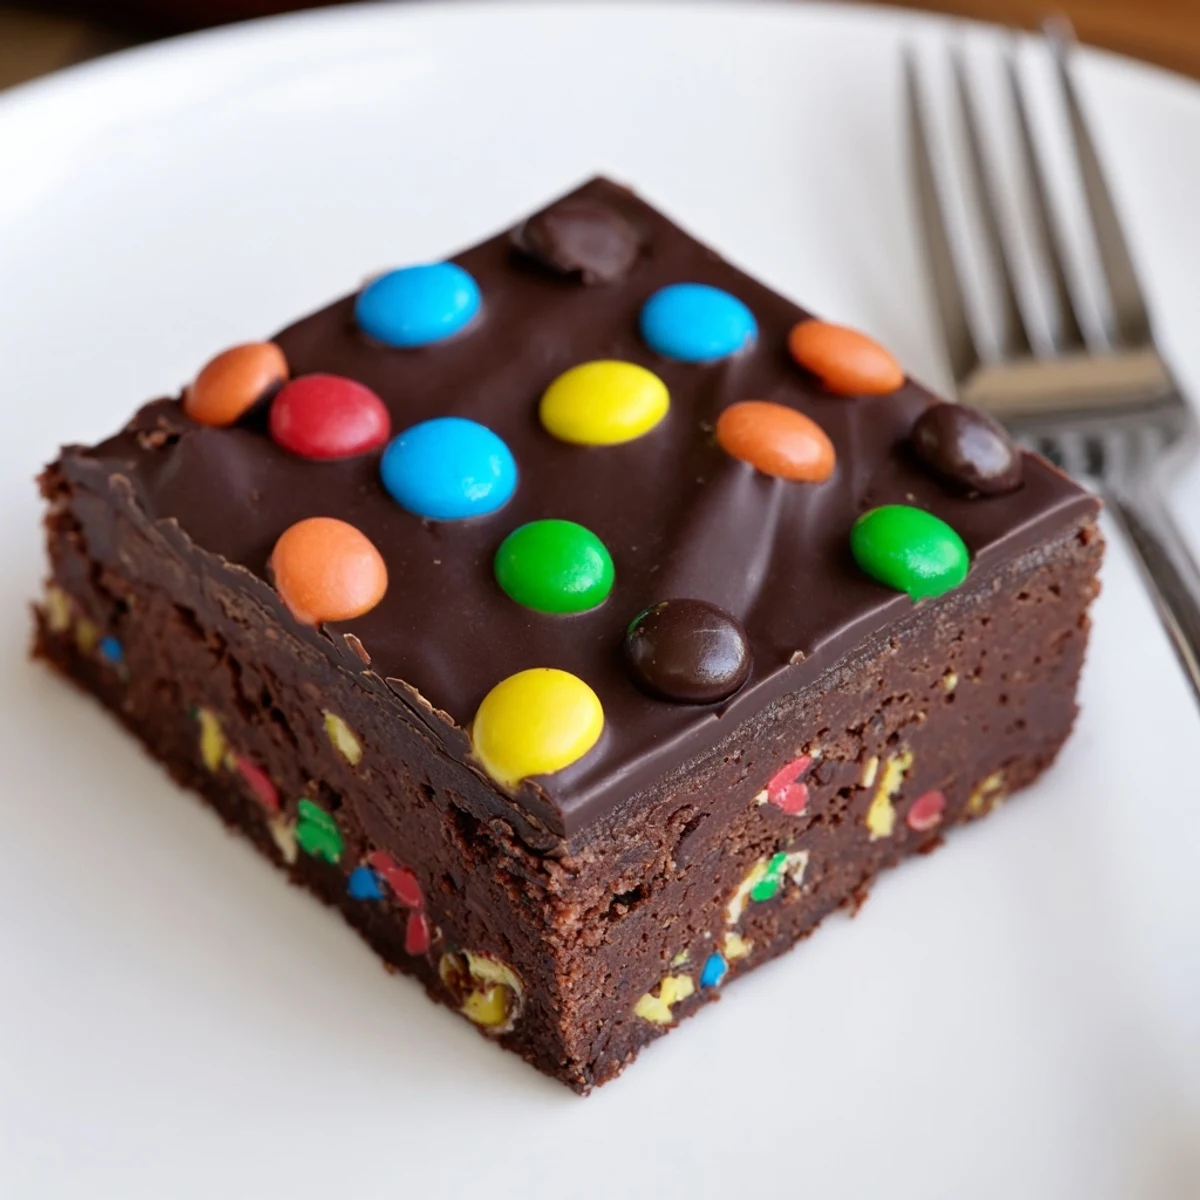
My sister shoved a Cosmic Brownie into my hand during a third grade field trip and I was ruined for all other desserts from that day forward. Something about that dense fudgy square under a slick chocolate lid dotted with rainbow candies felt like edible rebellion. Decades later I decided to rebuild that memory from scratch with better chocolate real butter and zero preservatives. The result was so ridiculous my husband ate three before the ganache had fully set.
I brought a tray of these to a potluck last winter and watched a grown man silently eat two bars while standing over the plate before anyone else had touched the dessert table. He looked up caught my eye and said nothing just nodded slowly like I had answered a question he had been carrying for years. That is the power of a really good brownie.
Ingredients
- Unsalted butter (170 g melted): Use good butter here because you will taste every gram of it in the final crumb.
- Granulated sugar (200 g) and light brown sugar (100 g packed): The brown sugar adds moisture and a whisper of caramel while the white sugar keeps things sharp.
- 2 large eggs: Room temperature eggs blend more evenly into the warm butter mixture and prevent any scrambling surprises.
- Pure vanilla extract (1 tsp): It lifts the chocolate without competing with it.
- Unsweetened cocoa powder (80 g): Dutch processed gives you a deeper darker flavor but natural cocoa works beautifully too.
- All purpose flour (80 g): Less flour than you expect is what makes these dense instead of cakey.
- Fine sea salt: Salt is not optional in brownies it is the reason people keep coming back for another bite.
- Semi sweet chocolate (115 g chopped): The ganache depends entirely on this so pick something you would happily eat plain.
- Heavy cream (120 ml): Heat it just until it steams not until it boils or you risk scalding the chocolate.
- Unsalted butter (15 g for ganache): This small addition gives the ganache a silky finish and a slight sheen after chilling.
- Rainbow candy coated chocolate chips (50 g): Mini candy pieces are the nostaglia shortcut and they make people smile before they even take a bite.
Instructions
- Set the stage:
- Preheat your oven to 175 degrees C (350 degrees F) and line an 8x8 inch pan with parchment leaving generous overhang on two sides like handles waiting to rescue your brownies later.
- Build the base:
- Pour your melted butter into a big bowl and whisk in both sugars until the mixture looks glossy and smells like warm toffee. You are not just mixing here you are building every molecule of texture.
- Add the eggs:
- Crack in the eggs and vanilla then whisk with enthusiasm until everything looks slightly lighter and uniformly smooth. Take your time with this step because well beaten eggs give the brownies that chewy lift.
- Fold in the dry:
- Sift cocoa powder flour and salt directly into the bowl and fold gently with a spatula just until the last white streak disappears. Stop the second everything is combined because overmixing is the enemy of fudgy.
- Bake with restraint:
- Scrape the batter into your lined pan smooth the top and bake 23 to 25 minutes until edges are set but the center still wobbles slightly when you shake the pan. That wobble is your guarantee of a moist interior.
- Cool completely:
- Leave the brownies in the pan on a wire rack and walk away. Full cooling is non negotiable if you want clean slices and ganache that actually sticks.
- Make the ganache:
- Pile your chopped chocolate and the tablespoon of butter into a heatproof bowl. Heat cream in a small saucepan until it just starts to steam then pour it over the chocolate and let everything sit undisturbed for two full minutes.
- Stir and spread:
- Now stir gently from the center outward until you have a smooth glossy ganache with no lumps. Spread it evenly across the cooled brownie base using an offset spatula or the back of a spoon.
- Top and chill:
- Scatter the rainbow candy pieces across the wet ganache before it starts to set. Slide the whole pan into the refrigerator for at least 30 minutes then lift slice and watch the ganache crack perfectly under your knife.
 Save
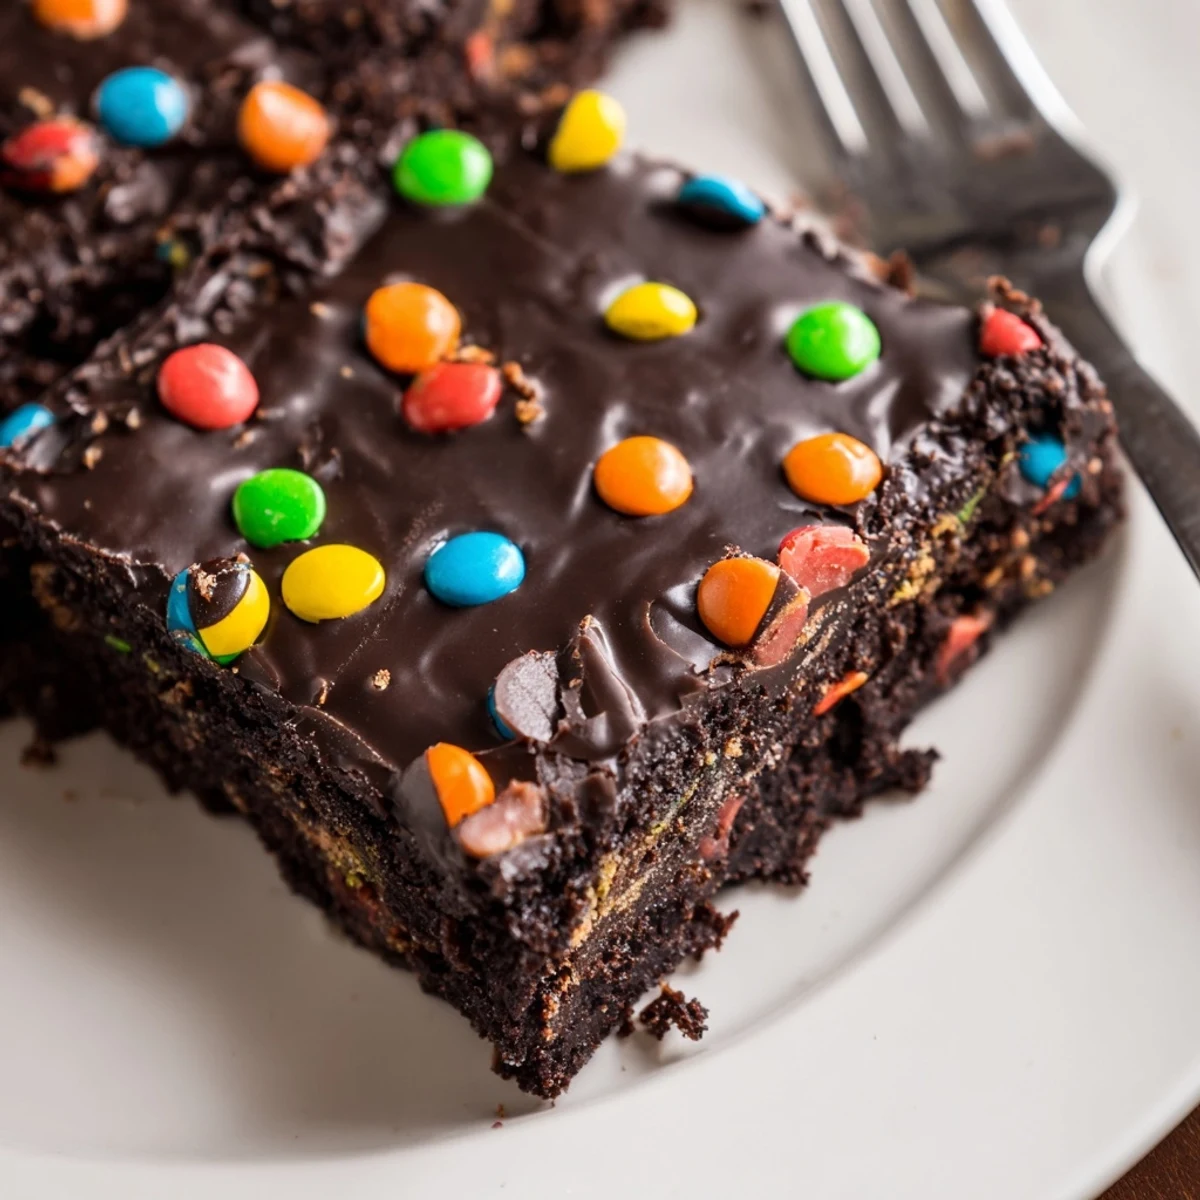
Save The first time I cut into these bars the ganache cracked in thin perfect shards and the candy toppings scattered across the cutting board like tiny confetti. My daughter gathered the fallen pieces and ate them one by one while I sliced the rest. That is the kind of mess worth making.
Serving Suggestions
These bars are incredible cold from the fridge when the ganache firms into something almost truffle like but they also have a softer gooier personality at room temperature. A cold glass of milk or a short espresso sits beside them beautifully. Serve them on a plain white plate so the rainbow topping pops.
Storing Your Brownies
Keep leftovers in an airtight container in the refrigerator for up to five days though they rarely last that long in my house. You can also freeze individual bars wrapped tightly in parchment and foil for up to two months. Thaw them in the fridge overnight for best texture.
Getting Creative With Additions
Espresso powder is your secret weapon here because a small pinch magnifies the chocolate flavor without adding any coffee taste. You can also swap the rainbow candy for chopped toasted hazelnuts flaky sea salt or even dried tart cherries if you want to push these into fancy dinner party territory.
- Try adding a teaspoon of espresso powder to the batter for deeper flavor.
- Toasted nuts on top of the ganache add crunch and a grown up touch.
- Always check candy topping labels for allergens if you are sharing with others.
 Save
Save Some recipes are just food but these brownies are a time machine with rainbow sprinkles on top. Make them once and you will never look at the grocery store version the same way again.
Common Recipe Questions
- → How do I ensure a fudgy texture?
-
Use melted butter, avoid overmixing after adding flour, and remove the pan while the center is still slightly soft. Cooling in the pan helps set a dense, fudgy crumb.
- → What makes the ganache glossy and smooth?
-
Heat the cream until just steaming, pour over chopped chocolate and let sit for a minute before stirring gently. A small knob of butter stirred in at the end adds sheen and silkiness.
- → Can I boost the chocolate flavor?
-
Add a pinch of instant espresso powder to the dry ingredients or dissolve a little into the cream for the ganache; it enhances depth without adding coffee taste.
- → How can I make these bars gluten-free?
-
Swap the all-purpose flour for a 1:1 gluten-free flour blend. Be gentle when folding to keep the texture tender, and allow for a slightly different bake time if needed.
- → How should I store the bars?
-
Store chilled in an airtight container for up to 3–5 days. For longer storage, freeze tightly wrapped for up to 2 months; thaw in the refrigerator before slicing.
- → Any tips for topping with candy-coated chocolates?
-
Allow the ganache to cool slightly but remain spreadable, then scatter minis or candy chips so they sit on the surface. Press gently if needed and chill to set so toppings stay in place.
