 Save
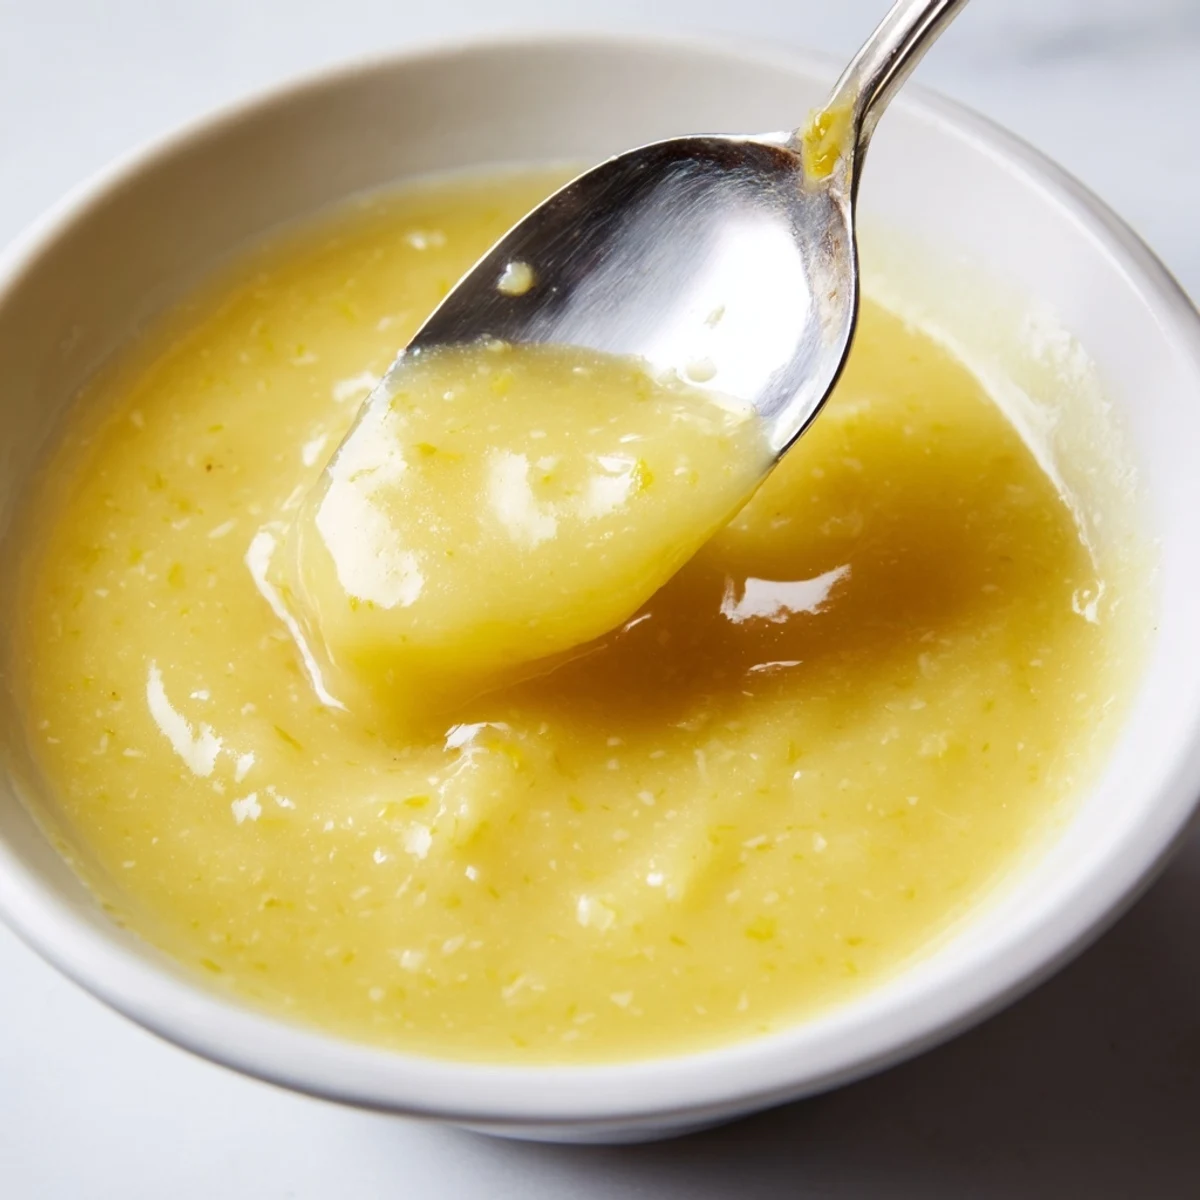
Save Silky lemon curd combines fresh lemon zest and juice with butter, whole eggs and an extra yolk, whisked over a gentle double boiler until it thickly coats a spoon. Strain for a velvety finish, press plastic on the surface to prevent a skin, then chill for at least two hours to set. For a richer, silkier texture use only yolks; keep airtight in the fridge up to two weeks.
The smell of lemon zest hitting a warm whisk will stop you mid sentence every single time. I discovered that one sleepy Sunday when my neighbor handed me a bag of lemons from her tree and dared me to do something other than make another pitcher of lemonade. Twenty five minutes later I was standing at my counter eating curd off a spoon like it was soup. That jar lasted maybe two days.
I brought a jar to a friends brunch once and three people asked for the recipe before the scones were even out of the oven. Someone literally hid the jar in her purse. I had to laugh because I had done the exact same thing the first time my mom made it for me years ago.
Ingredients
- 3 large lemons, zest finely grated and juiced (about 120 ml juice): Fresh is non negotiable here. Bottled juice will taste flat and sad. Roll them firmly on the counter before juicing to get every last drop.
- 115 g unsalted butter, cubed: Cold cubes melt more gradually into the mixture, which helps you avoid greasy separation. Unsalted lets you control the flavor.
- 3 large eggs plus 1 large egg yolk: That extra yolk is the secret to the luxuriously velvety consistency. Use the freshest eggs you can find.
- 200 g granulated sugar: This balances the sharpness of the lemon without muting its punch. Do not reduce it much or the set will suffer.
Instructions
- Whisk everything together:
- Crack the eggs and extra yolk into a medium heatproof bowl, then pour in the sugar, lemon zest, and juice. Whisk until the mixture looks uniform and slightly frothy, with no stubborn sugar clumps hiding in the corners.
- Set up your double boiler:
- Fill a saucepan with about an inch of water and bring it to a gentle simmer. Rest your bowl on top but make absolutely sure the bottom of the bowl never touches the water surface.
- Stir in the butter and cook patiently:
- Toss in the cold butter cubes and whisk constantly as they melt into the eggs. Keep that whisk moving for 10 to 15 minutes until the curd thickens enough to coat the back of a spoon and leaves a clear trail when you run your finger through it.
- Strain for silkiness:
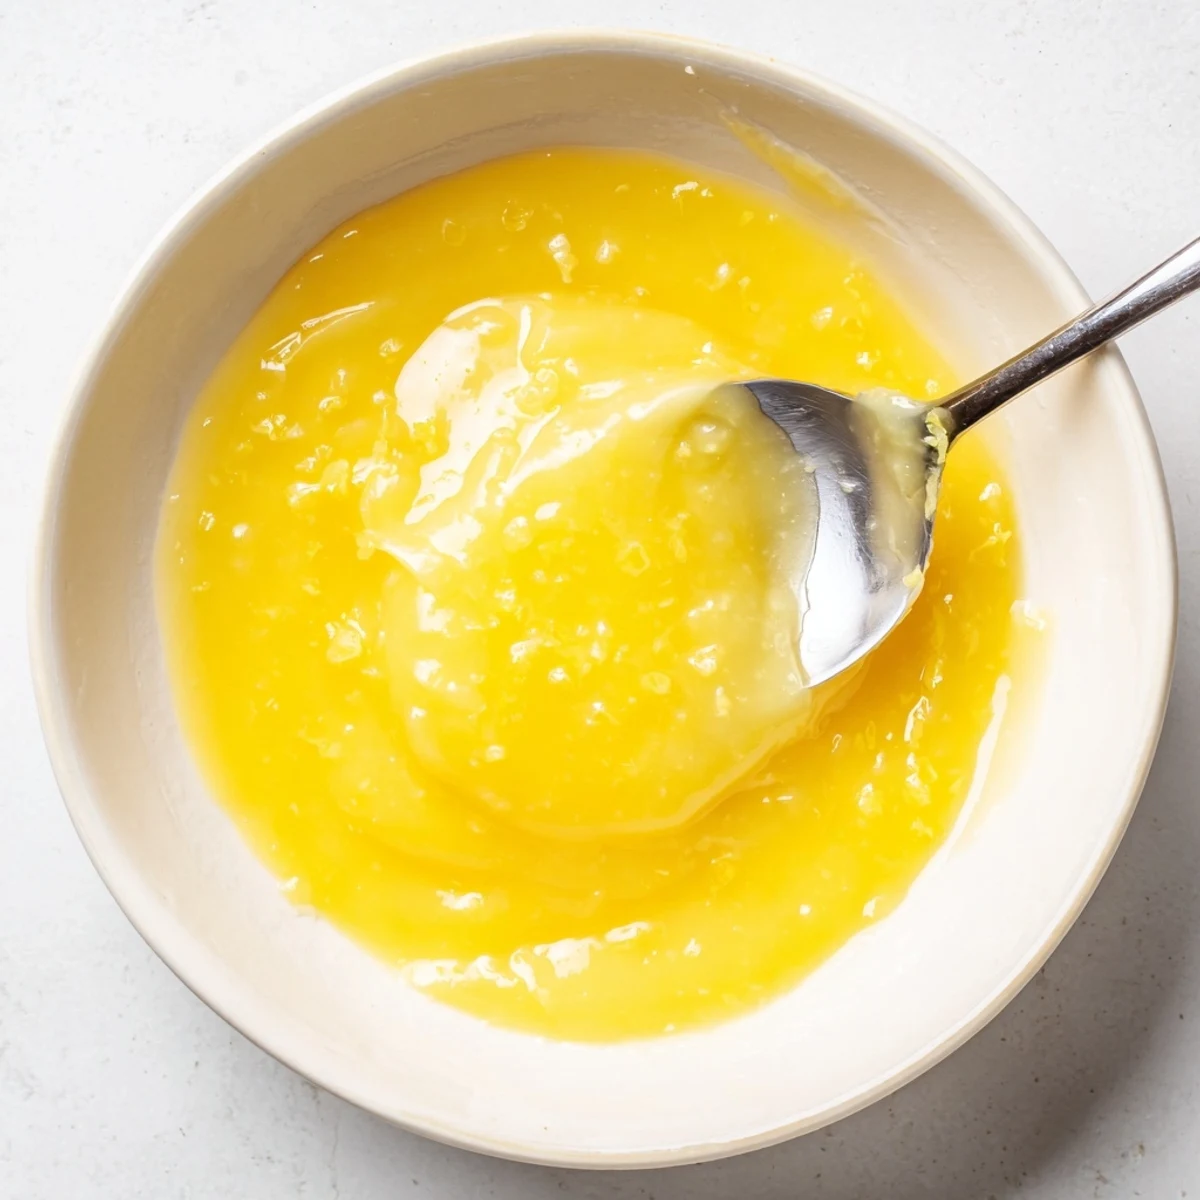
- Pour the hot curd through a fine mesh sieve into a clean bowl, pressing it through with a spatula. This catches any stray bits of cooked egg or zest that would interrupt that perfectly smooth texture.
- Cool and chill:
- Press plastic wrap directly onto the surface of the curd so no skin forms, then let it come to room temperature. Refrigerate for at least 2 hours before digging in for the thickest, most spreadable result.
 Save
Save One December I layered this curd between sponge cakes for a holiday gathering and my aunt, who never compliments anything, asked for seconds. She later admitted she had been buying jarred lemon curd for decades and had no idea homemade was this different.
How to Store It Properly
Spoon the cooled curd into sterilized glass jars with tight fitting lids and keep them in the fridge for up to two weeks. I have tried freezing small portions in airtight containers and it holds up beautifully for about three months. Thaw overnight in the fridge and give it a good stir before using.
My Favorite Ways to Use Leftovers
If you have any curd left after the initial enthusiasm fades, which rarely happens in my house, try swirling it into Greek yogurt for breakfast. It also makes an incredible filling for a simple pound cake sandwich, and a thin layer on crusty toast with cream cheese will change your morning routine forever.
A Few Things I Learned the Hard Way
Making lemon curd taught me more about patience and heat control than almost any other recipe in my kitchen. The details matter, but none of them are complicated once you know what to watch for.
- Always zest before you juice because a squeezed lemon is nearly impossible to grate.
- Taste your lemons first because some are wildly more tart than others and you may want to adjust sugar slightly.
- Clean your whisk and bowl thoroughly beforehand because any residual fat or water can mess with the emulsion.
 Save
Save Once you make lemon curd from scratch, you will never look at a store bought jar the same way again. It is one of those small kitchen victories that makes everything it touches taste a little more special.
Common Recipe Questions
- → How do I know when the curd is thick enough?
-
When the mixture thickly coats the back of a spoon and a line drawn with your finger holds, it has reached the right stage. Visual and tactile cues are more reliable than a strict temperature for this method.
- → Why use a double boiler?
-
A gentle water bath prevents direct heat and curdling, allowing eggs to slowly set and the butter to emulsify for a smooth, glossy texture without scrambling.
- → Can I use only egg yolks?
-
Yes. Using only yolks yields a richer, silkier curd with a deeper color, though the texture will be denser and you may need slightly longer gentle heating to thicken.
- → How should I store it and how long will it keep?
-
Transfer to an airtight container, press plastic directly on the surface to prevent skin, and refrigerate. Kept cold and sealed, it will stay fresh for up to two weeks.
- → Can I freeze lemon curd?
-
Yes—freeze in a sealed container, leaving headroom for expansion. Thaw in the refrigerator and whisk gently to restore texture; the consistency may be slightly looser after freezing.
- → Any tips for extra-smooth curd?
-
Strain the finished curd through a fine-mesh sieve to remove any cooked bits or zest fragments. Whisking constantly during cooking and avoiding high heat also help achieve a silky finish.
