 Save
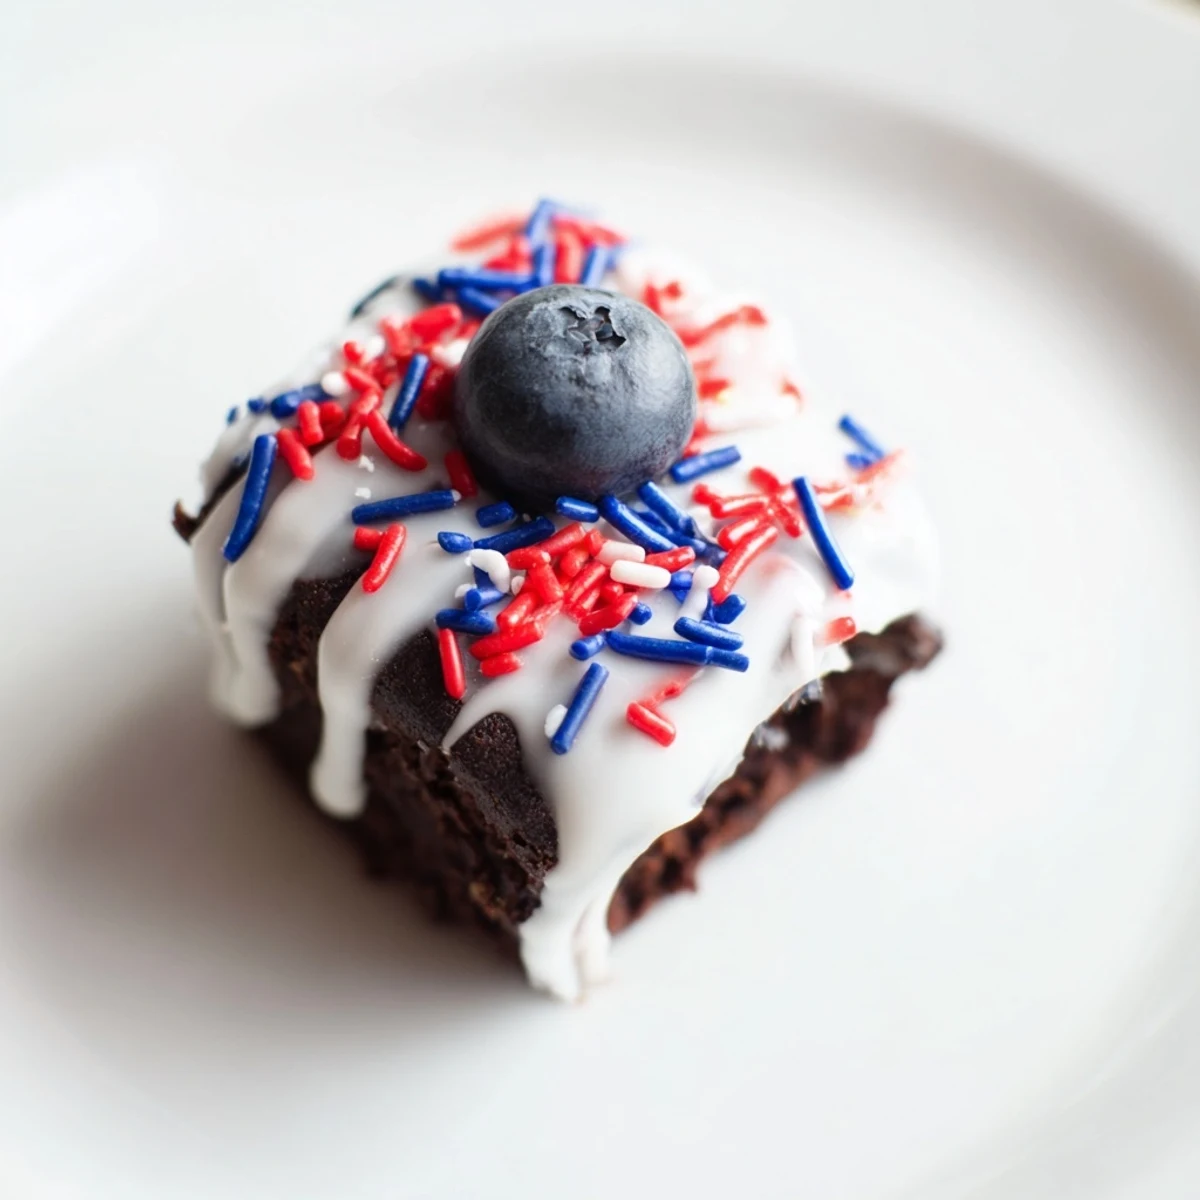
Save These bite-sized brownies are topped with a sweet glaze and red and blue sprinkles, making them a festive treat for Independence Day or any patriotic occasion. They’re easy to make in a mini muffin tin and ready in just 35 minutes.
The kitchen was chaotic with last-minute party prep when I decided these tiny brownies were the missing piece. I needed something festive but easy enough to hold with one hand while mingling. Watching the red and blue sprinkles land on the white glaze felt like completing a puzzle.
Last year, I made a full tray of these and watched them vanish in under ten minutes. My cousin actually hid two in his pocket to take home because he liked them so much. It is now a mandatory request for every family gathering.
Ingredients
- Unsalted butter: Melt it gently to keep the batter smooth and rich.
- Granulated sugar: This creates the shiny, crackly top on the brownies.
- Large eggs: Room temperature eggs mix in more easily for a uniform texture.
- Vanilla extract: A splash enhances the chocolate flavor deeply.
- Unsweetened cocoa powder: Use high quality cocoa for the best chocolate taste.
- All-purpose flour: Provides just enough structure to hold them together.
- Salt and baking powder: These balance the sweetness and help them rise slightly.
- Powdered sugar: Essential for a drizzle that sets firm but stays soft.
- Milk: Adjust the amount to get the glaze to your preferred consistency.
- Sprinkles and fruit: Add these immediately so the glaze acts as glue.
Instructions
- Prepare the oven and pan:
- Preheat the oven to 350°F (175°C) and grease a mini muffin tin well.
- Mix the wet ingredients:
- Whisk melted butter and sugar until combined, then stir in eggs and vanilla.
- Combine dry ingredients:
- Add cocoa powder, flour, salt, and baking powder, mixing until just combined.
- Fill the pan:
- Scoop batter into the tin, filling each cavity about two-thirds full.
- Bake to perfection:
- Bake for 13–15 minutes until a toothpick comes out with moist crumbs.
- Cool them down:
- Let them cool in the tin for 5 minutes before moving to a wire rack.
- Make the glaze:
- Whisk powdered sugar, milk, and vanilla until smooth and drizzleable.
- Decorate:
- Drizzle glaze over cooled bites and top with sprinkles or fruit immediately.
- Set and serve:
- Allow the glaze to harden slightly before serving.
 Save
Save There is something satisfying about popping a whole brownie in your mouth and getting a burst of sweetness. These little bites turned a regular afternoon into a celebration without much effort.
Glazing Secrets
Getting the glaze consistency right is an art form that I have finally mastered. It should flow slowly off the whisk but not be runny like water.
Presentation Ideas
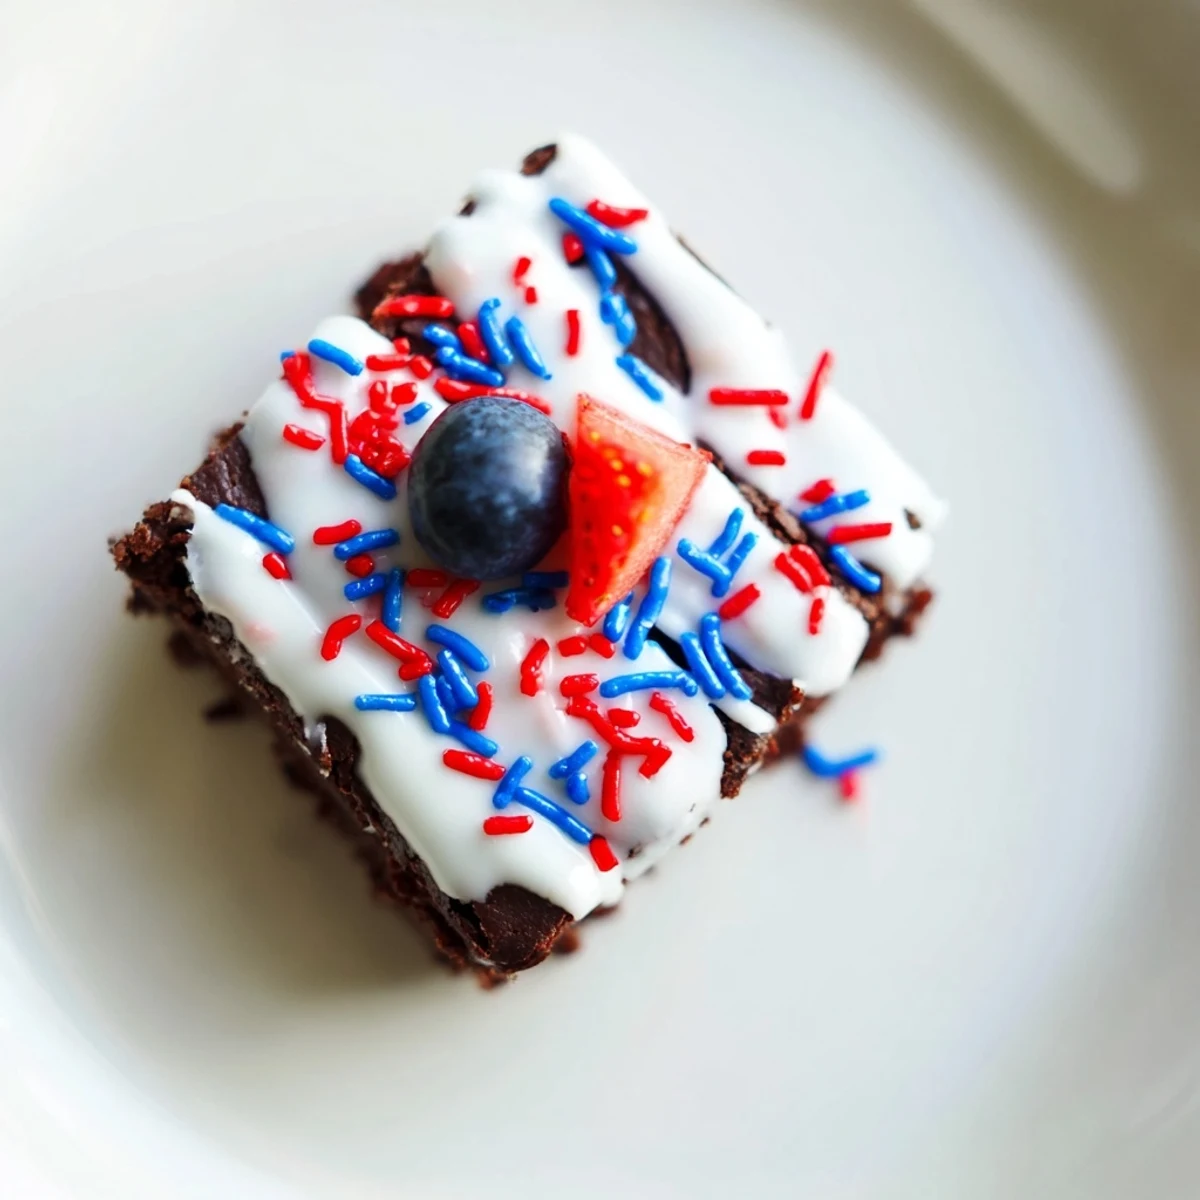
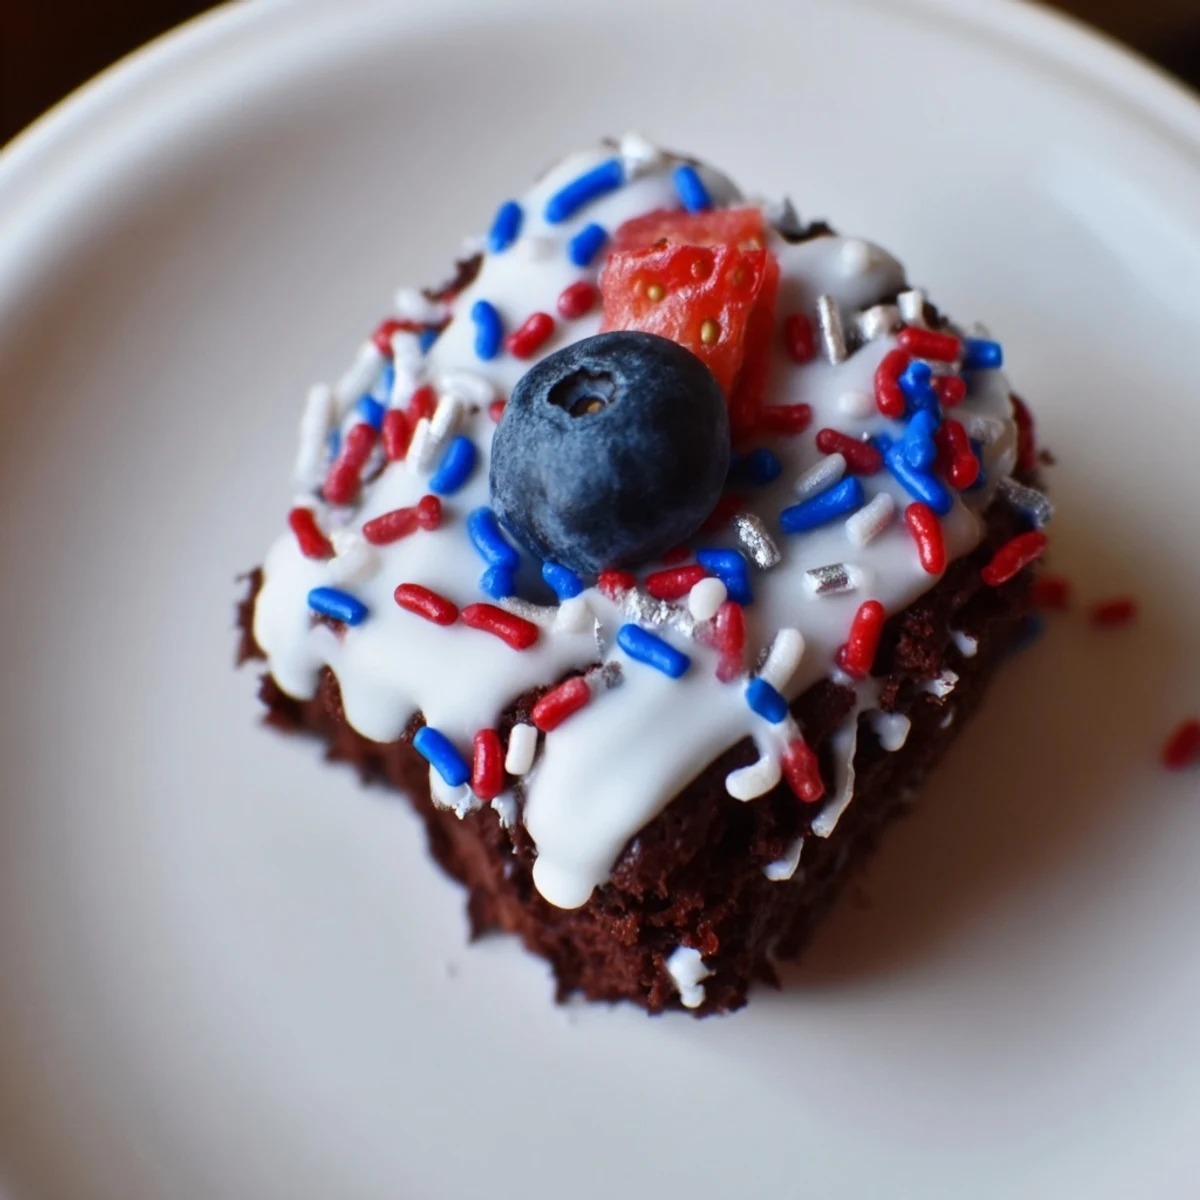
Arranging them on a tiered stand makes them look even more impressive for guests. The contrast of the dark chocolate against the colorful toppings is beautiful.
Make Ahead Tips
You can bake the brownie bases a day early and store them in an airtight container. Wait to glaze them until right before the party so they stay fresh.
- Use a mini cookie scoop for uniform sizing.
- Double the glaze recipe if you like them extra sweet.
- Keep them chilled to help the glaze set faster.
 Save
Save Enjoy making these festive treats and watch them disappear quickly. Happy baking and celebrating.
Common Recipe Questions
- → How do I store these brownie bites?
-
Store them in an airtight container at room temperature for up to 3 days or refrigerate for up to a week.
- → Can I make these gluten-free?
-
Yes, substitute the all-purpose flour with a 1:1 gluten-free flour blend.
- → What toppings work best?
-
Try red and blue sprinkles, small candy stars, or fresh blueberries and diced strawberries for a festive look.
- → How many bites does this yield?
-
This recipe makes 24 bite-sized brownies.
- → Can I add chocolate chips?
-
Absolutely! Add a handful of chocolate chips to the batter for extra chocolatey goodness.
