 Save
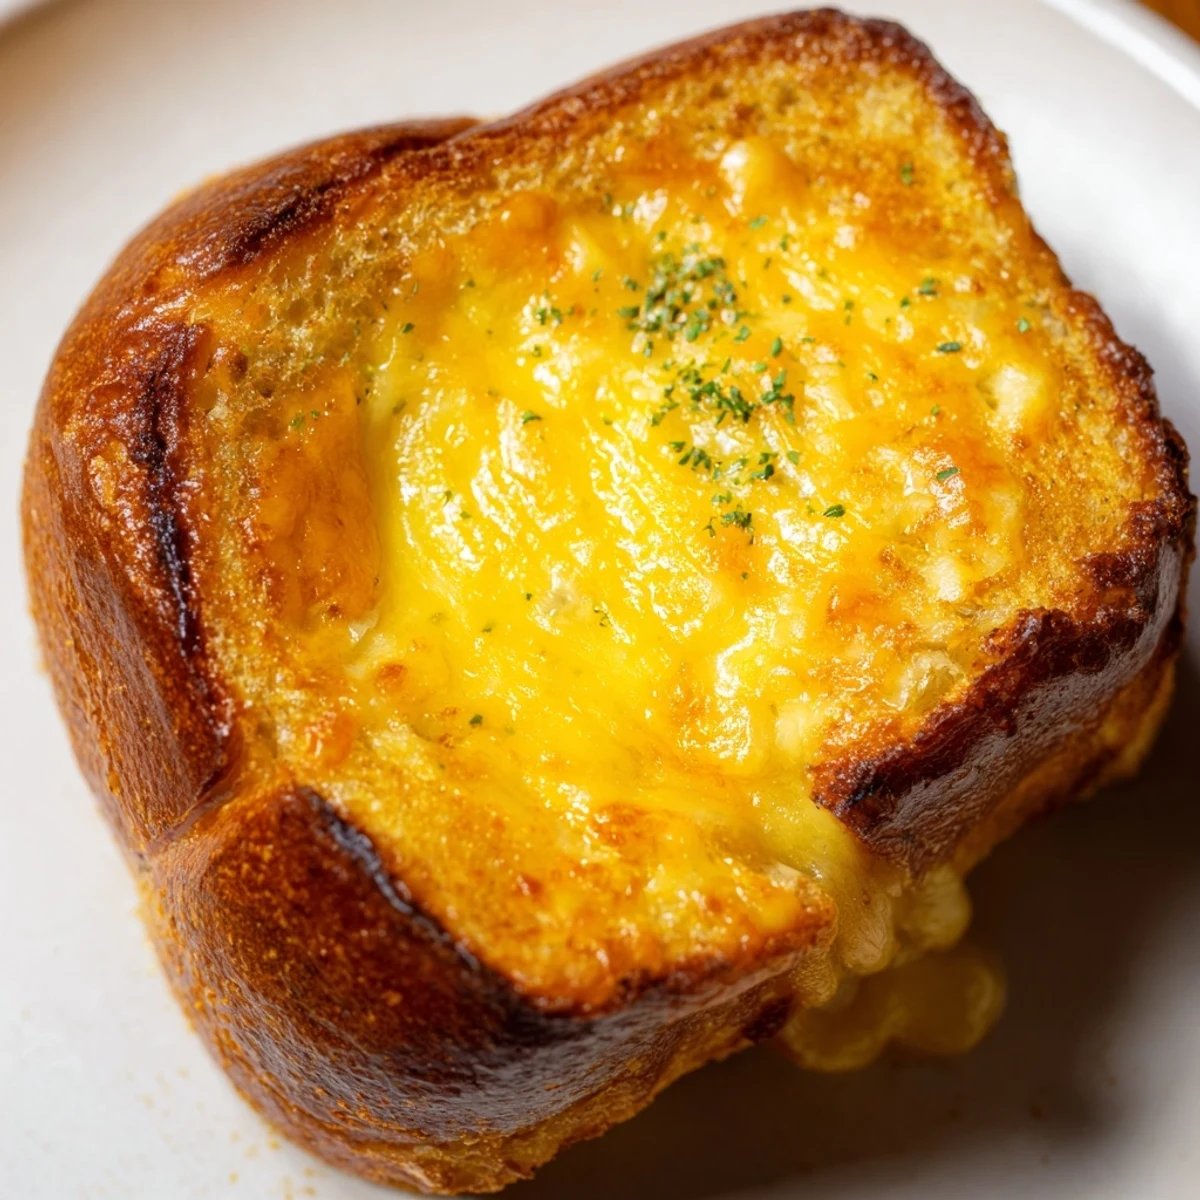
Save These irresistible mini sandwiches start with sweet Hawaiian rolls sliced horizontally and layered with melting cheddar cheese. A savory garlic-parsley butter gets brushed over the tops before baking, creating a golden, crispy crust that contrasts beautifully with the soft bread and gooey interior.
The whole process takes just 25 minutes from start to finish—perfect for unexpected guests or last-minute gatherings. The rolls stay connected during baking, making preparation effortless, then get separated into individual portions just before serving.
Customize by swapping in mozzarella, provolone, or Swiss cheese. Add thin tomato slices or deli meats like ham and turkey for heartier versions. These pair naturally with warm tomato soup for a classic comfort meal.
The first time I made these, my daughter had three friends over for what was supposed to be a quick snack after soccer practice. They disappeared so fast that I had to make another batch immediately, and now they request them every time.
Last Thanksgiving, I set these out as an appetizer and my uncle actually stood by the platter until they were gone, claiming he was just keeping them warm for everyone else.
Ingredients
- Hawaiian rolls: The natural sweetness is what makes these special so stick with the classic brand or bakery version that feels soft and pillowy to the touch.
- Cheddar cheese slices: I use sharp cheddar for that extra punch but pepper jack takes these to a whole different level if you want some gentle heat.
- Unsalted butter: Melted butter helps achieve that gorgeous golden brown color and creates the perfect crispy texture on top.
- Garlic powder: This transforms the whole dish from ordinary grilled cheese into something that smells absolutely incredible when you open the oven door.
- Dried parsley: The pop of green makes these look like you put way more effort into them than you actually did.
- Salt: Just a pinch brings everything together and enhances the buttery garlic coating.
Instructions
- Get your oven ready:
- Preheat to 350°F and position your rack in the middle so these beauties brown evenly without burning.
- Prep the rolls:
- Slice the entire slab of rolls horizontally at once, keeping them connected so they bake together like one happy family.
- Layer the cheese:
- Place the bottom halves in your baking dish and drape cheese slices over each roll, letting the edges overlap slightly for maximum gooey coverage.
- Make the garlic butter:
- Whisk melted butter with garlic powder, parsley, and salt until fragrant and well combined.
- Assemble and brush:
- Place the roll tops back on and brush that butter mixture generously over every inch of the surface.
- Bake to perfection:
- Bake for 12 to 15 minutes until the tops turn golden brown and you can see the cheese bubbling up around the edges.
- Serve them up:
- Let them cool for just a couple minutes so the cheese sets slightly, then slice into individual sandwiches and watch them vanish.
 Save
Save These became our New Years Eve tradition after a year when I completely forgot to plan appetizers and threw them together with whatever I had in the fridge. Nobody missed the fancy stuff.
Make Ahead Magic
You can assemble everything up to the butter brushing step, cover tightly with foil, and refrigerate for up to four hours before baking. Just add an extra two or three minutes to the baking time since they will be cold going into the oven.
Cheese Variations
Mixing different cheeses creates layers of flavor so try combining sharp cheddar with gruyere for sophistication or pepper jack with mozzarella for a party version. My personal favorite is adding a slice of Swiss to the cheddar for that nutty depth.
Serving Ideas
These work equally well as an after school snack, game day appetizer, or even a light dinner alongside a simple green salad. I have also served them with warm tomato soup for a comfort food twist that everyone adores.
- Cut them in half again for bite sized party appetizers that guests can grab easily.
- Set out different dipping sauces like marinara or honey mustard for extra fun.
- Keep them warm in a low oven set to 200°F so the last ones taste as good as the first.
 Save
Save Whatever you do, make a double batch because the first one will disappear before anyone even thinks about sitting down to eat.
Common Recipe Questions
- → Can I prepare these ahead of time?
-
Assemble the rolls up to 4 hours before baking, cover tightly, and refrigerate. Add the garlic butter just before popping them in the oven.
- → What cheese melts best for these rolls?
-
Cheddar, provolone, mozzarella, and Swiss all melt beautifully. Pre-sliced cheese works perfectly, or slice your own from a block for even coverage.
- → How do I store leftovers?
-
Keep in an airtight container in the refrigerator for up to 3 days. Reheat in a 350°F oven for 5-7 minutes to restore crispiness.
- → Can I make these without separating the rolls?
-
The rolls must stay connected during slicing and assembly—this is what makes them 'sliders.' Cut into individual portions only after baking.
- → What sides complement these mini sandwiches?
-
Warm tomato soup creates a classic pairing. They also work alongside fresh vegetable sticks, pickles, or a simple green salad to balance the richness.
- → Can I freeze these before or after baking?
-
Freeze assembled unbaked rolls for up to 1 month. Bake from frozen, adding 3-5 extra minutes. Already-baked rolls freeze well too—reheat in the oven.
