 Save
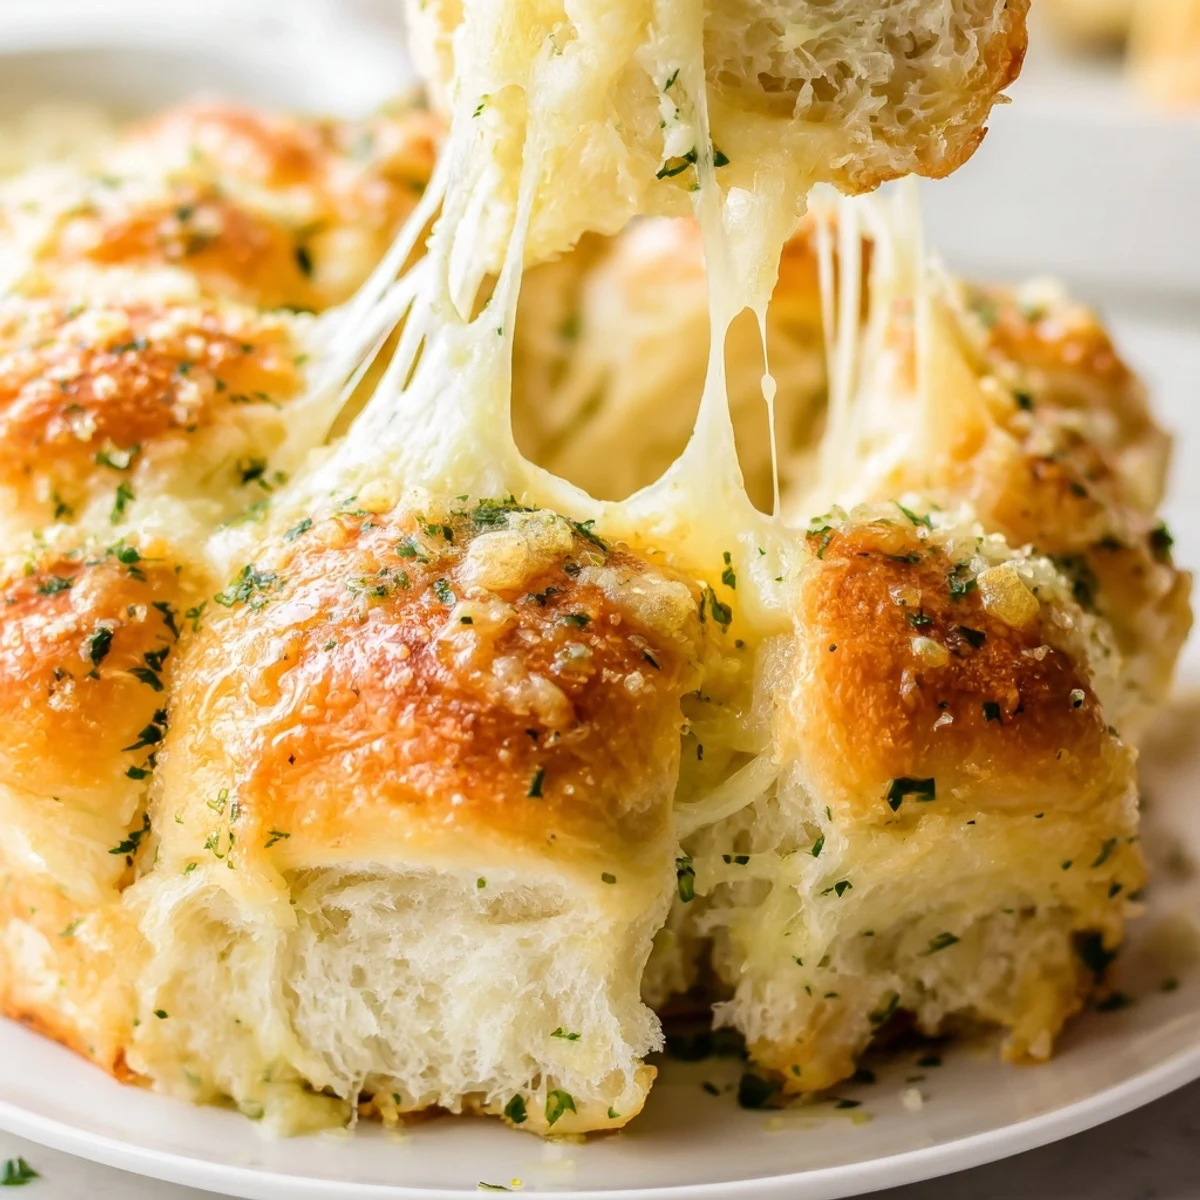
Save These bite-sized sandwiches transform Hawaiian sweet rolls into irresistible appetizers by slicing them horizontally and layering a blend of mozzarella and sharp cheddar inside. A garlic butter glaze brushed across the tops creates a beautifully golden, savory crust while keeping the interior incredibly soft and cheesy.
Preparation takes just 10 minutes before 15 minutes in the oven melts everything into gooey perfection. The sweet rolls provide a perfect balance to the savory cheese blend, while optional parsley and Parmesan add fresh depth.
These handheld treats are ideal for gatherings, game days, or as a side alongside warm tomato soup. The recipe easily doubles for larger crowds.
The first time I made these was for a last-minute game day gathering when my pantry options were looking seriously bleak. I stared at a package of Hawaiian rolls and some random cheese bags, wondering if I could pull something together that actually tasted intentional. Friends started grabbing them before I could even announce they were ready, and suddenly I was fielding text messages about the recipe days later.
Last winter my neighbor came over shivering from a walk, and I pulled these fresh from the oven just as she walked through the door. She took one bite, closed her eyes, and asked if I could teach her the recipe right there on my kitchen island. Now she makes them every Sunday for her family and sends me photos of their golden tops.
Ingredients
- Hawaiian sweet rolls (12-count package): The slight sweetness is what makes these special, and keeping them connected helps them bake evenly
- Shredded mozzarella cheese (8 oz): Creates those irresistible cheese pulls everyone tries to capture on camera
- Cheddar cheese (4 oz): Slice it yourself for better melting, or shred it if you are in a hurry
- Unsalted butter (4 tbsp), melted: Brush it on generously because this is what creates that golden, flavorful crust
- Garlic powder (1 tsp): Mix it into the butter thoroughly so every roll gets even coverage
- Fresh parsley (2 tbsp) and grated Parmesan (2 tbsp): Optional, but they make these look and taste like something from a restaurant
Instructions
- Preheat and prepare:
- Heat your oven to 350°F (175°C) and line a baking sheet with parchment paper because cheese overflow is real and cleanup should be easy.
- Prepare the rolls:
- Keep the rolls connected and slice the entire block horizontally to create a top and bottom layer, like you are building a sandwich cake.
- Layer your cheeses:
- Arrange the bottom half on your baking sheet and pile on both cheeses evenly, making sure some cheese reaches the edges for maximum crispiness.
- Assemble and season:
- Place the top half over the cheese, then whisk the melted butter and garlic powder together and brush it all over the rolls like you are painting.
- Add the finishing touches:
- Sprinkle with parsley and Parmesan if you are feeling fancy, then bake for 12 to 15 minutes until the tops are golden brown and the cheese is bubbling.
- Serve them up:
- Let the whole batch cool for just 2 minutes, then use a sharp knife to separate them into individual rolls while they are still warm.
 Save
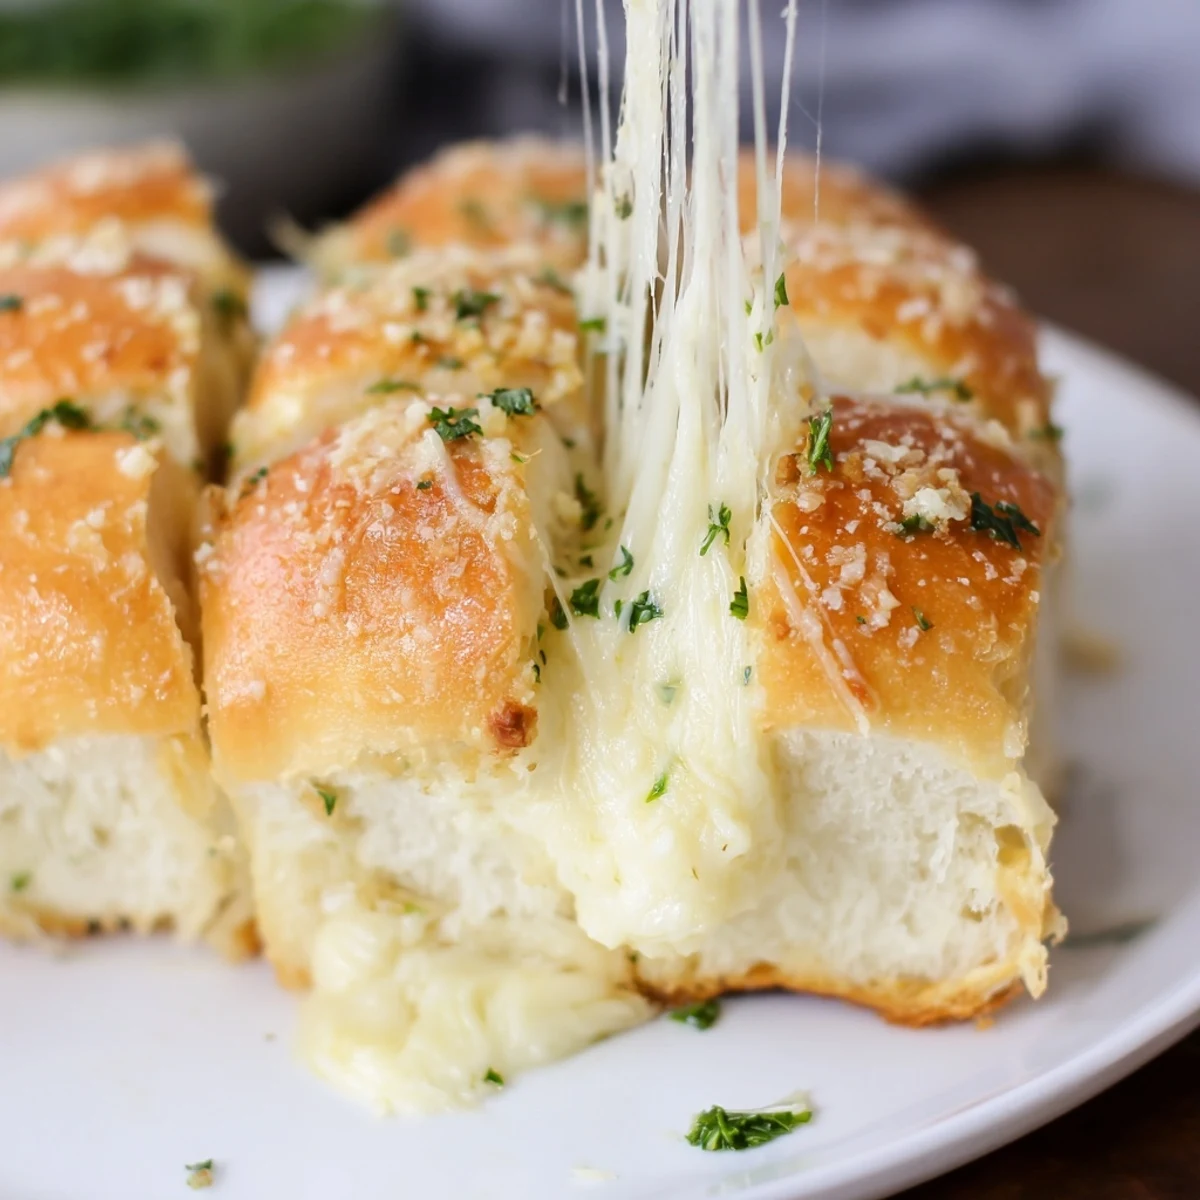
Save My daughter now requests these for every birthday celebration instead of cake, which might say something about my baking or her obsession with cheese. Seeing her friends crowd around the platter, reaching for seconds before I have even set it down properly, has become one of my favorite kitchen moments.
Making Them Your Own
Sometimes I slip thin tomato slices between the cheese layers when they are in season, and the acidity cuts through all that richness beautifully. A handful of spinach leaves works too, especially if you are trying to convince yourself these count as a balanced meal.
Cheese Variations
Smoked gouda brings this incredible depth that makes everyone wonder what your secret ingredient is. Pepper jack adds a gentle heat that sneaks up on you, perfect for guests who claim they do not like spicy food.
Serving Suggestions
These are practically begging to be served alongside a steaming bowl of tomato soup for dunking adventures. I have also found they make an unexpected but welcome addition to brunch spreads, especially when there are children involved.
- Wrap any leftovers individually and reheat them in the oven for about 5 minutes to restore that fresh-baked texture
- The butter mixture can be made ahead and kept in the refrigerator for up to a week if you want to streamline prep
- If you are feeding a big crowd, consider doubling the recipe because these disappear faster than you would expect
 Save
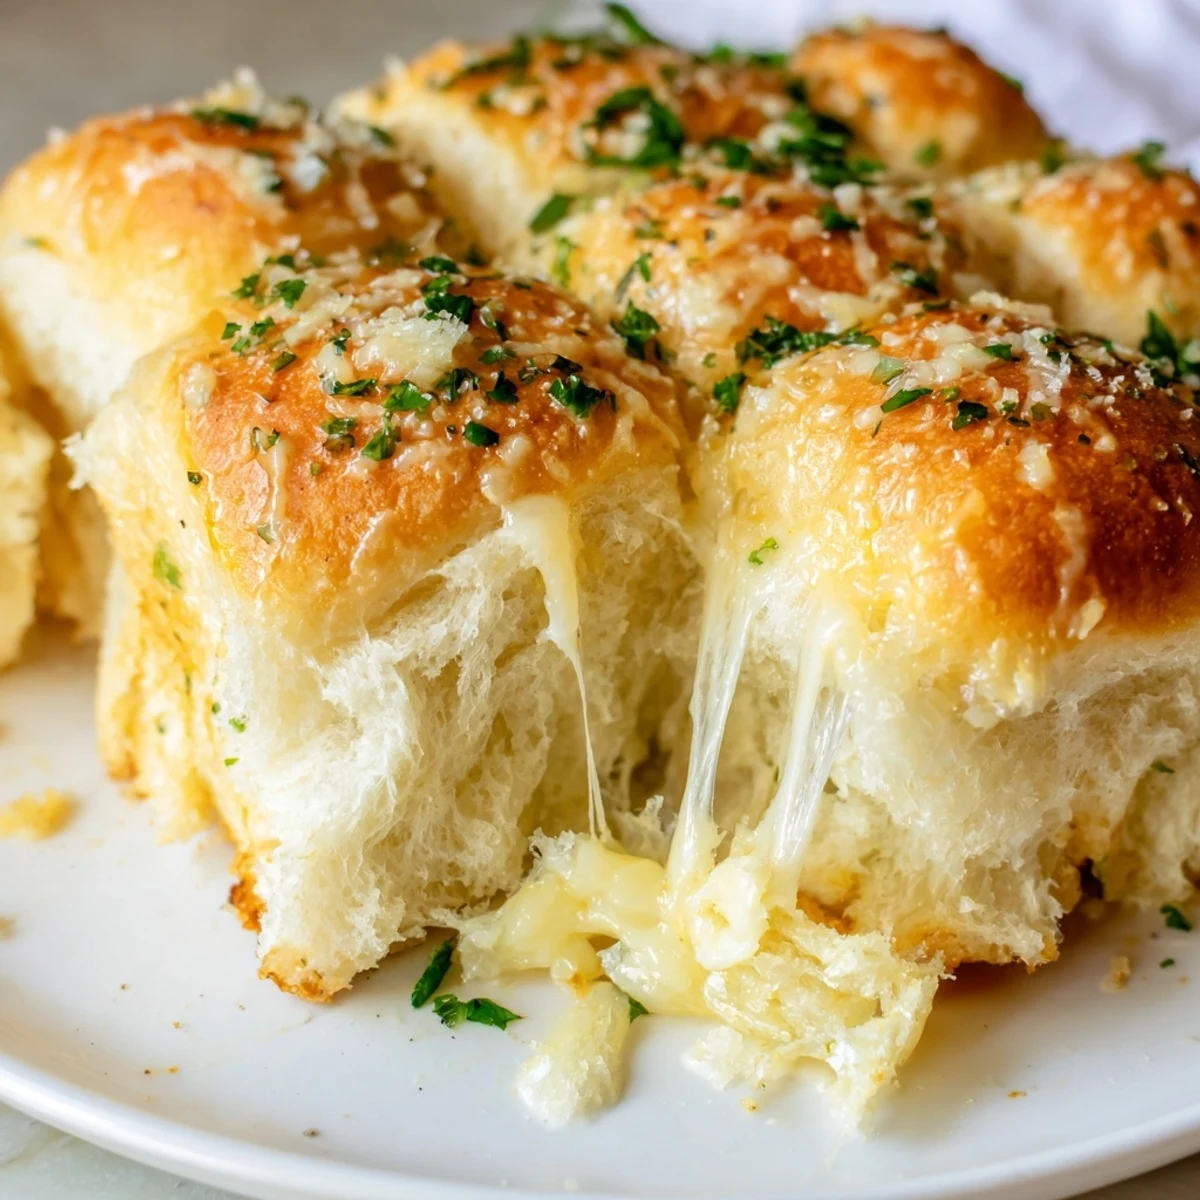
Save There is something deeply satisfying about pulling apart warm, cheesy bread with people you love, and these rolls have become my go-to for making ordinary moments feel like a celebration.
Common Recipe Questions
- → Can I prepare these ahead of time?
-
Assemble the sandwiches up to 8 hours before baking, cover tightly, and refrigerate. Add the butter mixture just before popping them in the oven.
- → What other cheeses work well?
-
Smoked gouda adds rich depth, pepper jack brings mild heat, or try provolone for extra meltability. Mix and match based on preference.
- → Should I separate the rolls before cutting?
-
Keep the rolls connected as a single block. Slice horizontally through the entire package to create top and bottom layers, then separate after baking.
- → Can I add meat to make them more substantial?
-
Thinly sliced ham, turkey, or cooked bacon layers beautifully between the cheeses. Just ensure any meat is pre-cooked before assembly.
- → How do I store and reheat leftovers?
-
Refrigerate in an airtight container for up to 3 days. Reheat at 350°F for 5-7 minutes until cheese melts again, or use an air fryer for 3-4 minutes.
- → What can I serve with these?
-
They pair wonderfully with tomato soup, marinara dipping sauce, or a crisp green salad. Also great alongside other party appetizers.
