 Save
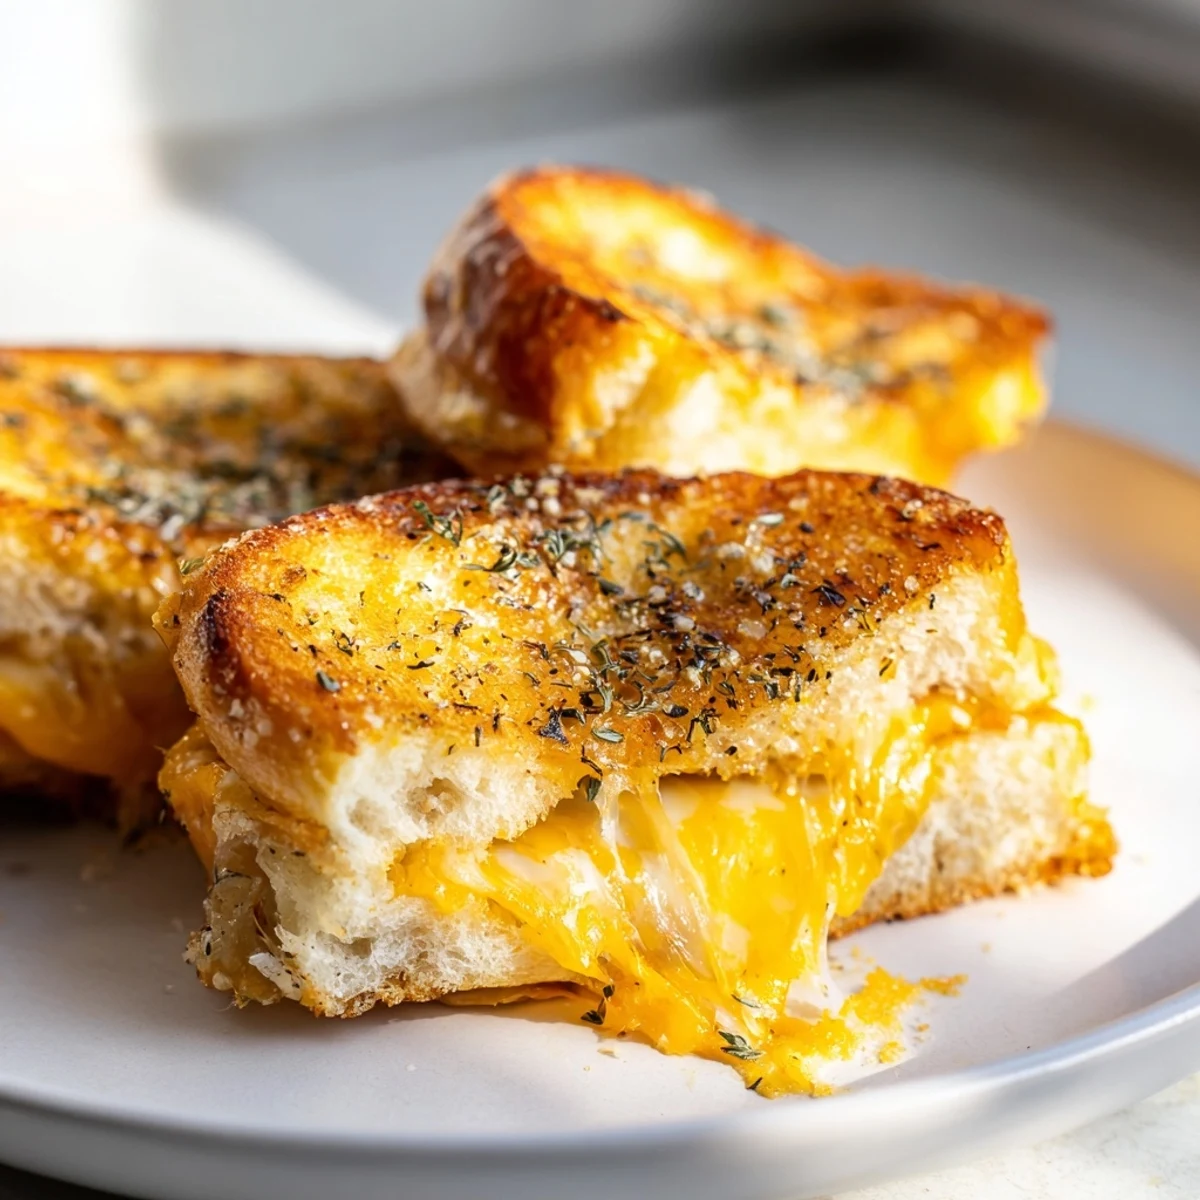
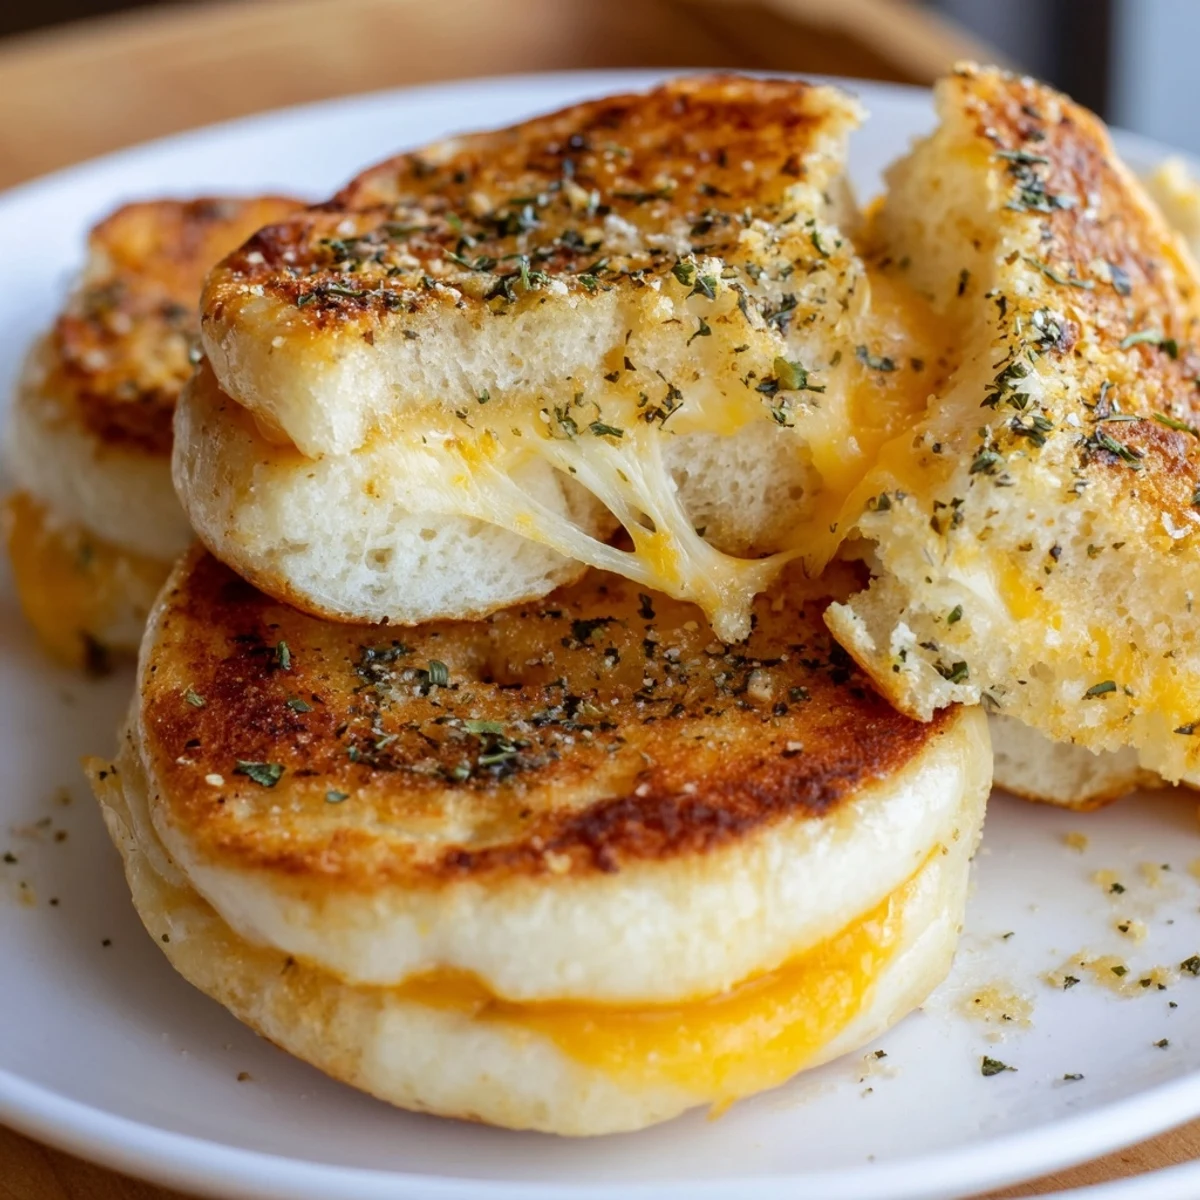
Save These bite-sized sandwiches start with a package of Hawaiian sweet rolls sliced horizontally, keeping them connected. Layer sharp cheddar cheese generously across the bottom half, then crown with the roll tops. Brush melted butter over the surfaces and sprinkle with garlic powder and parsley for extra flavor. Bake covered first to melt the cheese, then uncover to achieve that irresistible golden crunch. The sweet rolls pair perfectly with savory cheddar, creating that irresistible sweet-salty combination everyone loves.
The first time I made these for a Super Bowl party, my friend Sarah actually abandoned the buffalo chicken dip she'd been raving about all week. She stood by the kitchen island, watching them come out of the oven with that golden butter sheen, and I swear she ate four before anyone else even knew they existed.
My kids discovered these last summer when we needed something quick before swim practice. Now they request them every Friday night, and honestly, I've started looking forward to that ritual too. There's something about pulling apart warm, cheesy little sandwiches that feels like comfort food at its finest.
Ingredients
- 1 package (12-count) Hawaiian sweet rolls: The sweetness in these rolls is what makes the magic happen, so don't substitute regular dinner rolls
- 8 oz (225 g) cheddar cheese, sliced: Sharp cheddar cuts through the sweetness beautifully, though I've used pepper jack when I wanted extra kick
- 2 tbsp (30 g) unsalted butter, melted: Brushing the tops creates that gorgeous golden crust that makes these irresistible
- 1 tbsp (15 g) Dijon mustard: This is my secret addition that adds just enough tang to balance everything out
- 1 tbsp (15 g) mayonnaise: Mixed with mustard it creates the most wonderful spread that keeps the rolls from getting soggy
- 1 tsp garlic powder: Don't skip this unless you must because it adds that savory note everyone tries to identify
- 1 tsp dried parsley: Mostly for visual appeal but it adds a fresh note that brightens up all that rich cheese
Instructions
- Preheat your oven to 350°F (175°C) and line a baking sheet:
- Parchment paper saves you from scrubbing melted cheese off your pan later
- Slice the entire block of rolls horizontally:
- Keep them connected and use a serrated knife with a gentle sawing motion for clean cuts through all those rolls at once
- Whisk together Dijon and mayo if using:
- Spread this mixture evenly on both cut sides for extra flavor that keeps every bite moist and delicious
- Layer your cheddar cheese:
- Go all the way to the edges because those crispy cheesy bits that escape during baking are maybe the best part
- Reassemble and brush with butter:
- Be generous with that melted butter and don't forget the garlic powder and parsley on top
- Bake covered then uncovered:
- The foil tent melts everything together first, then removing it for the last five minutes gives you that golden finish
- Rest briefly before serving:
- Let them sit just two minutes so the cheese sets slightly and doesn't ooze out completely when you cut them apart
 Save
Save Last Thanksgiving my grandmother who claims she doesn't like anything fusion or modern couldn't stop eating these. She even asked for the recipe afterward, which is basically her highest compliment. Sometimes the simplest things become the ones everyone remembers.
Make Ahead Magic
You can assemble these up to four hours before baking and keep them covered in the refrigerator. Just add a couple extra minutes to the baking time if they're cold going into the oven.
Serving Ideas
I've served these alongside tomato soup on rainy days and watched people dip them like they were born to go together. They're also perfect with a simple green salad when you want something that feels like comfort food but still looks impressive.
Variation Inspiration
The beauty of this recipe is how easily it adapts to whatever you have on hand or whatever mood you're in. Try these twists once you've mastered the basic version.
- Add three strips of cooked bacon inside each sandwich for an ultimate upgrade
- Swap half the cheddar for mozzarella to get that gorgeous cheese pull
- Tuck thin tomato slices inside before baking if you want something fresh and bright
 Save
Save There's something about pulling apart warm, cheesy little sandwiches that makes everything feel a little more celebratory. Hope these become a go to in your kitchen like they have in mine.
Common Recipe Questions
- → Can I make these ahead of time?
-
Assemble the sliders up to 24 hours in advance, wrap tightly in foil, and refrigerate. Add 5-10 minutes to baking time if baking cold.
- → What cheese works best?
-
Sharp cheddar provides the best flavor contrast, but pepper jack, mozzarella, or Swiss all melt beautifully and add their own unique twist.
- → How do I prevent the rolls from getting soggy?
-
Brushing the cut sides with a thin layer of mayonnaise creates a barrier that keeps the cheese from making the bread soggy during baking.
- → Can I add meat to these sliders?
-
Crispy bacon, deli ham, or even turkey slices work wonderfully layered between the cheese for a heartier appetizer option.
- → What should I serve with these?
-
Pair with warm tomato soup for dipping, serve alongside a fresh green salad, or offer as part of a game day spread with other finger foods.
