 Save
Save Les petits beurre sont des biscuits français classiques, reconnus pour leur texture dorée et craquante. Réalisés à partir d'une pâte simple au beurre fondu, lait, sucre et farine, ils se préparent rapidement et nécessitent un temps de repos au réfrigérateur de 30 minutes.
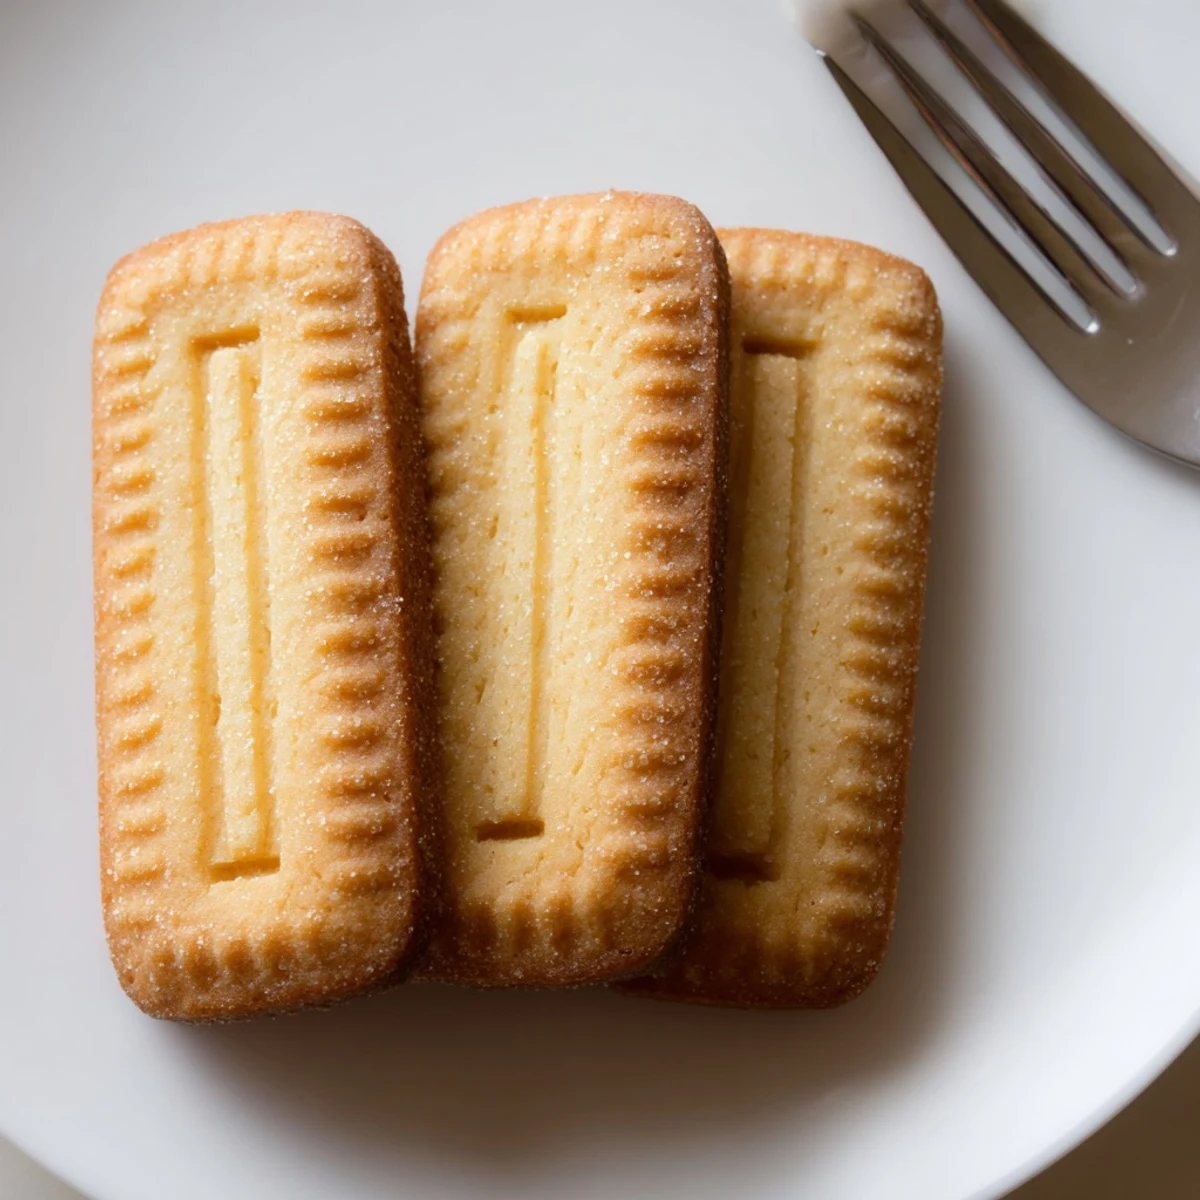
Après avoir étalé la pâte sur 5 mm d'épaisseur, les biscuits sont découpés à l'emporte-pièce, piqués à la fourchette pour la décoration, puis enfournés 12 minutes à 180°C. On obtient ainsi environ 40 biscuits légers et savoureux.
Ils se conservent jusqu'à une semaine dans une boîte hermétique et peuvent être personnalisés avec de la vanille, du zeste de citron ou un trempage dans le chocolat fondu.
There is something deeply satisfying about the quiet snap of a homemade petit beurre between your fingers, a sound no store bought biscuit has ever quite replicated for me. I first attempted these little French classics on a grey Sunday afternoon when the rain tapped steadily against the kitchen window and I needed an excuse to keep my hands busy. The smell of warm butter melting on the stove filled the apartment so completely that my neighbor actually knocked to ask what I was baking. That single batch disappeared within two days, and I have been making them ever since.
I brought a tin of these to a friends potluck dinner last autumn, fully expecting them to be overshadowed by elaborate tarts and layered cakes. By the end of the evening, the tin sat empty on the counter while a chocolate mousse remained half untouched. Someone told me they reminded her of childhood summers in Brittany, and honestly that was the highest compliment I could have received.
Ingredients
- 100 g unsalted butter: Use good quality European butter if you can find it, because the higher fat content gives the biscuit its characteristic richness and golden hue.
- 100 g granulated sugar: Regular white sugar dissolves cleanly into the warm butter mixture, keeping the dough smooth and the bake even.
- 60 ml whole milk: Whole milk adds just enough moisture to bring the dough together without making it sticky.
- 1 pinch of salt: A small but crucial addition that lifts the butter flavor and prevents the biscuits from tasting flat.
- 250 g all purpose flour: This is the structural backbone of the biscuit, so measure carefully by spooning into the cup and leveling off.
- 5 g baking powder (about half a packet): Just enough leavening to give the biscuits a slight lift without turning them cakey.
Instructions
- Melt and combine the wet ingredients:
- In a small saucepan over low heat, melt the butter with the milk, sugar, and a pinch of salt, stirring gently until the butter is completely dissolved and the mixture is smooth. Let it cool until it is just warm to the touch, not hot, or it will cook the flour later.
- Prepare the dry ingredients:
- In a large mixing bowl, whisk together the flour and baking powder until evenly distributed, creating a light airy base for your dough.
- Form the dough:
- Pour the warm butter mixture into the flour and stir with a wooden spoon until a shaggy mass forms, then switch to your hands and knead gently until the dough is smooth and homogeneous. It should feel soft and slightly pliable, like cold Play Doh.
- Rest the dough:
- Shape the dough into a ball, wrap it tightly in plastic wrap, and place it in the refrigerator for 30 minutes so it firms up enough to roll without sticking to everything in sight.
- Preheat the oven:
- Set your oven to 180 degrees Celsius using conventional heat, giving it plenty of time to reach full temperature before the biscuits go in.
- Roll and cut the biscuits:
- On a lightly floured surface, roll the dough out to about 5 millimeters thick and cut out shapes using a petit beurre cutter or a simple knife if you do not have one. The classic scalloped rectangle is traditional but rounds or squares work beautifully too.
- Prepare for baking:
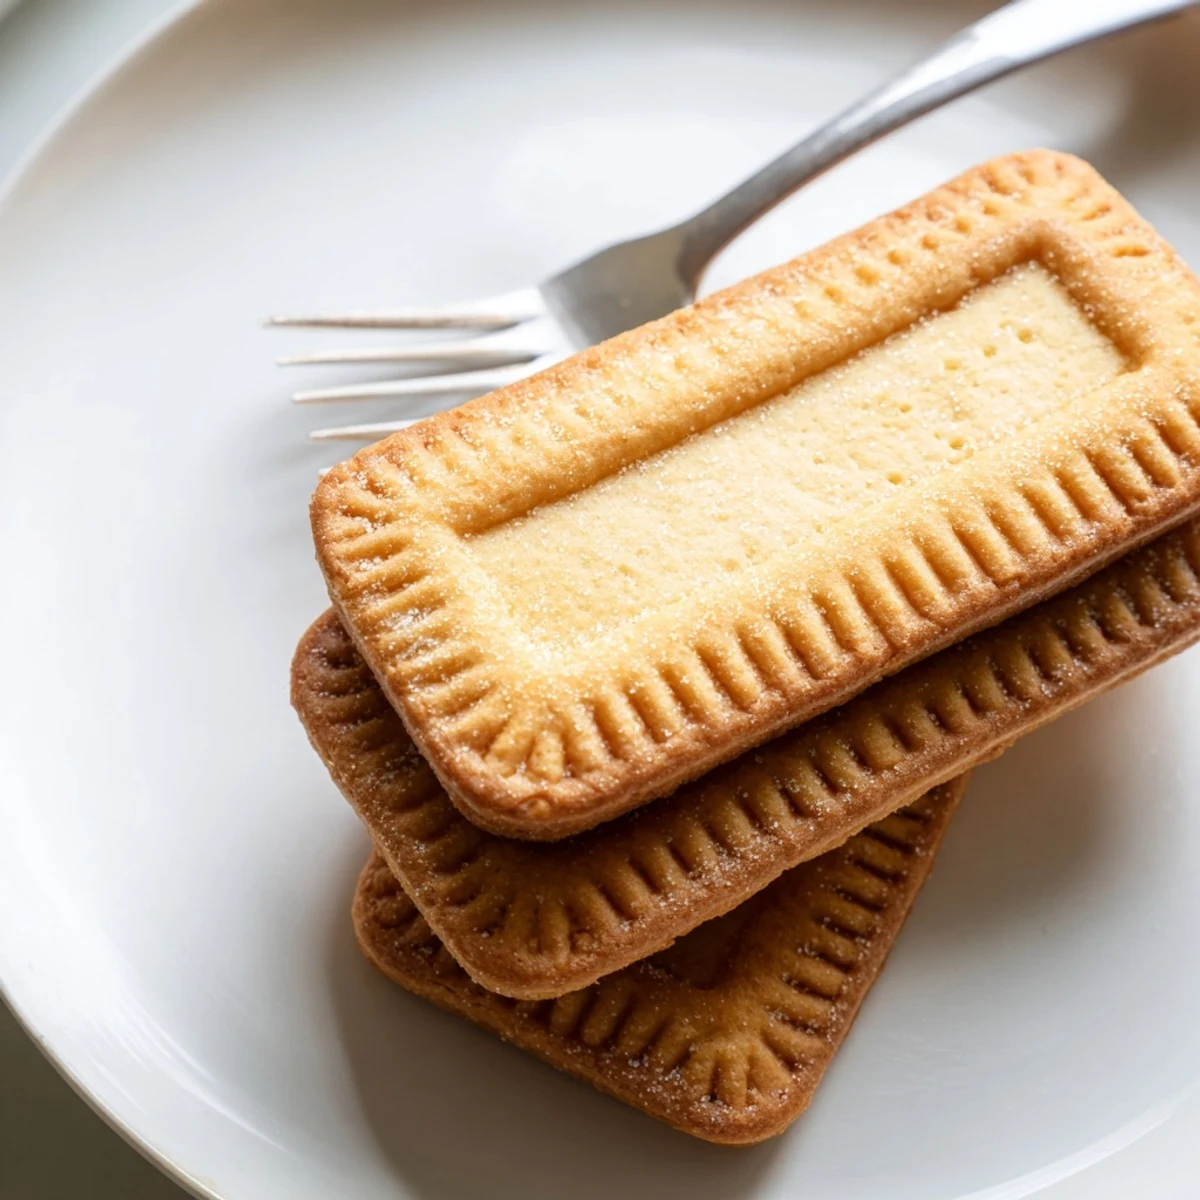
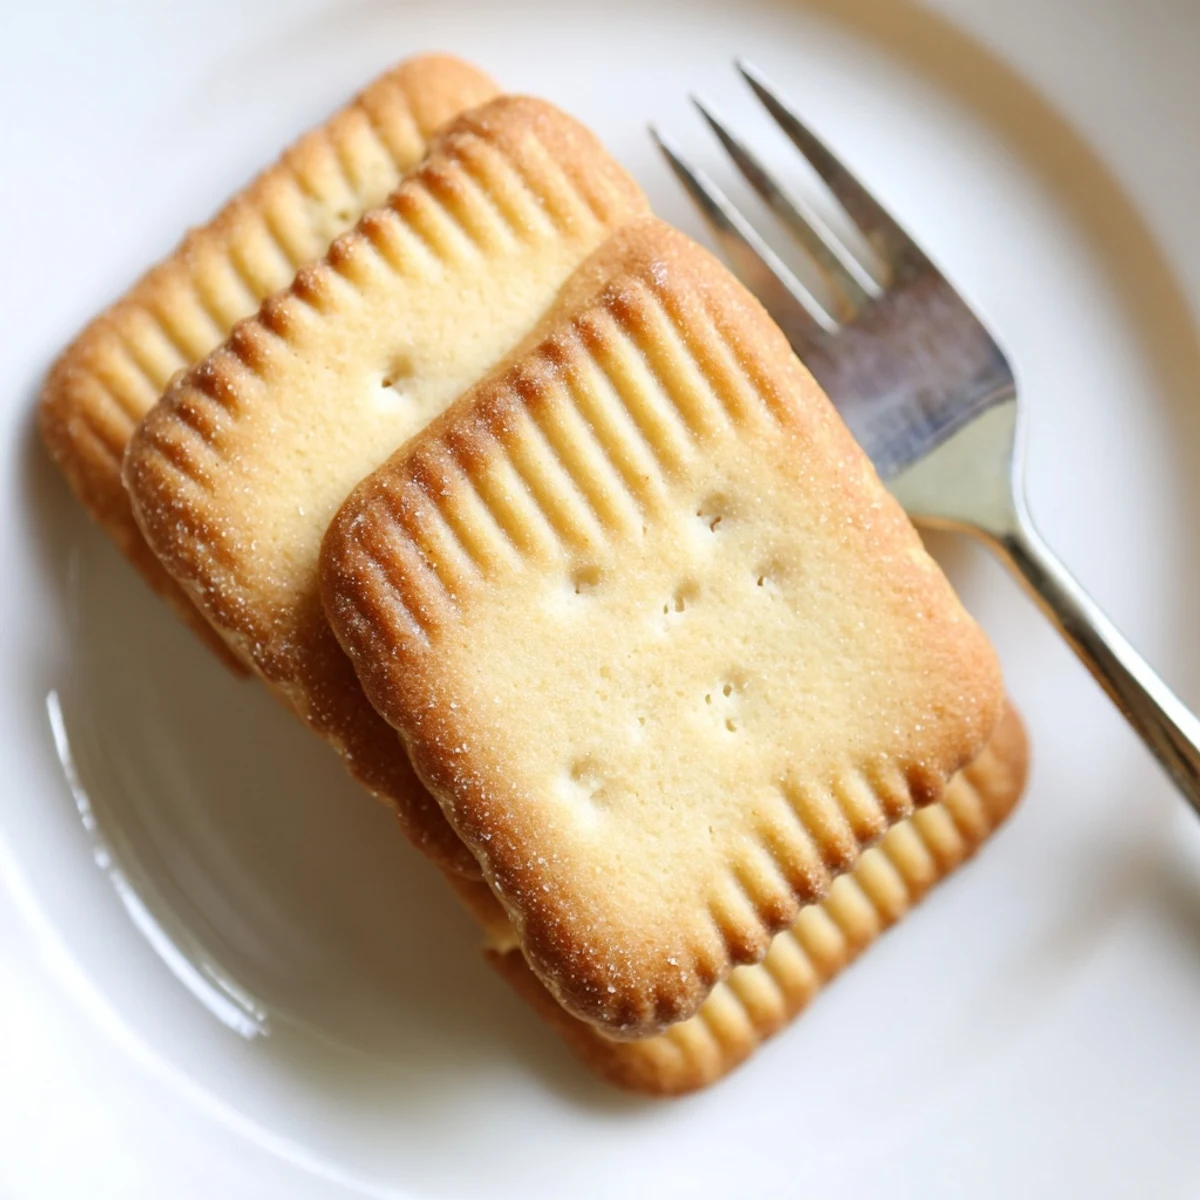
- Arrange the cut biscuits on a baking sheet lined with parchment paper, leaving a small gap between each one, then prick them decoratively with a fork in the classic dotted pattern.
- Bake until golden:
- Slide the tray into the oven and bake for 12 minutes, watching for the edges to turn a lovely golden brown while the centers remain pale and crisp.
- Cool completely:
- Transfer the biscuits to a wire rack and let them cool entirely before eating, because they continue to crisp up as they rest and the texture improves dramatically.
 Save
Save The moment these biscuits became more than just a recipe was when my mother in law, a woman who rarely comments on food, quietly asked if she could take a few home in her purse. I knew then that these humble little cookies had earned a permanent place in my kitchen repertoire.
Getting Creative With Flavors
A pinch of vanilla powder or the finely grated zest of half a lemon added to the flour transforms these biscuits into something unexpectedly aromatic without straying from their simple charm. I once added orange zest and a whisper of cardamom on a whim, and the result was so fragrant that the whole kitchen smelled like a Parisian patisserie. For a more indulgent treat, melt some dark chocolate and dip each biscuit halfway, then let them set on parchment until the coating hardens into a satisfying snap.
Storage and Keeping Them Fresh
These biscuits keep beautifully in an airtight tin for up to a week, and honestly they are best on the second day when the texture has fully settled into that ideal balance of crisp and tender. Avoid stacking them while they are still warm, because trapped moisture will soften the edges and undo all your careful baking work. If you want to prepare ahead for guests, the dough can rest in the refrigerator overnight and be rolled and baked fresh the next morning.
Troubleshooting Common Issues
Every batch teaches you something new, and these biscuits are forgiving enough that small mistakes rarely ruin the outcome. The dough should feel manageable and slightly tacky but not sticky, so adjust with small sprinkles of flour if needed. If your biscuits spread too much, your dough was likely too warm or too thin, so simply pop it back in the refrigerator for ten minutes and try again. If they brown too quickly, your oven may run hot, so reduce the temperature by ten degrees and keep a close eye on the next tray.
- Always check your oven temperature with an inexpensive thermometer, because most ovens are off by at least ten degrees.
- If the dough cracks while rolling, let it sit at room temperature for five minutes to soften slightly.
- Remember that homemade biscuits will never look perfectly uniform, and that is part of their charm.
 Save
Save Keep a batch of these in your kitchen and you will always have something warm and welcoming to offer an unexpected guest. They are proof that the simplest recipes, made with care, are often the ones people remember most.
Common Recipe Questions
- → Pourquoi faut-il laisser reposer la pâte au réfrigérateur ?
-
Le repos au frais permet au beurre de se solidifier, ce qui rend la pâte plus ferme et plus facile à étaler. Cela évite que les biscuits ne s'étalent à la cuisson et garantit une texture craquante.
- → Peut-on utiliser un autre emporte-pièce que le classique petit-beurre ?
-
Oui, vous pouvez utiliser n'importe quel emporte-pièce ou même un simple couteau pour découper des rectangles ou des carrés. L'essentiel est de respecter une épaisseur de 5 mm pour une cuisson uniforme.
- → Comment obtenir des biscuits bien dorés sans les brûler ?
-
Surveillez la cuisson à partir de 10 minutes. Les bords doivent être légèrement dorés. Chaque four étant différent, ajustez le temps entre 10 et 14 minutes. La chaleur traditionnelle à 180°C donne les meilleurs résultats.
- → Peut-on remplacer le lait entier par un lait végétal ?
-
Oui, le lait d'avoine ou le lait d'amande peuvent remplacer le lait entier. La texture sera légèrement différente mais les biscuits resteront savoureux. attention cependant aux allergies évententes.
- → Comment bien conserver les petits beurre maison ?
-
Placez-les dans une boîte hermétique à température ambiante, à l'abri de l'humidité. Ils se conservent ainsi jusqu'à une semaine. Vous pouvez aussi les congeler jusqu'à trois mois.
- → Pourquoi piquer les biscuits à la fourchette ?
-
Le piquage à la fourchette empêche les biscuits de gonfler de manière irrégulière pendant la cuisson en permettant à la vapeur de s'échapper. C'est aussi ce qui donne aux petits beurre leur aspect traditionnel et décoratif.
