 Save
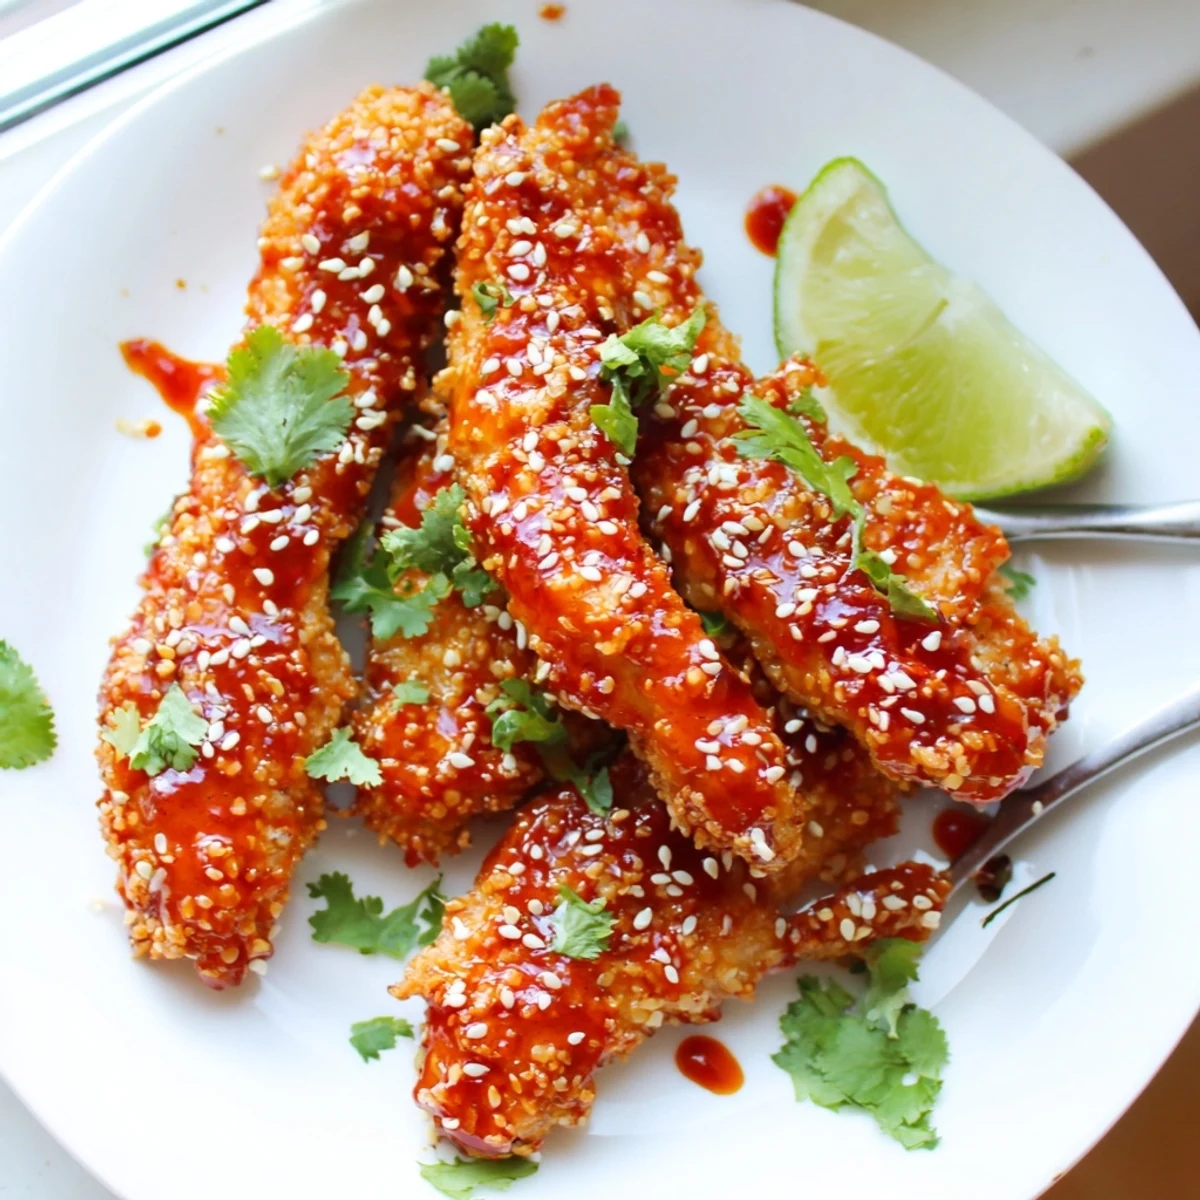
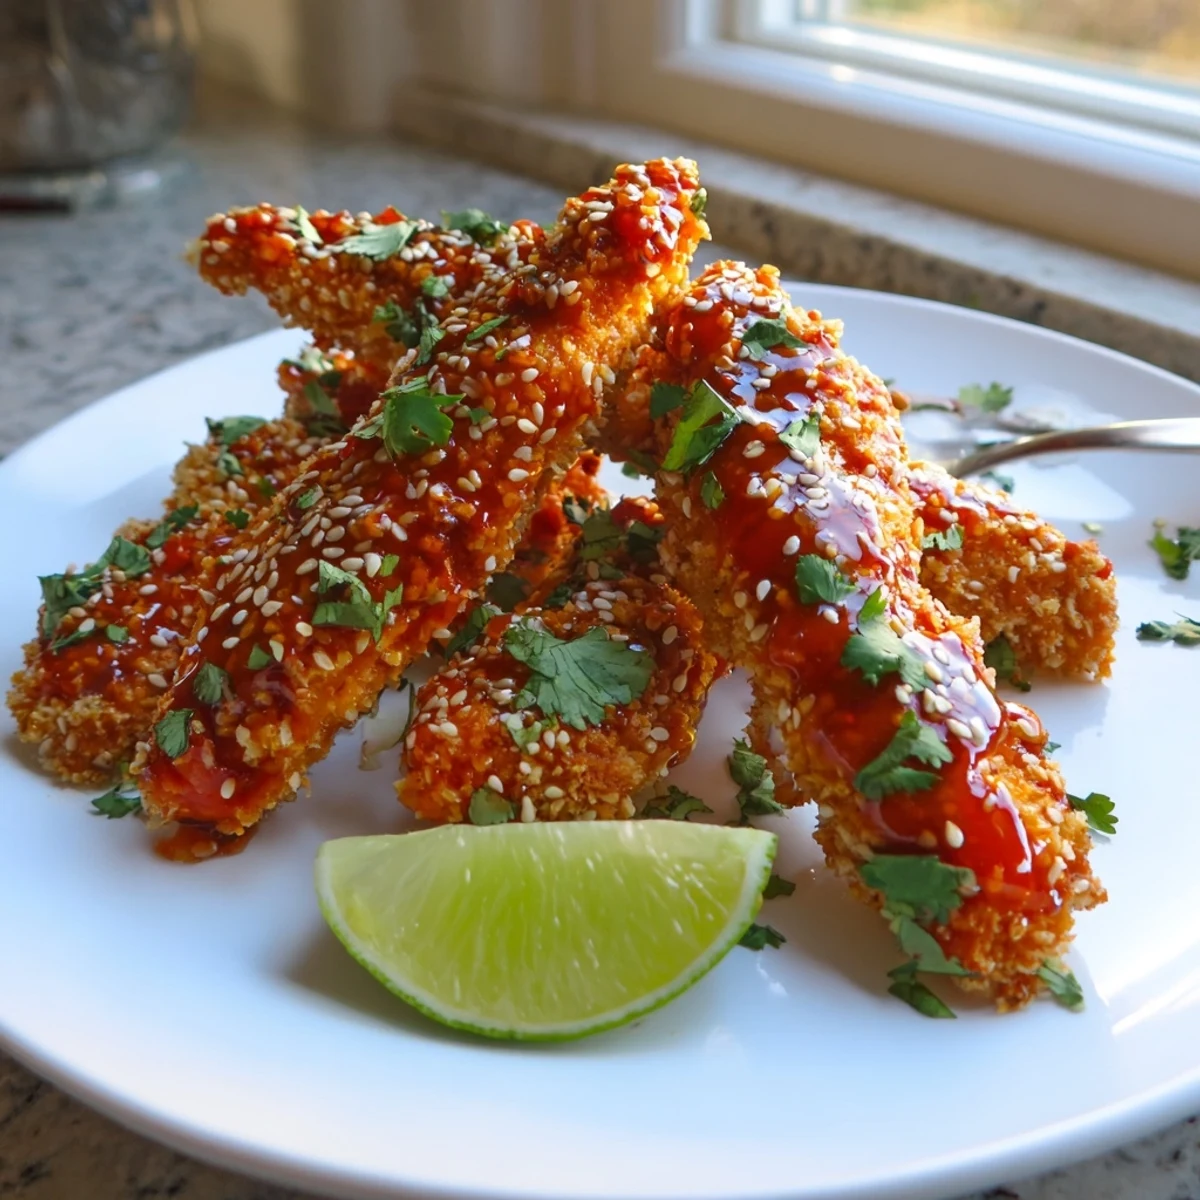
Save These Thai sticky chicken fingers are crispy on the outside, juicy on the inside, and coated in a luscious sweet-chili-and-soy glaze that hits every flavor note. The chicken gets marinated in a quick mix of soy sauce, lime juice, fish sauce, garlic, and ginger, then double-coated in panko breadcrumbs for maximum crunch.
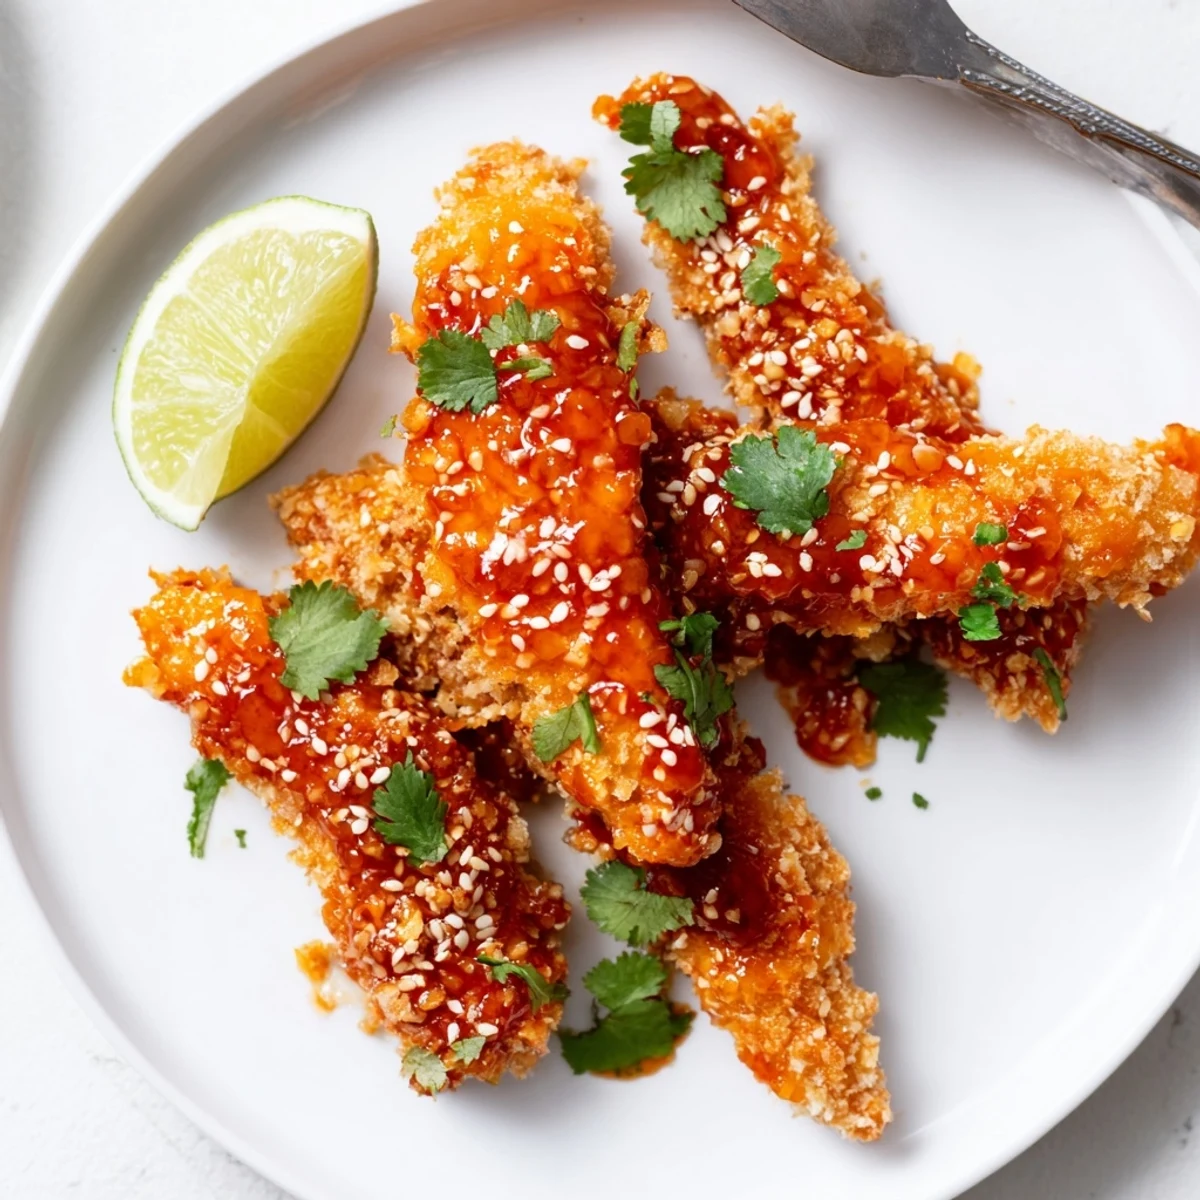
You can bake or pan-fry the strips until golden, then toss them in a warm sticky sauce made from sweet chili sauce, honey, soy sauce, rice vinegar, and a kick of sriracha. Finished with sesame seeds and fresh cilantro, they're ideal as a main course alongside jasmine rice or as a crowd-pleasing appetizer.
The sizzle of chicken hitting a hot pan on a rainy Tuesday evening changed my entire perspective on weeknight cooking. I had stumbled upon a bottle of sweet chili sauce buried in the back of my pantry and decided, on a whim, to build something around it. What came out of the kitchen that night was a plate of golden, sticky, impossibly fragrant chicken fingers that had my partner standing over the stove stealing pieces before I could even plate them.
I brought these to a friends potluck last summer and watched a quiet, polite group of adults turn into a crowd huddled around one platter, licking their fingers and asking for the recipe between bites.
Ingredients
- Chicken tenders or breast strips (600 g): Tenders save you the work of slicing, but breast works just as well if you cut them into even strips so they cook uniformly.
- Soy sauce (for marinade, 2 tbsp): This is your salt and umami foundation, and it penetrates the meat during even a short soak.
- Lime juice (1 tbsp): Brightens the marinade and starts breaking down the chicken for tenderness.
- Fish sauce (1 tbsp): Do not skip this, it smells intense on its own but melts into the dish as a deep, rounded savoriness.
- Garlic, finely minced (1 clove): One is enough here because the sauce brings its own aromatic punch later.
- Freshly grated ginger (1 tsp): Fresh ginger matters, the dried version cannot replicate that warm, slightly peppery hum.
- All purpose flour (100 g): The first layer of the coating, it gives the egg something to grab onto.
- Large eggs (2): Beaten smooth, they act as the bridge between flour and panko.
- Panko breadcrumbs (120 g): Panko creates that shatteringly crisp shell that regular breadcrumbs simply cannot match.
- Salt and black pepper (1/2 tsp each): Mixed into the panko to season the crust from the outside in.
- Sweet chili sauce (60 ml): The soul of the sticky glaze, bringing sugar, vinegar, and a gentle warmth.
- Honey (2 tbsp): Thickens the sauce and adds floral sweetness that balances the salty and sour notes.
- Soy sauce (for sauce, 2 tbsp): Reinforces the umami and gives the glaze a beautiful dark sheen.
- Rice vinegar (1 tbsp): A mellow acidity that keeps the sauce from tipping into cloying territory.
- Sriracha (1 tbsp, optional): Add it if you want real heat, leave it out for a kid friendly version that still has plenty of personality.
- Sesame oil (1/2 tsp): Just a whisper of this at the end gives the sauce that unmistakable toasted aroma.
- Sesame seeds, cilantro, lime wedges (for garnish): Entirely optional but they turn a casual plate into something worth photographing.
Instructions
- Marinate the chicken:
- Whisk together the soy sauce, lime juice, fish sauce, minced garlic, and grated ginger in a bowl. Toss the chicken strips in the mixture, cover, and let them soak up all that flavor for at least fifteen minutes while you set up everything else.
- Set up the coating station:
- Arrange three shallow bowls in a row, one with flour, one with beaten eggs, and one with panko mixed with salt and pepper. This assembly line keeps your hands cleaner and your rhythm steady.
- Cook the chicken:
- Preheat your oven to 200 degrees Celsius or heat oil in a pan for shallow frying. Dip each marinated strip through flour, then egg, then panko, pressing gently to adhere the crumbs before arranging on a lined baking sheet or sliding into the hot oil. Bake for eighteen to twenty two minutes, flipping halfway, or fry until deeply golden, about three to four minutes per side.
- Make the sticky sauce:
- While the chicken cooks, combine the sweet chili sauce, honey, soy sauce, rice vinegar, sriracha if using, and sesame oil in a small saucepan over medium heat. Stir constantly until the sauce bubbles and thickens slightly, which takes about three to five minutes, and your kitchen will smell incredible.
- Coat and serve:
- Toss the hot, crispy chicken fingers in the warm sauce, turning gently so every piece gets lacquered without losing its crunch. Pile them onto a platter, scatter sesame seeds and cilantro over the top, and squeeze a lime wedge over everything just before serving.
 Save
Save Somewhere between the third and fourth batch of these I realized I had stopped cooking them for other people and started making them just to have the house smell like toasted sesame and honey on a quiet afternoon.
Choosing Your Cooking Method
Baking yields a lighter, more uniform result and lets you cook all the strips at once without standing over a splattering pan. Shallow frying, on the other hand, gives you a deeper golden color and a crunch that is harder to achieve in the oven. I usually bake when cooking for a group and fry when I am making a small batch just for myself because the indulgence feels right.
What to Serve Alongside
These chicken fingers love company, and a simple bowl of jasmine rice soaks up any extra sauce that pools at the bottom of the platter. A quick cucumber salad with rice vinegar and a pinch of sugar cuts through the richness beautifully. For a party, just set out a bowl of extra dipping sauce and watch them vanish.
Storage and Reheating
Leftovers keep well in the refrigerator for up to three days, though the crust softens over time as the sauce settles in. Reheat them in a hot oven or air fryer for a few minutes to bring back some of that initial crunch. The sauce can be made ahead and stored separately in a jar for up to a week.
- Always reheat from the fridge rather than freezing, as frozen coated chicken tends to go soggy when thawed.
- If making ahead for a crowd, cook the chicken plain, then sauce it right before serving for maximum crunch.
- Remember that the flavors deepen overnight, so leftover sauce on fresh chicken the next day is a gift.
 Save
Save Keep a stack of napkins nearby and do not be surprised when someone picks up the last piece before you sit down. That is just the kind of dish this is.
Common Recipe Questions
- → Can I bake these chicken fingers instead of frying?
-
Yes, absolutely. Arrange the coated chicken strips on a parchment-lined baking sheet and bake at 200°C (400°F) for 18–22 minutes, flipping halfway through, until golden and cooked through. Baking yields a slightly lighter result while still delivering plenty of crunch from the panko coating.
- → How do I get the crispiest coating possible?
-
For extra crispiness, try double-coating the chicken: after the first round of flour, egg, and panko, dip the strip back into the egg and then into the panko a second time. Also, make sure your panko breadcrumbs are fresh and press them firmly onto the chicken for even coverage.
- → Can I make the Thai sticky sauce ahead of time?
-
Yes, you can prepare the sauce up to 3 days in advance and store it in an airtight container in the refrigerator. Reheat it gently in a saucepan over medium heat before tossing with the freshly cooked chicken fingers.
- → What should I serve with these chicken fingers?
-
They pair wonderfully with steamed jasmine rice and a refreshing cucumber salad for a complete meal. You can also serve them as a party appetizer with extra dipping sauce on the side, alongside a simple Asian slaw or pickled vegetables.
- → Can I make this dish gluten-free?
-
Yes. Swap the all-purpose flour and panko for gluten-free alternatives, use tamari instead of regular soy sauce, and choose a gluten-free sweet chili sauce. Double-check all bottled sauces for hidden wheat ingredients to be safe.
- → How spicy are these chicken fingers?
-
The base level of heat is mild, coming mainly from the sweet chili sauce. The sriracha in the sticky sauce is optional, so you can control the spice level. Add more sriracha if you like it fiery, or leave it out entirely for a family-friendly version.
