 Save
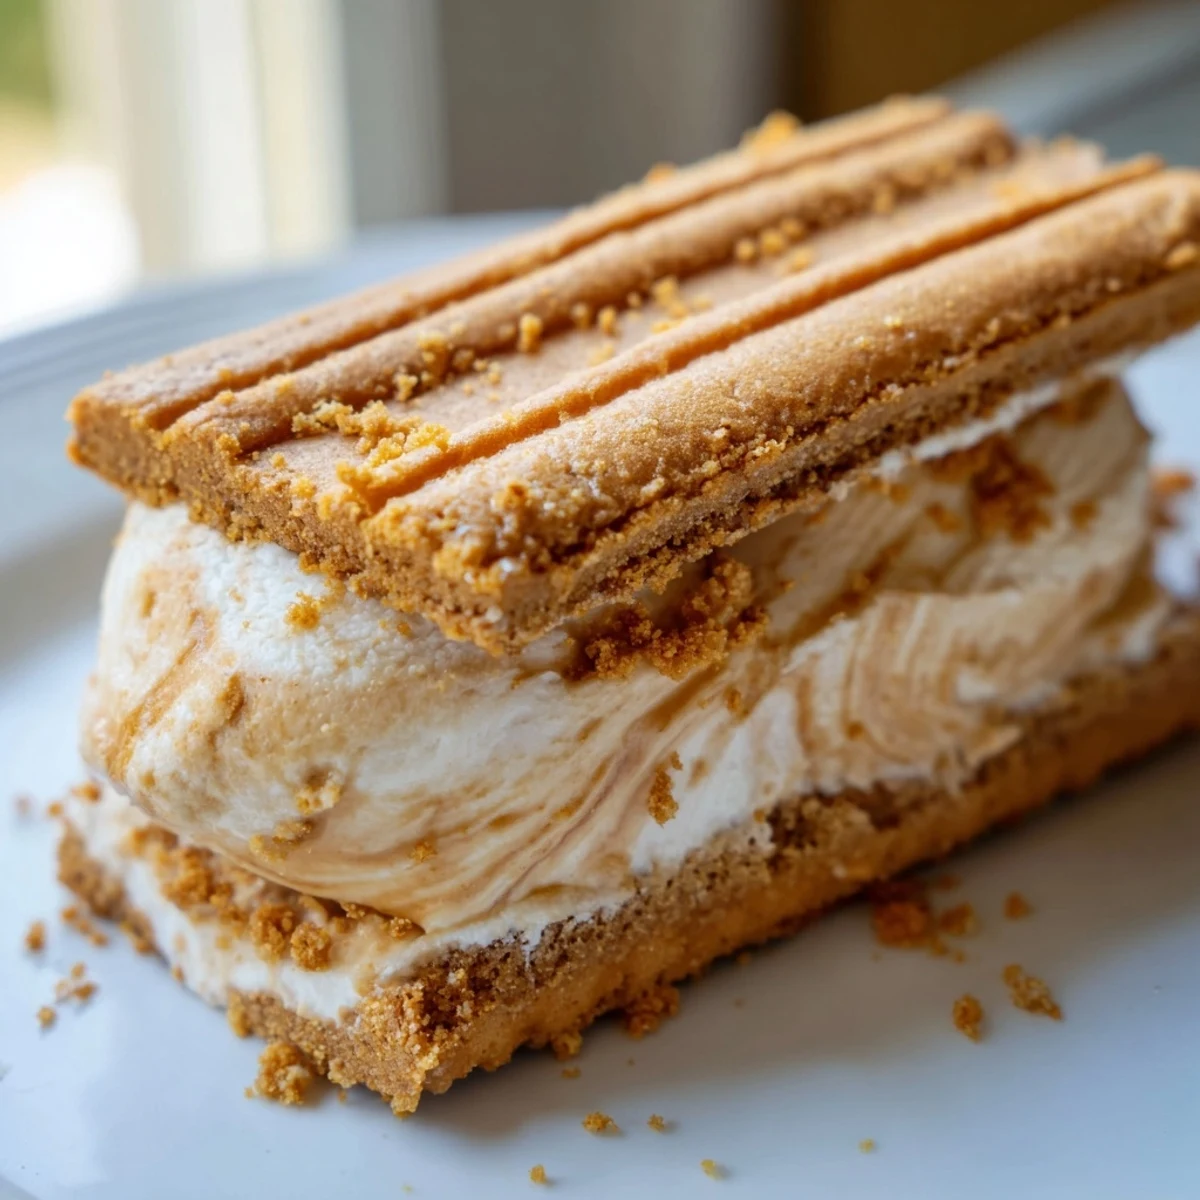
Save These Biscoff ice cream sandwiches combine the warm, spiced flavor of Lotus Biscoff cookies with a luscious homemade vanilla and Biscoff spread ice cream. The no-churn ice cream comes together with just heavy cream, condensed milk, and melted Biscoff spread — no ice cream maker needed.
After freezing until firm, the ice cream is scooped between pairs of crisp Biscoff cookies and rolled in crushed cookie crumbs for extra crunch. Each sandwich delivers caramel notes, warm spice, and creamy richness in every bite. They're vegetarian-friendly and perfect for making ahead for summer gatherings or an everyday sweet craving.
The jar of Biscoff spread had been sitting in my pantry for three weeks, taunting me every time I reached for the coffee. One humid July afternoon, with the air conditioning struggling and a half melted pint of store bought vanilla in the freezer, I had a moment of reckless inspiration that changed my summer desserts forever.
My neighbor walked in while I was pressing cookies around globs of half frozen Biscoff ice cream and declared it looked like a delicious disaster. Two sandwiches later she stopped laughing and started asking for the recipe.
Ingredients
- Heavy cream (2 cups): The fat content is everything here, so do not substitute with half and half or the texture will turn icy and sad.
- Sweetened condensed milk (1 cup): This replaces eggs and sugar in a no churn base, lending sweetness and that dense creamy mouthfeel.
- Vanilla extract (1 tsp): A quiet background note that ties the spiced cookie flavor to the dairy richness.
- Biscoff spread (1/2 cup, melted): Swirling this into the base creates ribbons of caramel warmth without overpowering the cream.
- Biscoff cookies (16 whole plus 1/2 cup crushed): Whole ones sandwich the ice cream and the crushed ones add a crunchy edge coating that looks beautiful.
Instructions
- Whip the cream:
- Pour the heavy cream into a large chilled bowl and beat on medium high until you see stiff peaks that hold their shape when you lift the whisk, which should take about two to three minutes.
- Fold everything together:
- Gently but thoroughly fold in the condensed milk, vanilla, and melted Biscoff spread with a spatula, sweeping from bottom to top so you keep as much air in the mixture as possible.
- Freeze the base:
- Spread the mixture into a parchment lined loaf pan, smooth the top, and tuck it into the coldest part of your freezer for at least four hours or overnight if you can wait that long.
- Assemble the sandwiches:
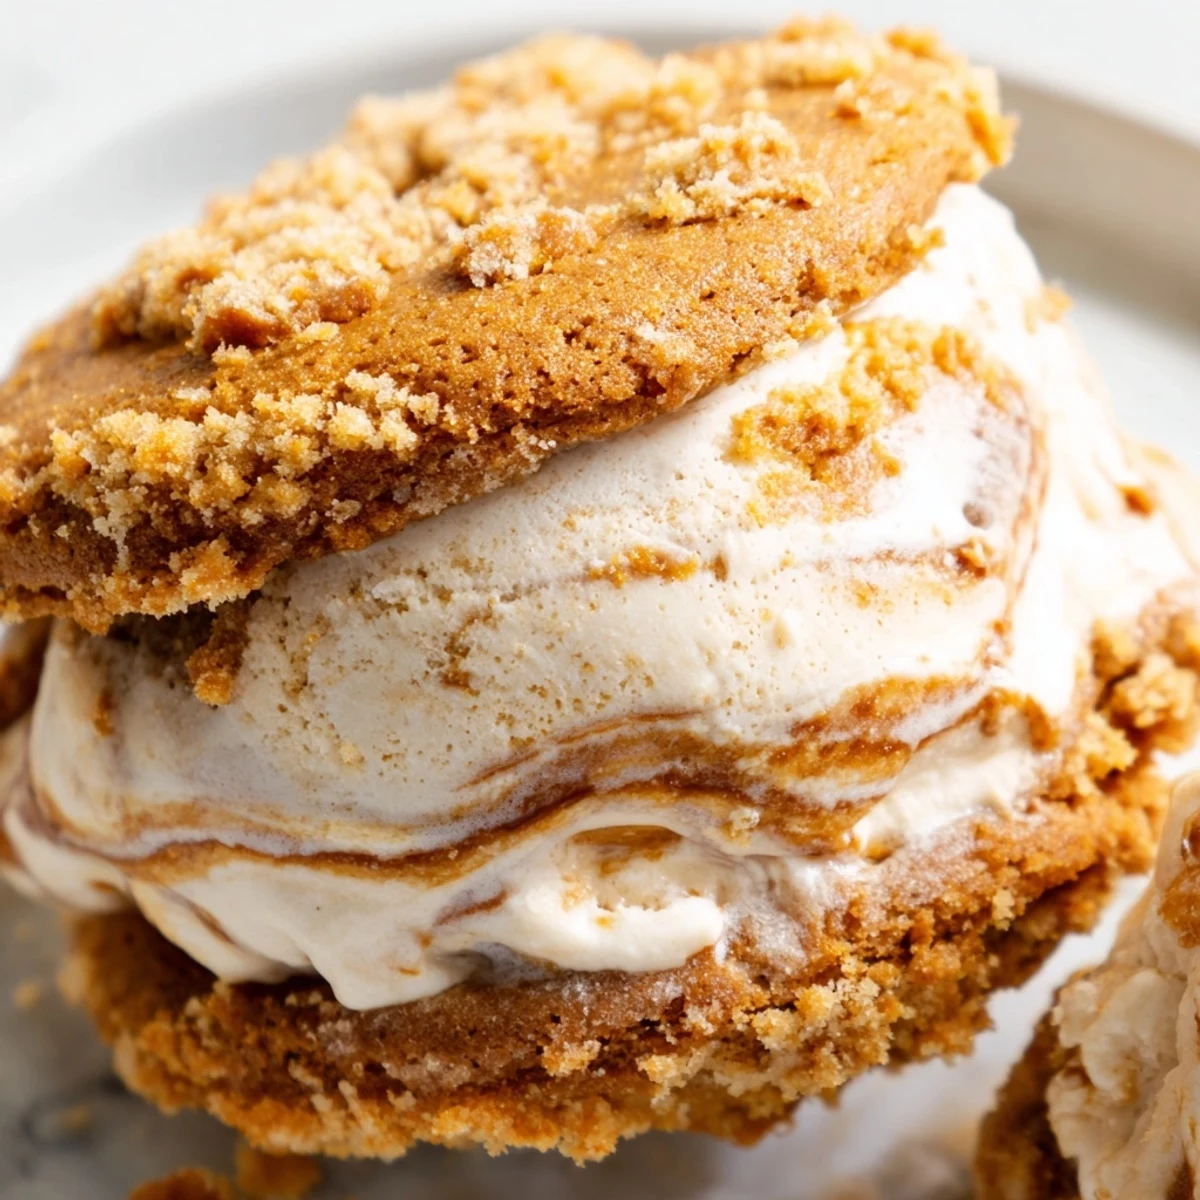
- Let the ice cream soften for five minutes, then scoop generous quarter cup portions onto eight cookies placed flat side up on a tray, topping each with a second cookie and pressing gently.
- Coat and set:
- Roll the exposed edges in crushed Biscoff crumbs if you want extra crunch, then return the sandwiches to the freezer for ten to fifteen minutes so everything firms up beautifully.
 Save
Save I wrapped extras in parchment paper like little gifts and tucked them into the back of the freezer for late night raids that became a quiet summer ritual.
Flavor Twists Worth Trying
Coffee ice cream swaps in beautifully if you want a mocha angle, and a drizzle of melted dark chocolate over the finished sandwiches before the final freeze adds a crackly shell that snaps when you bite.
Keeping Them Fresh
These sandwiches will keep well in the freezer for up to one week if wrapped tightly, though honestly they never last that long in my house.
A Few Final Thoughts
The beauty of this recipe is its willingness to bend. You can scale it up for a crowd or keep a small batch stashed away for yourself, and either way it feels like a small act of joy.
- Chill your mixing bowl and whisk in the freezer for ten minutes before whipping the cream for faster results.
- Use a cookie scoop for evenly sized sandwiches that look as good as they taste.
- Always let the sandwiches sit at room temperature for two minutes before eating so the cookies soften just enough to bite cleanly.
 Save
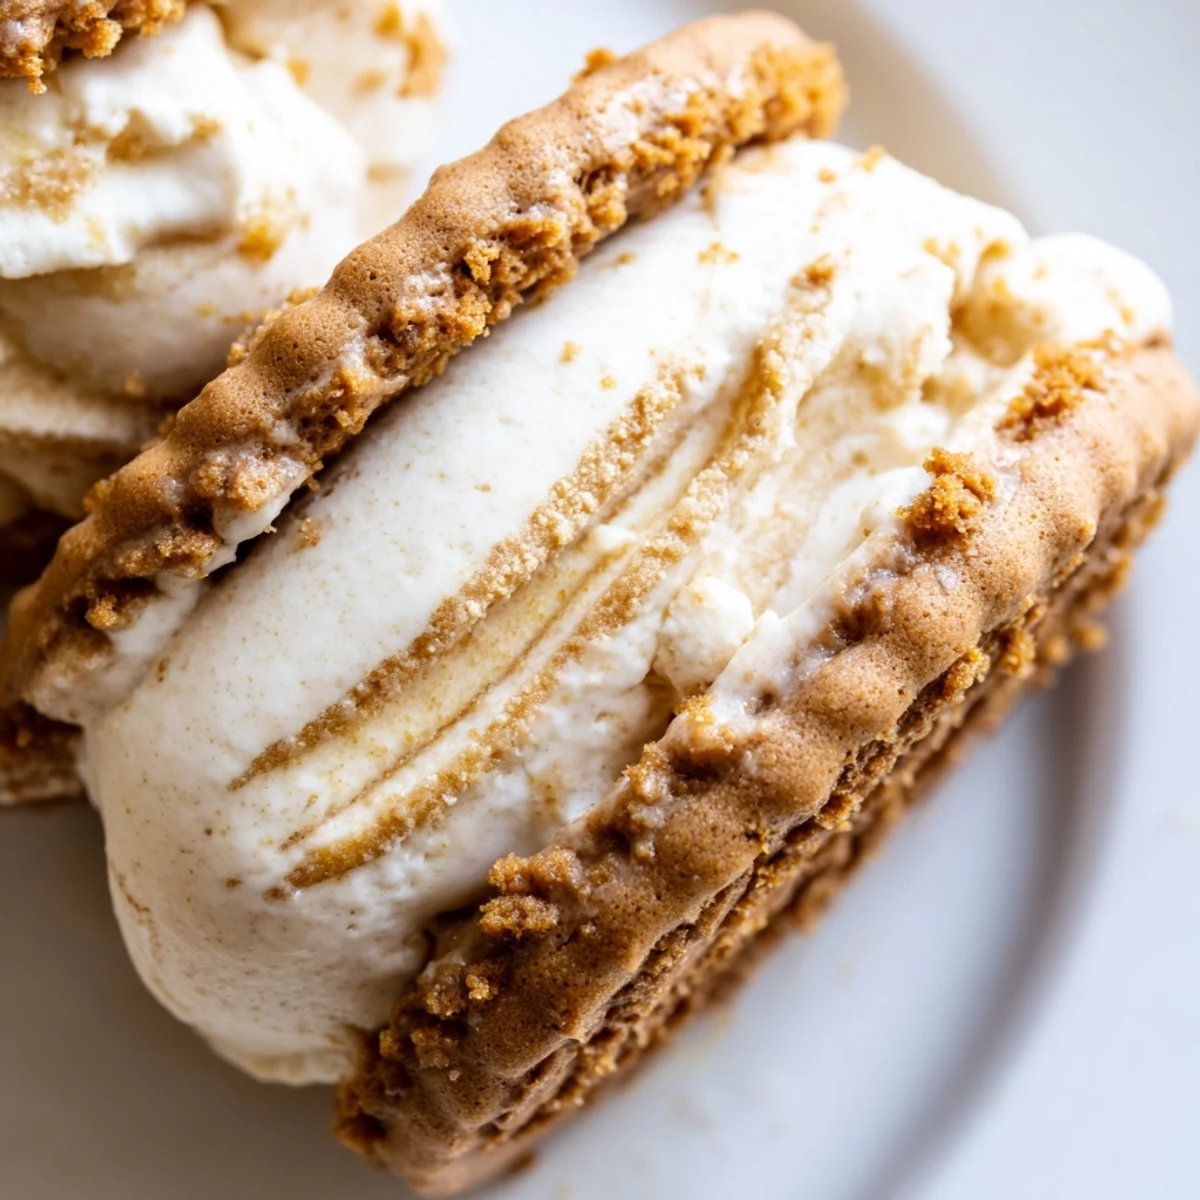
Save Every bite tastes like summer spontaneity wrapped in spiced cookie warmth. Make them once and you will find yourself keeping Biscoff spread stocked all year round.
Common Recipe Questions
- → Can I make these without an ice cream maker?
-
Yes, the ice cream base uses a no-churn method. Whipping heavy cream to stiff peaks and folding in sweetened condensed milk creates a creamy texture straight from the freezer — no machine required.
- → How long do the sandwiches need to freeze before serving?
-
The ice cream mixture needs at least 4 hours in the freezer to set properly. Once assembled, the sandwiches benefit from an additional 10–15 minutes of freezing to firm up before serving.
- → Can I use store-bought ice cream instead?
-
Absolutely. A good quality vanilla or caramel ice cream works perfectly. Let it soften slightly for easier scooping, then assemble the sandwiches and refreeze for 10–15 minutes to set.
- → How should I store leftover sandwiches?
-
Wrap each sandwich tightly in parchment paper or plastic wrap and store them in an airtight container in the freezer. They'll keep well for up to one week, though the cookies may soften slightly over time.
- → Can I make these gluten-free?
-
Yes, simply swap the Biscoff cookies for a gluten-free spiced cookie alternative. The ice cream base is naturally gluten-free, so only the cookie component needs adjusting.
- → What flavor variations work well?
-
Try using coffee, chocolate, or caramel ice cream instead of vanilla. You can also drizzle melted chocolate over the assembled sandwiches or add a pinch of sea salt on top for a salted caramel twist.
