 Save
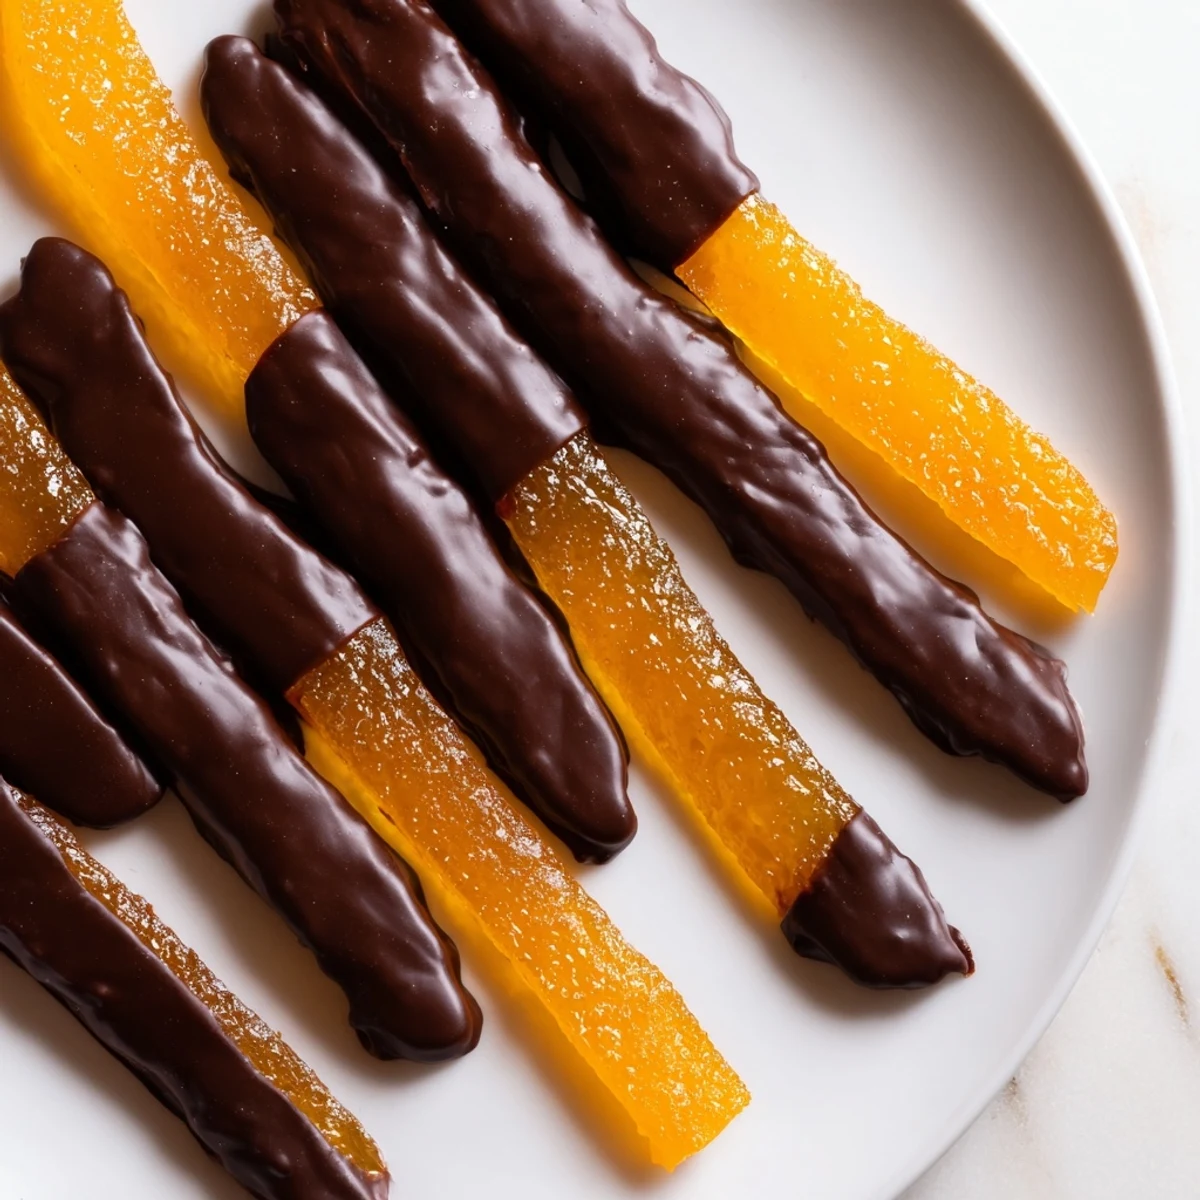
Save These chocolate covered orange peels transform simple citrus into an elegant confection. Fresh orange peels are blanched multiple times to remove bitterness, then slowly simmered in sugar syrup until translucent and tender.
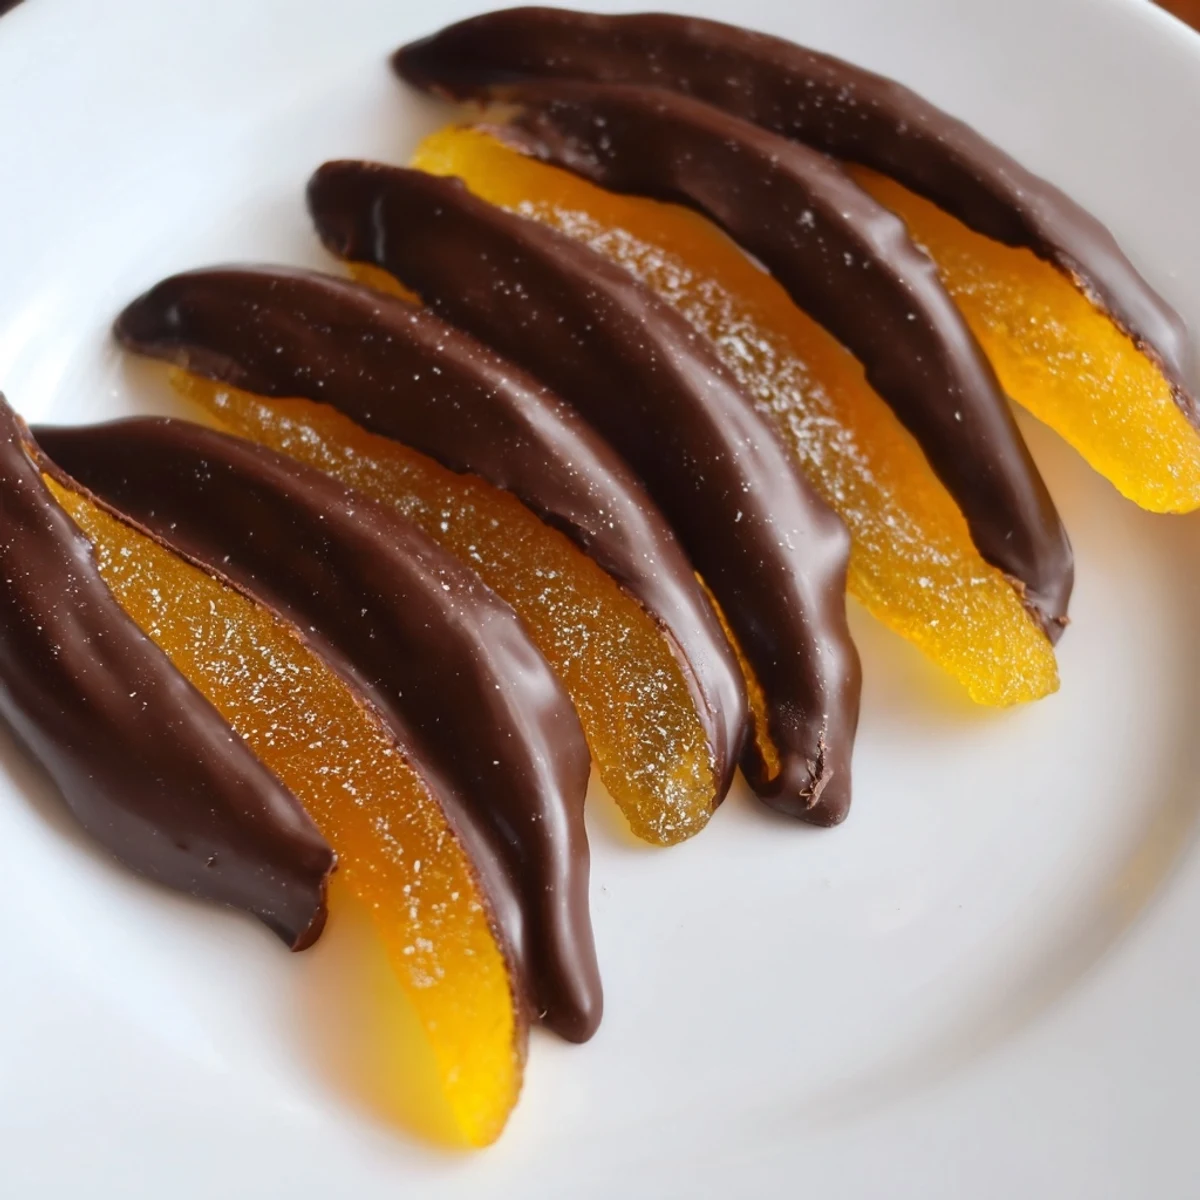
Once dried, each candied strip is dipped halfway into melted dark chocolate and left to set. The contrast between the sweet-tangy candied peel and the bittersweet chocolate coating creates an irresistible treat.
Perfect for holiday gifting, afternoon tea, or pairing with espresso and dessert wine. They keep for up to two weeks stored in an airtight container.
The smell of oranges simmering in sugar takes me straight back to a tiny kitchen in Seville, where a friend's grandmother showed me how she turned leftover peels into something extraordinary. She barely measured anything, just tossed sugar and water together with practiced hands while telling stories about her childhood. I stood there mesmerized, watching translucent strips emerge from syrupy bubbles, realizing that the best recipes often come from refusing to waste anything beautiful.
I made a batch of these for a holiday party two years ago and set them out next to a pot of espresso, not expecting much fuss. Within twenty minutes the plate was empty and three people had asked for the recipe. Now they show up at every winter gathering I host, tucked into small parchment bags as favors.
Ingredients
- 3 large oranges, preferably organic: Since you are eating the peel, organic matters more here than almost anywhere else. Thick skinned varieties like navel work beautifully.
- 2 cups (400 g) granulated sugar: Standard white sugar gives the clearest syrup and the most jewel like finish on the finished peels.
- 1 cup (240 ml) water: Just enough to dissolve the sugar and create a bath for the peels to simmer in slowly.
- 200 g dark chocolate (60 to 70% cocoa), chopped: This percentage range gives you enough sweetness to balance the bitter peel without overwhelming it.
Instructions
- Prepare the peels:
- Wash the oranges thoroughly under warm water, scrubbing gently. Slice off the top and bottom of each orange so it sits flat, then score the skin into four vertical sections and peel them away, keeping a thin layer of white pith attached since it adds that lovely chew.
- Cut into strips:
- Lay each peel section flat on your cutting board and slice it into strips roughly half a centimeter wide. Try to keep them uniform so they cook evenly and look polished at the end.
- Blanch three times:
- Drop the strips into a saucepan, cover with cold water, and bring to a rolling boil. Drain completely and repeat this process two more times, which sounds tedious but is the secret to removing the harsh bitterness that ruins so many homemade versions.
- Build the syrup:
- In a clean saucepan, combine the sugar and water, stirring over medium heat until every crystal disappears. The liquid should look completely clear before you add the peels.
- Simmer slowly:
- Add the blanched peels to the syrup and let them burble away uncovered for 45 to 60 minutes, stirring occasionally so nothing sticks. You will know they are ready when the strips look translucent and feel tender when you pinch one.
- Dry the peels:
- Lift each strip out with tongs and arrange them on a wire rack so air can circulate underneath. Leave them at room temperature for at least two hours, though overnight is even better if you can wait that long.
- Melt the chocolate:
- Set a heatproof bowl over a pot of barely simmering water, making sure the bottom never touches the water itself. Add the chopped chocolate and stir gently until it melts into a glossy, silky pool.
- Dip and finish:
- Take each dried peel and dip it halfway into the chocolate, letting the excess drip back into the bowl before placing it on parchment paper. Let them sit at room temperature until the chocolate firms up, or slide the tray into the fridge if you are impatient like me.
 Save
Save There is something deeply satisfying about transforming what most people throw away into a treat that feels luxurious. Every time I catch the scent of orange oil on my fingers while peeling, I think about that afternoon in Seville and how the simplest kitchen magic always starts with paying attention.
Choosing the Right Oranges
Not all oranges are created equal for candying. You want thick skinned, heavy fruit with visible pores on the surface, which usually means navel oranges or blood oranges when they are in season. Thin skinned juice oranges will leave you with barely anything to candy once the pith cooks down. Give each orange a gentle squeeze at the store. If it feels like a water balloon about to burst, it is great for juice but wrong for this project.
Getting the Chocolate Right
Tempering chocolate properly is the difference between peels that snap when you bite them and peels that leave fingerprint smudges everywhere. If you want that professional shine and clean break, temper your chocolate by reserving a third of it chopped fine, melting the rest to about 115 degrees Fahrenheit, then stirring in the reserved pieces until the temperature drops to around 88 degrees. It sounds fussy but the result is worth every degree of attention.
Storing and Gifting
These keep beautifully in an airtight container in a cool, dark cupboard for up to two weeks, though honestly they rarely last that long around here. Layer them between sheets of parchment paper so the chocolate does not stick. They also freeze well for up to three months if you want to make a large batch ahead of the holidays.
- Tuck a few into a small cellophane bag tied with kitchen twine for an effortless homemade gift.
- A sprinkle of flaky sea salt on the chocolate before it sets adds an unexpected crunch that people love.
- Always let them come to room temperature before serving so the chocolate flavor can fully bloom.
 Save
Save Once you master these, you will start eyeing every citrus fruit in your kitchen as potential candy. That is the real magic of this recipe: it changes how you see what is already in front of you.
Common Recipe Questions
- → Do I need to remove all the white pith from the orange peels?
-
No, you don't need to remove all of it. Leaving a thin layer of white pith actually adds a pleasant texture and a slight bitterness that balances the sweetness of the syrup and chocolate. The triple blanching process effectively mellows any harsh bitterness.
- → Can I use store-botted candied orange peels instead?
-
While store-bought candied peels exist, making them from scratch gives you control over sweetness and texture. Homemade peels are softer, more aromatic, and free from preservatives. The process is simple and mostly hands-off.
- → Why do I need to blanch the peels three times?
-
Triple blanching is essential for removing the intense bitterness from the orange peel. Each boil draws out more bitter compounds from the oils in the skin. Skipping this step will result in an unpleasantly bitter final product.
- → What type of chocolate works best for dipping?
-
Dark chocolate with 60–70% cocoa content is ideal. It provides a rich, slightly bitter contrast to the sweet candied peel. You can also use milk chocolate for a sweeter result or white chocolate for a creamier, more delicate flavor.
- → How long should the candied peels dry before dipping?
-
Allow the peels to dry on a wire rack for at least 2 hours at room temperature, though overnight drying yields the best results. The surface should feel tacky but not wet or sticky. Properly dried peels ensure the chocolate adheres well and sets with a clean finish.
- → Can I flavor the chocolate coating?
-
Yes, you can add a splash of orange liqueur, a pinch of sea salt, or a dash of cinnamon to the melted chocolate before dipping. These additions complement the citrus flavor beautifully. Keep additions minimal to avoid altering the chocolate's consistency.
