 Save
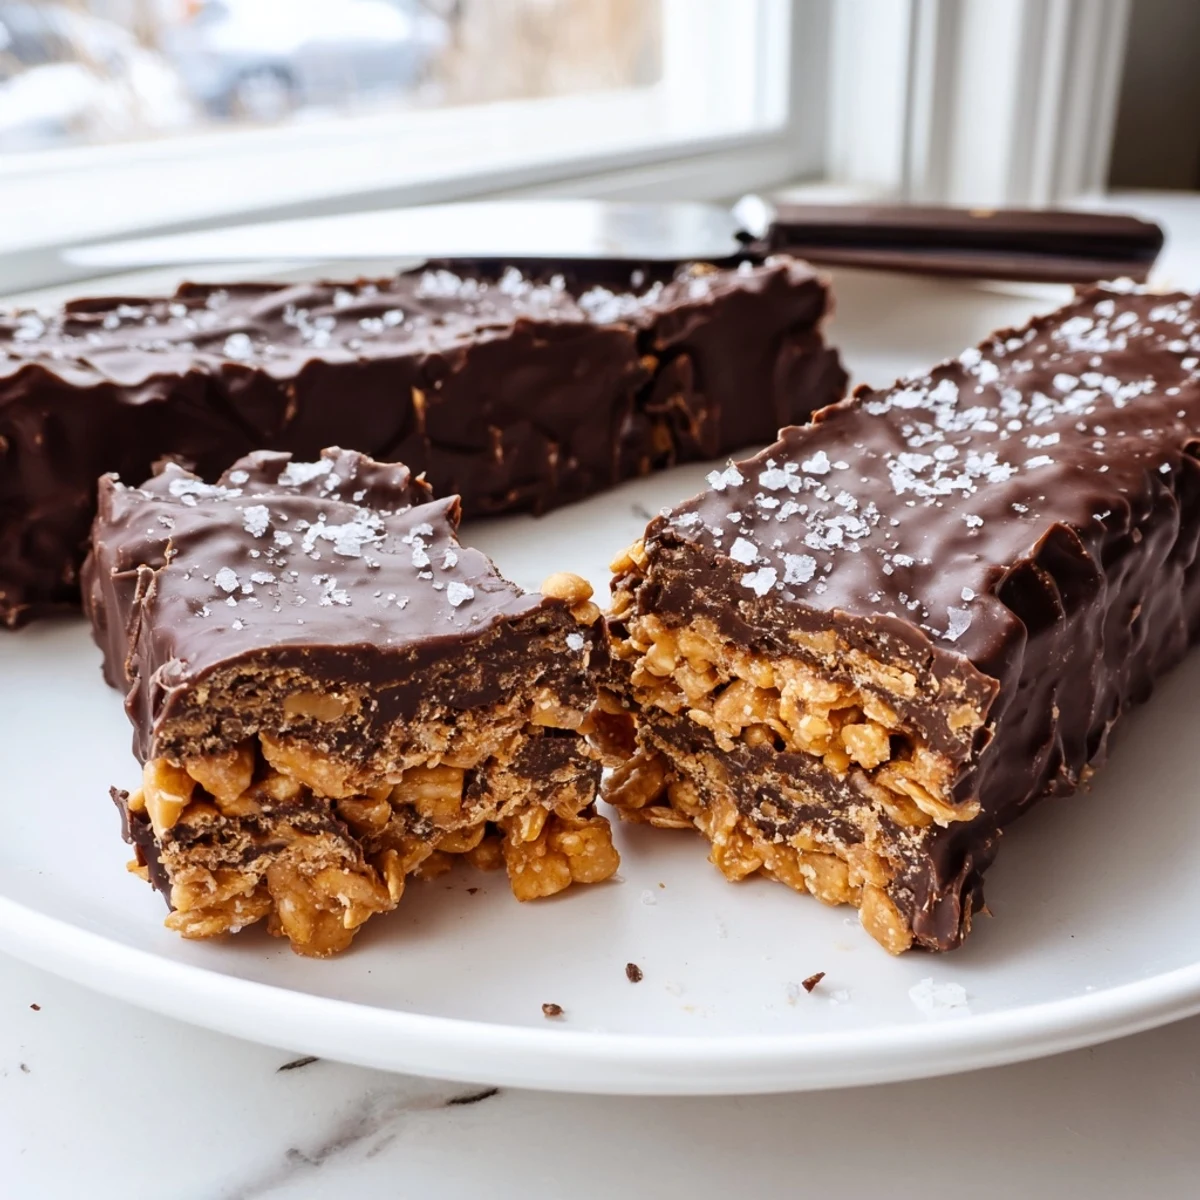
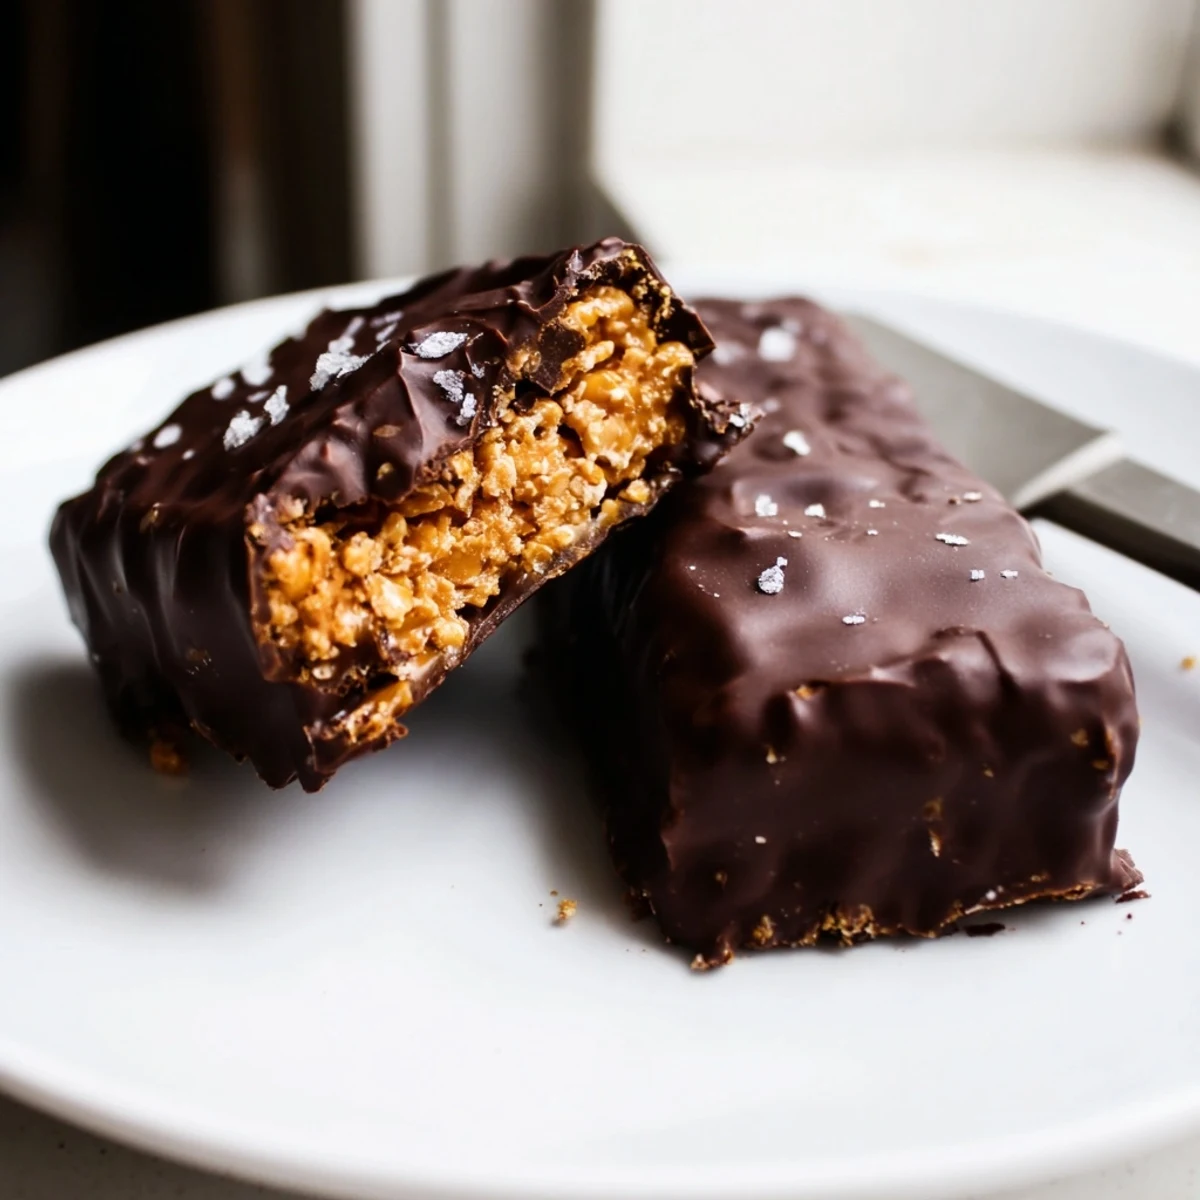
Save These homemade Butterfinger bars deliver all the crunchy, peanut-buttery goodness of the classic candy without the heavy ingredients. A simple mixture of natural peanut butter, maple syrup, and crushed cornflakes creates that signature crisp texture, while a generous coating of dark chocolate adds richness.
Ready in about an hour with only 10 minutes of active cooking, these no-bake bars are vegetarian and easily made gluten-free and vegan. They store well in the fridge or freezer, making them perfect for meal-prepping your sweet treats.
The candy aisle at the grocery store always gets me, especially around Halloween when those orange and yellow Butterfinger packages are stacked everywhere, and one evening after surrendering to a craving I decided my kitchen could probably pull off something just as crunchy and peanut buttery without the ingredient list that reads like a chemistry exam.
My neighbor Dave knocked on my door the afternoon I made my first batch, supposedly to return a borrowed drill, but he walked away with six bars tucked into a paper towel and came back the next day asking if I could teach his teenage daughter how to make them.
Ingredients
- Natural creamy peanut butter: The kind with just peanuts and salt on the label works best because added oils and sugars make the mixture greasy instead of setting up firm.
- Pure maple syrup or honey: Maple syrup keeps the recipe vegan, while honey adds a subtle floral sweetness that pairs beautifully with dark chocolate.
- Vanilla extract: Just a teaspoon rounds out the flavors and makes the whole kitchen smell like a candy shop.
- Cornflakes (gluten free if needed): Lightly crushed, not pulverized into dust, because those uneven shards are what create the authentic crunchy texture.
- Sea salt: A pinch in the base and another on top of the chocolate transforms good into compulsive.
- Dark chocolate chips: Choose a brand you would eat straight from the bag, because the coating is half the experience.
- Coconut oil: This thins the chocolate into a silky dipping consistency and adds a subtle snap when it sets.
Instructions
- Prep your pan:
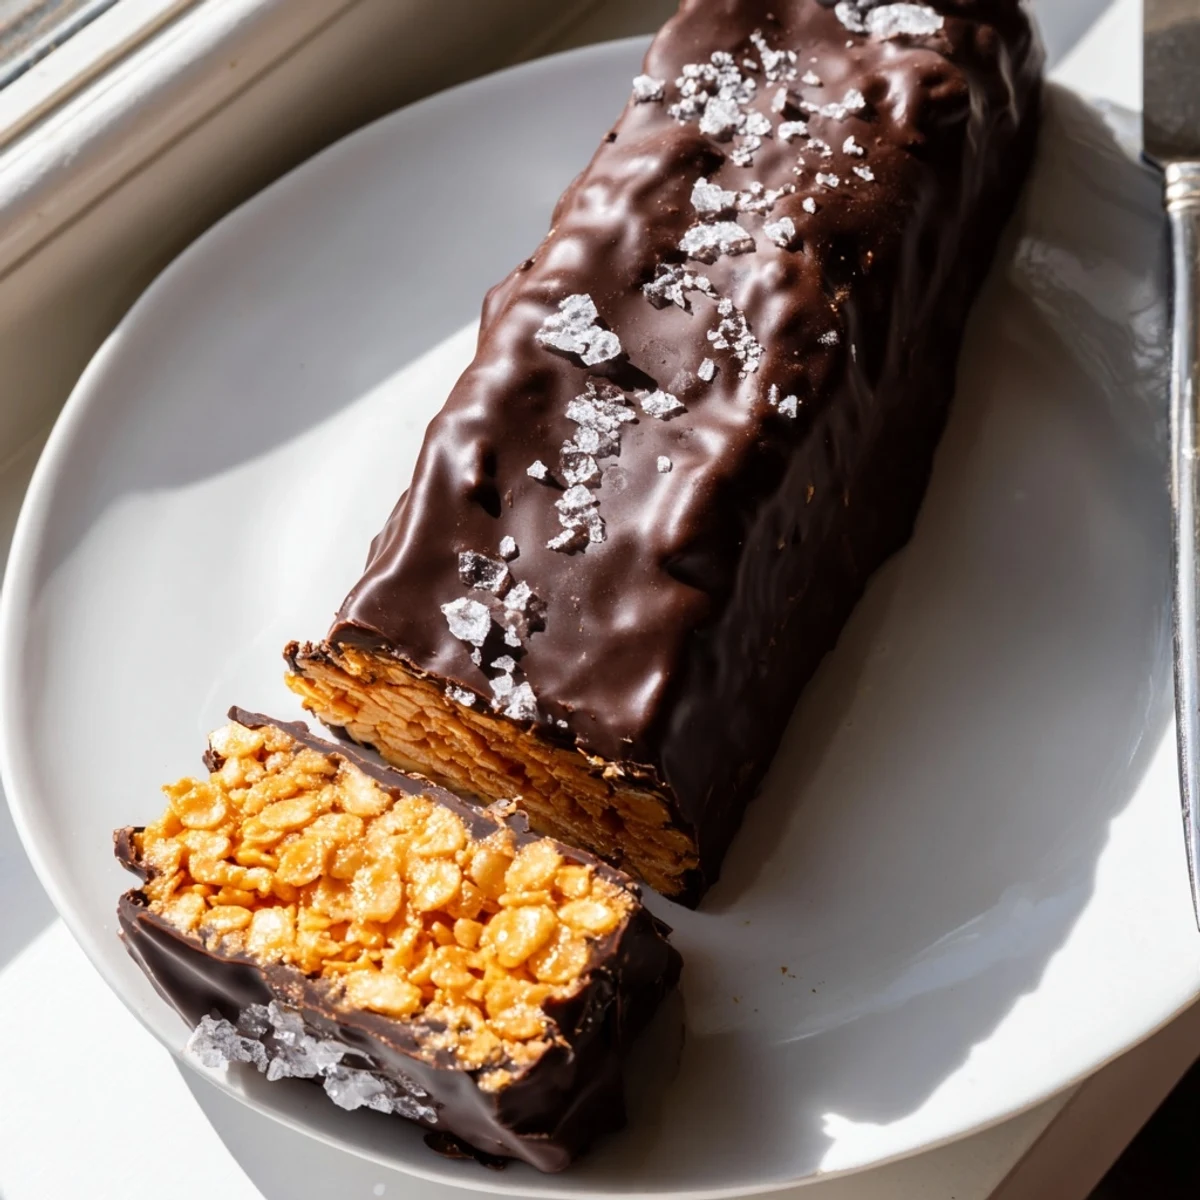
- Line an 8x8 inch baking dish with parchment paper, leaving enough overhang on the sides to lift the whole slab out later like a giant candy bar.
- Melt the base:
- Combine peanut butter and maple syrup in a saucepan over medium low heat, stirring gently until the mixture is completely smooth and just warmed through, about two to three minutes.
- Add flavor:
- Take the pan off the heat and stir in the vanilla extract and a pinch of sea salt until everything is evenly incorporated.
- Fold in the crunch:
- Gently fold the crushed cornflakes into the peanut butter mixture with a spatula, scooping from the bottom so every flake gets coated without breaking them down too much.
- Press and freeze:
- Spread the mixture into your prepared pan, pressing it flat and even with your spatula, then slide it into the freezer for twenty to thirty minutes until it feels firm and holdable.
- Cut into bars:
- Lift the slab out using the parchment overhang and cut it into sixteen rectangles with a sharp knife, wiping the blade between cuts for clean edges.
- Melt the chocolate:
- Warm the chocolate chips and coconut oil together in a microwave in short thirty second bursts or over a double boiler, stirring between intervals until the coating is glossy and lump free.
- Dip each bar:
- Lower a bar into the chocolate, flipping it with a fork to coat all sides, then tap the fork gently on the bowl edge to shake off the excess before placing it on a parchment lined tray.
- Let them set:
- Refrigerate the dipped bars for fifteen to twenty minutes until the chocolate shell is firm to the touch and no longer tacky.
 Save
Save I packed a tin of these for a road trip to the coast last summer and they survived the drive beautifully, though we ate every single one before reaching the beach house.
Vegan and Allergy Friendly Swaps
Using maple syrup instead of honey and choosing dairy free chocolate chips makes this recipe fully vegan, and if you track down certified gluten free cornflakes the whole batch becomes safe for anyone avoiding gluten, which means you can bring them to almost any potluck without worry.
Storing and Freezing
An airtight container in the fridge keeps them happy for about two weeks, though in my experience they vanish much faster than that, and you can freeze them layered between parchment sheets for up to three months if you want to hide a batch from yourself.
Troubleshooting Common Issues
Most problems trace back to either overcrushing the cornflakes or overheating the chocolate, and once you nail those two things the recipe is remarkably forgiving.
- If the chocolate seizes and turns grainy, stir in a tiny splash of coconut oil to bring it back.
- Bars crumbling during dipping means the base needs more time in the freezer, so just pop them back in for ten minutes.
- Always let the bars come to fridge temperature rather than room temperature before serving for the best snap.
 Save
Save Homemade candy always tastes richer than anything from a wrapper, and these bars will make you wonder why you ever waited for the candy aisle to satisfy a craving.
Common Recipe Questions
- → Can I make these Butterfinger bars vegan?
-
Yes, simply use maple syrup instead of honey and choose dairy-free dark chocolate chips. The rest of the ingredients are naturally plant-based.
- → How should I store the finished bars?
-
Store the bars in an airtight container in the refrigerator for up to 2 weeks. For longer storage, freeze them for up to 3 months. Let frozen bars thaw for a few minutes before eating.
- → What can I substitute for cornflakes?
-
Rice cereal works as a close alternative. You could also try crushed pretzels or graham crackers, though the texture and flavor will shift slightly from the classic Butterfinger crunch.
- → Why do my bars need to be refrigerated?
-
The peanut butter and maple syrup base softens at room temperature. Refrigeration keeps the bars firm and the chocolate coating snappy. They taste best chilled or slightly cool.
- → Can I use milk chocolate instead of dark chocolate?
-
Absolutely. Milk chocolate will give a sweeter, creamier coating that's closer to the original candy bar. Just note it may soften faster at room temperature compared to dark chocolate.
- → How do I get a clean cut when slicing the bars?
-
Make sure the peanut butter layer is fully chilled and firm before cutting. Use a sharp knife and wipe it clean between cuts. You can also score the top lightly before pressing through fully.
