
 Save
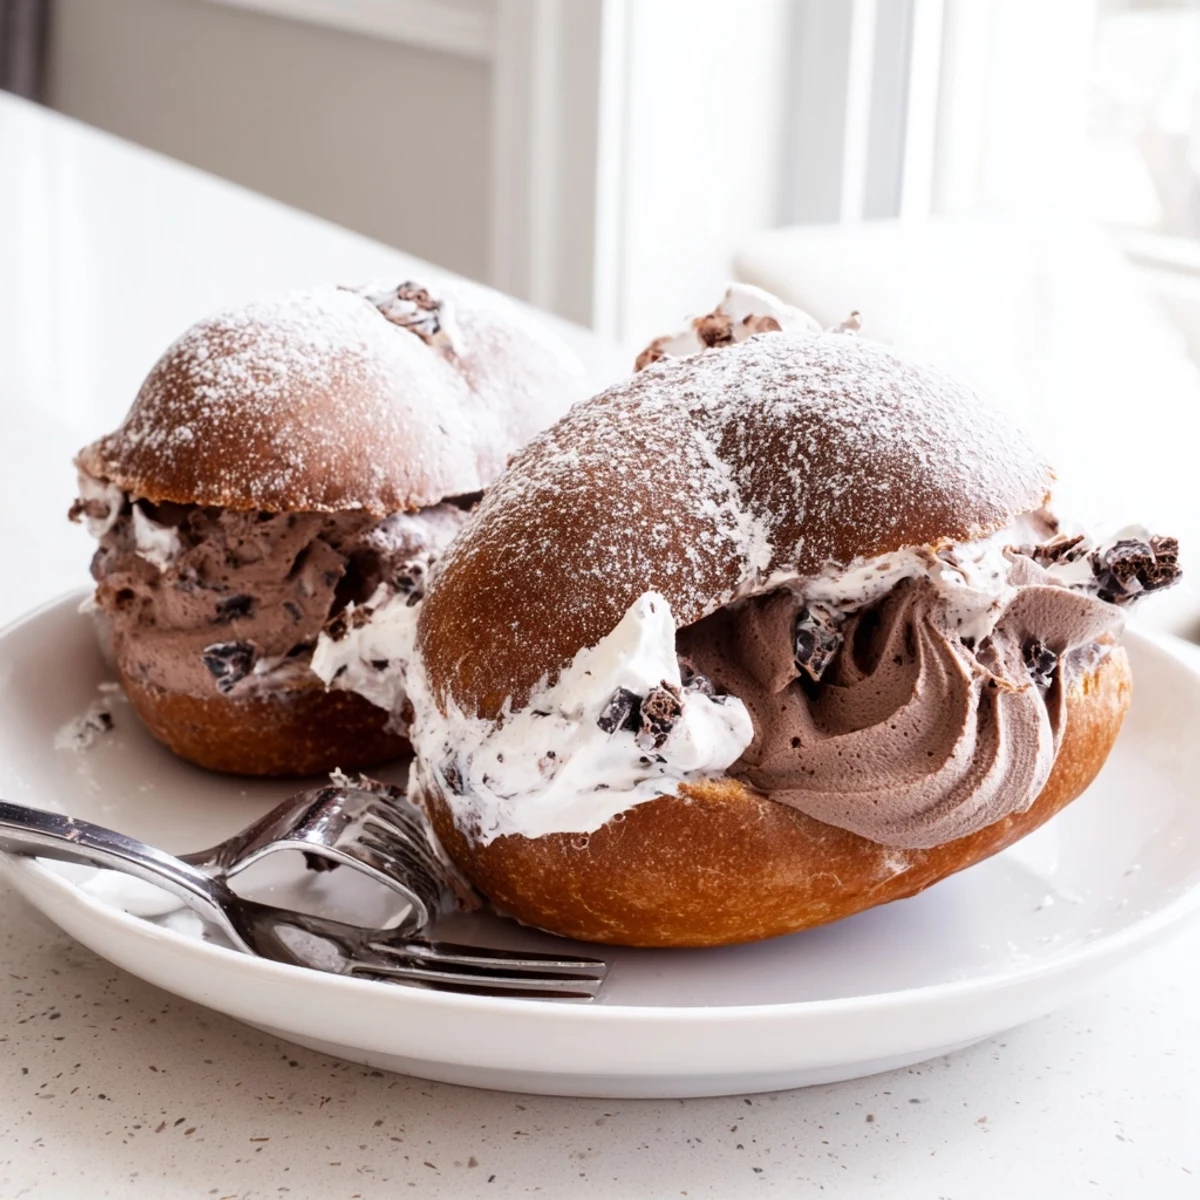
Save Maritozzi are beloved Roman sweet buns traditionally enjoyed at breakfast with espresso. These chocolate-infused versions stay true to their pillowy, soft-textured roots while adding a generous dose of dark chocolate to both the dough and the filling.
The enriched cocoa dough comes together with everyday pantry staples and rises until light and airy. After baking to a gentle golden finish, each bun is sliced and filled with a luscious chocolate whipped cream that melts beautifully against the warm crumb.
Perfect for weekend mornings, special occasions, or anytime you crave an authentic Italian pastry experience at home. Dust with powdered sugar and pair with a cappuccino for the full Roman treatment.
The scent of cocoa and yeast hit me the moment I walked into that tiny Roman bakery on a rainy Tuesday morning, and I watched the baker slide a tray of chocolate maritozzi out of the oven with the kind of casual confidence that made it look effortless. I bought two, ate both standing on the cobblestone sidewalk, and promised myself I would figure out how to make them at home. It took seven attempts and a lot of flour on my ceiling before I got the dough soft enough and the filling creamy enough to satisfy that memory. This recipe is the one that finally nailed it.
My neighbor Luca stopped by unannounced the afternoon I was testing batch number five, and I handed him one still warm from the oven with the cream oozing out the side. He stood in my kitchen doorway, silent, eating the whole thing without a word, then looked at me and said now you have to make these every Saturday. I have been making them every Saturday for three months.
Ingredients
- 350 g all purpose flour: Use a good quality flour with decent protein content because this dough needs structure to hold its shape while staying pillowy soft inside.
- 40 g unsweetened cocoa powder: This is what transforms ordinary maritozzi into something deeper and more luxurious so do not skip it or substitute hot chocolate mix.
- 120 ml whole milk lukewarm: It should feel like warm bath water, not hot, because scalding the milk will kill your yeast instantly and you will be starting over.
- 60 g granulated sugar: Just enough sweetness in the dough to complement the chocolate without making it cloying.
- 7 g active dry yeast: Fresh yeast makes a difference here so check the expiration date because I learned this lesson the hard way with flat dense buns.
- 1 large egg: Enriches the dough and gives the crumb that tender almost brioche like quality.
- 40 g unsalted butter softened: Leave it out for an hour before starting because cold butter will not incorporate evenly and you will see pale streaks in your baked buns.
- 1/2 tsp vanilla extract: A quiet background note that rounds out the chocolate flavor beautifully.
- 1/2 tsp salt: Essential for balancing the cocoa and sugar so never omit it even though the amount seems small.
- 60 g dark chocolate chopped: Folded into the dough at the end of kneading so you get pockets of melting chocolate throughout each bun.
- 300 ml heavy whipping cream: The base of the filling so use the highest fat content you can find for the most stable and luscious whipped cream.
- 70 g dark chocolate melted and cooled: Folded into the whipped cream to create a ganache like filling that holds its shape without weeping.
- 30 g powdered sugar: Sweetens the filling just enough without making it grainy.
- 1 tsp vanilla extract (for filling): Doubles down on the aromatic warmth in the cream.
- 1 egg yolk plus 2 tbsp milk (for brushing): This egg wash gives the buns their gorgeous deep brown shine in the oven.
Instructions
- Wake up the yeast:
- Stir the yeast and one tablespoon of sugar into the lukewarm milk in a small bowl and let it stand for about ten minutes until the surface looks frothy and alive. If nothing happens after ten minutes your yeast is dead and you need fresh packets before continuing.
- Build the dry mixture:
- In a large bowl whisk together the flour, cocoa powder, remaining sugar, and salt until evenly blended and you see no pale streaks of flour hiding in the corners. The cocoa tends to clump so take an extra moment here.
- Bring the dough together:
- Make a well in the center of your dry ingredients and add the egg, vanilla, softened butter, and the foamy yeast mixture. Stir with a wooden spoon until a shaggy sticky dough starts to form and everything is roughly combined.
- Knead with patience:
- Turn the dough onto a lightly floured surface and knead by hand or with a mixer fitted with a dough hook for eight to ten minutes until it becomes smooth, elastic, and slightly tacky but not sticking to your fingers. Add the chopped dark chocolate during the last two minutes of kneading so the pieces distribute evenly without melting into the dough from the warmth of your hands.
- First rise:
- Place the dough in a clean lightly oiled bowl, cover it with a damp towel or plastic wrap, and leave it in a warm draft free spot for one to two hours until it has puffed up and doubled in size. I use my oven with the light turned on and the door slightly ajar during winter.
- Shape the buns:
- Gently punch down the risen dough and divide it into eight equal pieces using a bench scraper or sharp knife. Shape each piece into a plump oval by cupping your hand and rolling it against the counter, then place them on a parchment lined baking tray with a few inches of space between each one.
- Second rise:
- Cover the shaped buns loosely with a towel and let them rest for forty minutes until they look visibly puffed and have almost doubled again. This shorter rise keeps them light rather than overly airy.
- Preheat and glaze:
- While the buns are rising preheat your oven to 180 degrees Celsius then whisk the egg yolk with two tablespoons of milk until smooth. Brush the glaze gently over each bun using a pastry brush and try not to press down or deflate them.
- Bake:
- Slide the tray into the middle rack of your oven and bake for fifteen to eighteen minutes until the buns feel slightly firm when gently pressed and the tops have a deep glossy brown color. Transfer them immediately to a wire rack and let them cool completely because warm buns will melt your filling.
- Make the chocolate cream:
- While the buns cool whip the heavy cream with powdered sugar and vanilla in a chilled bowl until it reaches firm peaks that hold their shape when you lift the beaters. Gently fold in the melted and cooled dark chocolate with a spatula using slow sweeping motions so you do not deflate the cream.
- Fill and serve:
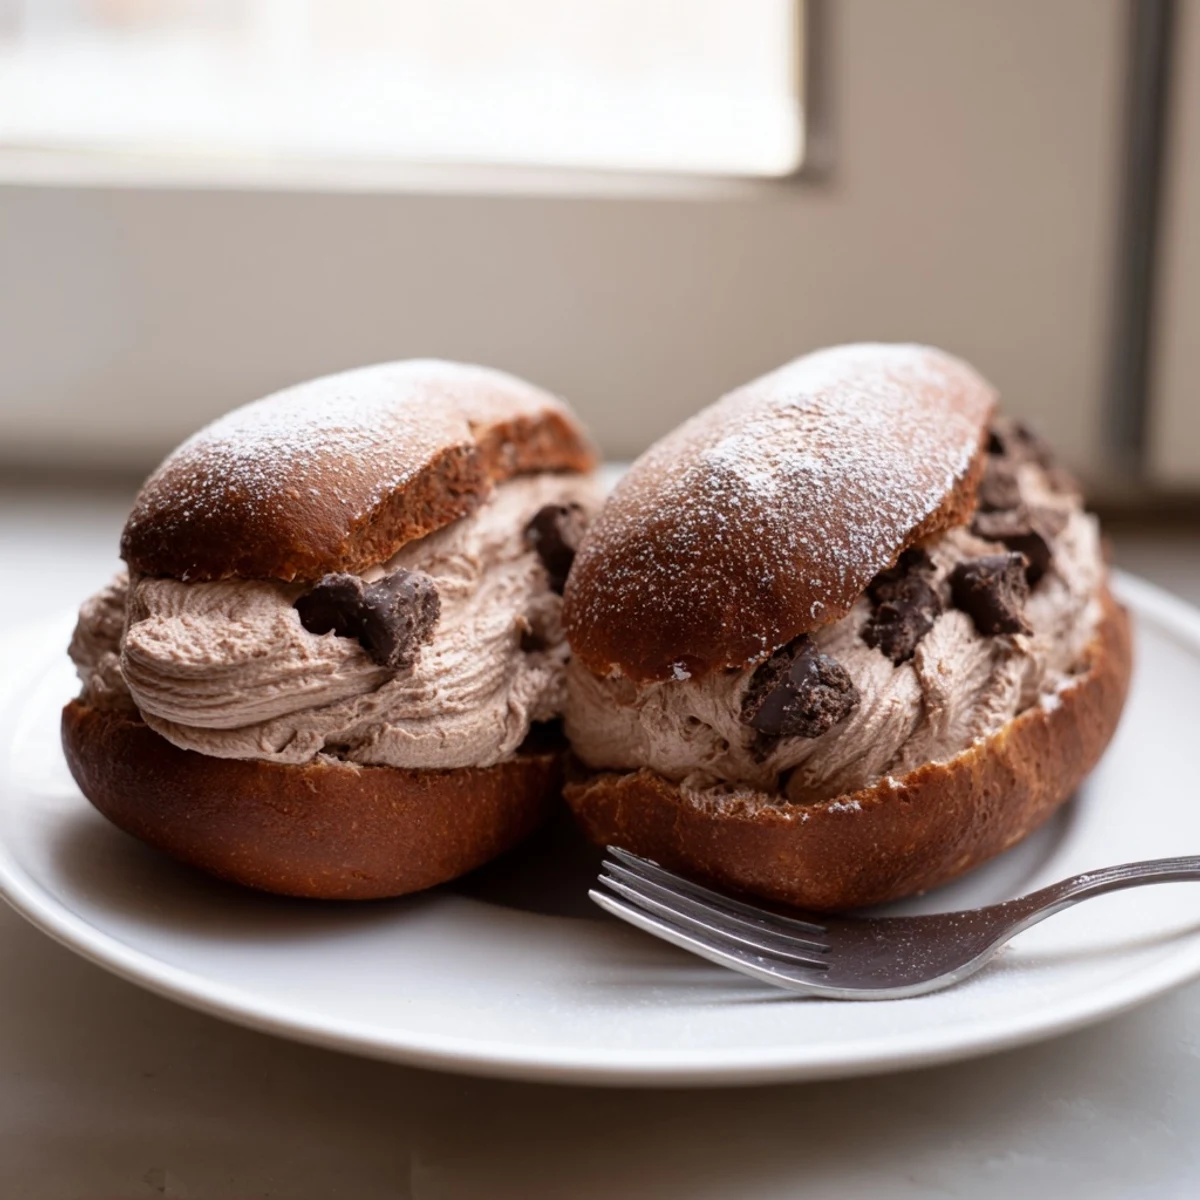
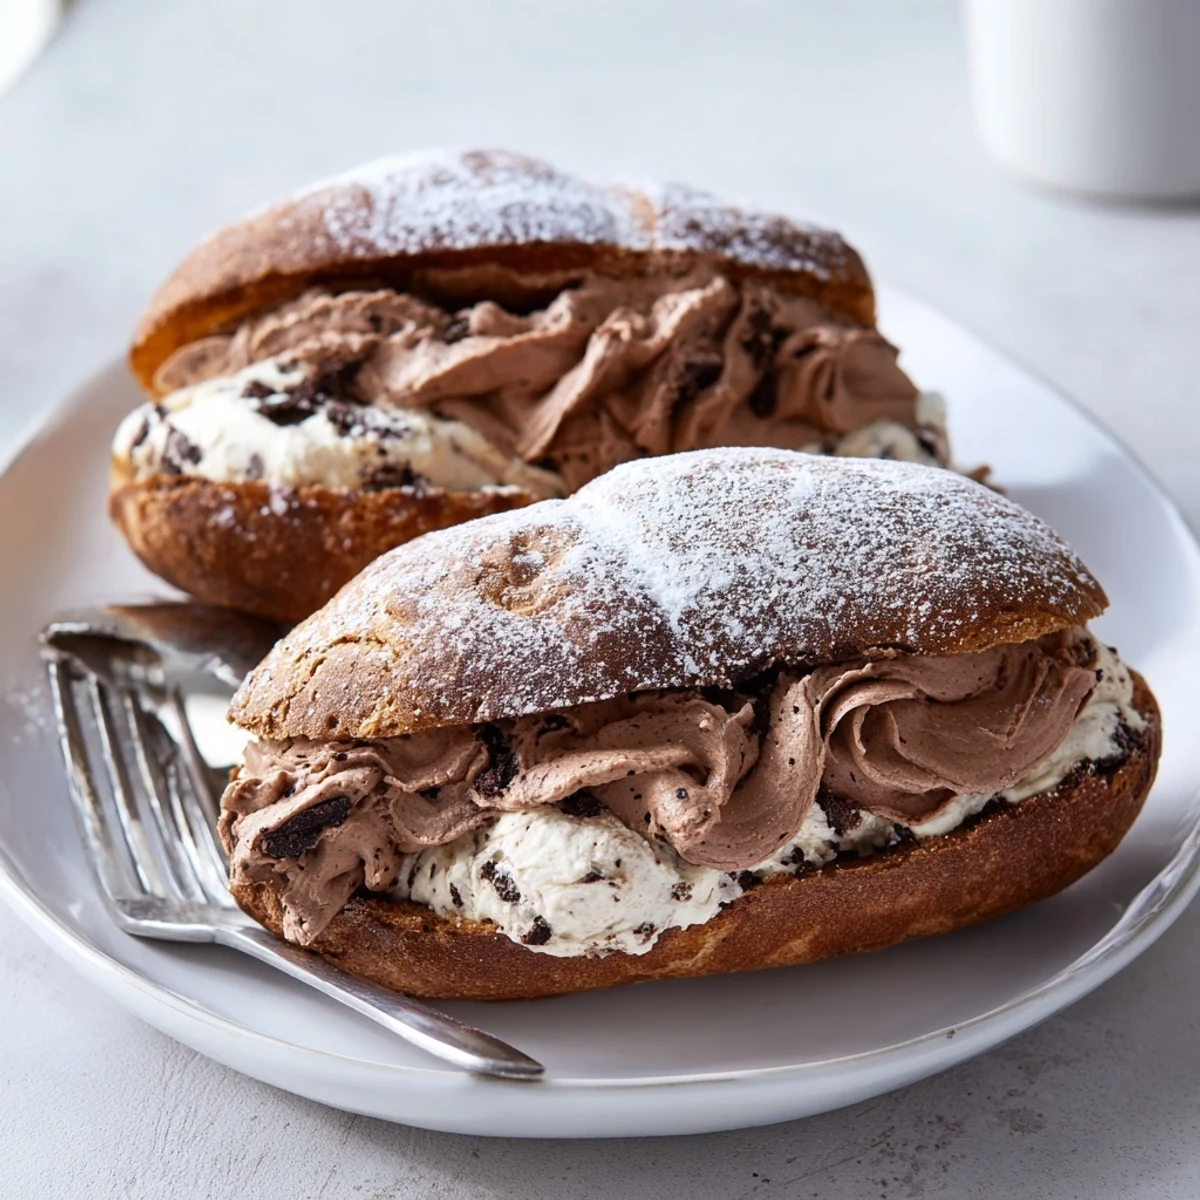
- Use a serrated knife to slice each bun lengthwise leaving one side attached as a hinge, then pipe or spoon the chocolate cream generously into the opening. Dust with powdered sugar if you like and serve them right away while the cream is cold and the contrast with the soft bun is perfect.
 Save
Save There is something about the way these maritozzi bring people together in a kitchen that makes them worth every minute of waiting for dough to rise.
A Few Words on the Dough
The enriched dough is where most people get tripped up because the cocoa powder absorbs moisture differently than flour alone so the texture can feel unfamiliar at first. If the dough seems too sticky after five minutes of kneading resist the urge to dump in more flour because it will tighten up as the gluten develops. A slightly tacky surface is exactly what you want for a soft tender crumb. Trust the process and keep kneading.
Pairing Ideas Beyond Espresso
While a shot of espresso or a frothy cappuccino is the classic Roman pairing I have also served these with a glass of cold prosecco at a dinner party and the contrast was unexpectedly wonderful. A dark roast coffee with a splash of cream mirrors the chocolate notes beautifully. For something completely different try them with a small pour of amaro on a cold evening.
Storage and Make Ahead Advice
The baked unfilled buns freeze beautifully for up to one month if you wrap them tightly in foil and thaw them at room temperature overnight. The chocolate cream filling can be made a day ahead and kept covered in the refrigerator. Never freeze the filled maritozzi because the cream will separate and weep when thawed.
- Always fill the buns no more than two hours before serving so the cream stays structurally sound.
- If you want to prep components separately the dough can refrigerate during its first rise for up to twelve hours for a slow fermented flavor.
- Bring refrigerated dough to room temperature before shaping or the buns will bake up denser than intended.
 Save
Save Every time I make these I think about that rainy morning in Rome and how a simple chocolate bun convinced me that baking is really just patience dressed up as dessert. Share them with someone you love and watch what happens.
Common Recipe Questions
- → Can I make the dough ahead of time?
-
Yes, you can prepare the dough through the first rise, then cover and refrigerate overnight. The cold slows fermentation and can actually improve flavor. Let the dough come to room temperature before shaping and proceeding with the second rise.
- → Why did my chocolate whipped cream turn grainy?
-
Grainy filling usually happens when the melted chocolate is too warm when folded into the cream. Make sure your melted chocolate has cooled to room temperature but is still pourable. You can also temper it by mixing a small amount of whipped cream into the chocolate first before combining everything.
- → Can I use instant yeast instead of active dry yeast?
-
Absolutely. Instant yeast can be mixed directly into the dry ingredients without blooming. Use the same quantity. You may notice a slightly faster rise time, so keep an eye on the dough rather than strictly following the clock.
- → How should I store leftover maritozzi?
-
Store filled maritozzi in the refrigerator for up to two days, loosely covered. The cream filling requires refrigeration. For the best texture, let them sit at room temperature for about 15 minutes before serving. Unfilled buns can be frozen for up to one month.
- → Can I use milk chocolate instead of dark chocolate?
-
Yes, swapping dark chocolate for milk chocolate in the filling will give you a sweeter, creamier result. For the dough, milk chocolate chunks work well too. Just keep in mind that milk chocolate has more sugar and less cocoa, so the overall flavor will be milder and less intense.
- → What if I don't have a stand mixer?
-
You can knead the dough entirely by hand. It will take about 10 to 12 minutes of active kneading on a lightly floured surface to reach that smooth, elastic consistency. The dough should spring back when gently pressed with your finger.