 Save
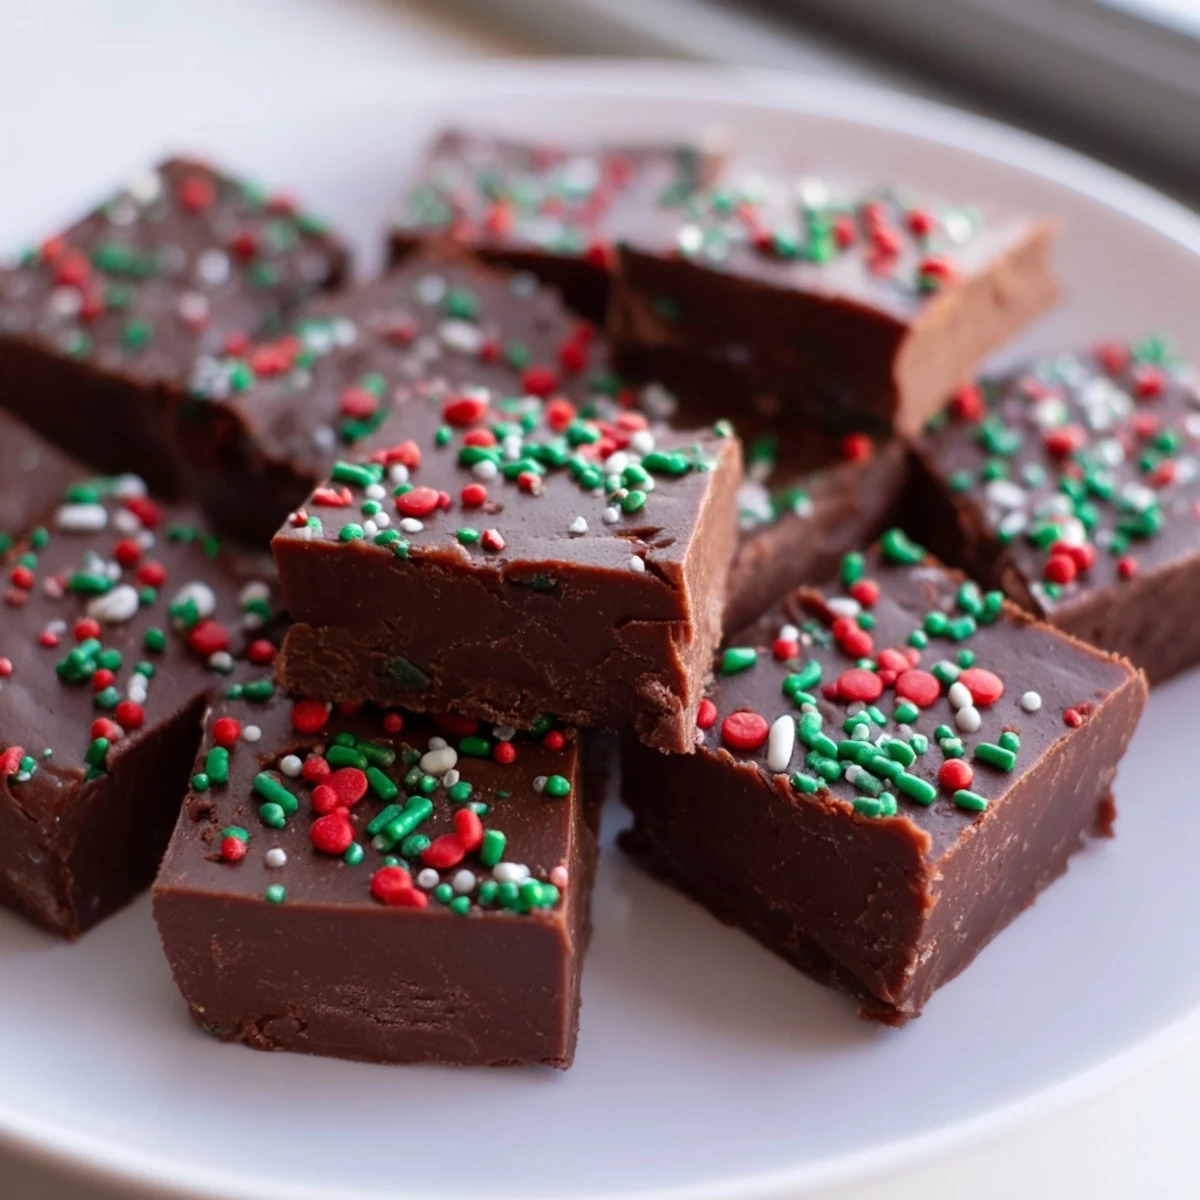
Save This Christmas fudge comes together with just five simple ingredients and minimal effort. Semi-sweet chocolate chips melt with sweetened condensed milk and butter into a silky, rich base that sets firm in the refrigerator.
A generous layer of holiday sprinkles adds festive cheer and a satisfying crunch. The whole process takes about 15 minutes of active prep before chilling.
Each batch yields 25 squares, making it ideal for cookie trays, gift boxes, or holiday parties. Kids love helping with the sprinkles, and the fudge stays fresh in the fridge for up to two weeks.
The kitchen smelled like every December of my childhood the moment those chocolate chips hit the pan. My mother never made fudge, so I taught myself one snowy evening with a dented saucepan and a phone propped up on a cookbook. That first batch was lumpy and too sweet, but I ate half the pan standing at the counter anyway. Now it is the one treat my friends expect me to bring to every holiday gathering.
One year my niece helped me press the sprinkles in and she dumped the entire container on top, creating what we now call the unicorn explosion batch. Those lopsided squares disappeared faster than any perfectly neat batch ever has.
Ingredients
- 3 cups (510 g) semi-sweet chocolate chips: Use good quality chips because they are the backbone of every flavor in this fudge.
- 1 can (14 oz / 397 g) sweetened condensed milk: This is what gives fudge its velvety, melt in your mouth texture without needing a candy thermometer.
- 4 tbsp (56 g) unsalted butter, cut into pieces: Butter adds richness and helps the fudge set with a glossy finish.
- 1 tsp vanilla extract: A small amount that rounds out the chocolate and makes it taste homemade rather than factory made.
- 1/3 cup (45 g) holiday sprinkles: Pick any shape or color you like, but jimmies hold up better than round nonpareils which can bleed into the fudge.
Instructions
- Prep the pan:
- Line an 8 inch square baking pan with parchment paper, leaving an overhang on two sides like handles. This trick saves you from scraping fudge out of corners later.
- Melt everything together:
- In a medium saucepan over low heat, combine the chocolate chips, sweetened condensed milk, and butter. Stir constantly with a spatula, scraping the bottom and edges, until the mixture is completely smooth and glossy.
- Add the vanilla:
- Remove the pan from heat and stir in the vanilla extract. The kitchen will suddenly smell like a bakery and you will want to eat it with a spoon right here.
- Spread and decorate:
- Pour the fudge into your lined pan and smooth the top with your spatula. Sprinkle the holiday sprinkles evenly across the surface and gently press them in so they stick once the fudge sets.
- Chill until firm:
- Refrigerate for at least two hours, though overnight is even better if you can wait that long. The fudge should be completely firm to the touch before you cut it.
- Cut and serve:
- Lift the fudge out using the parchment overhang and set it on a cutting board. Use a sharp knife to cut it into 25 squares, wiping the blade between cuts for clean edges.
 Save
Save There is something about handing someone a small square of fudge on a cold afternoon that feels like giving them a quiet little hug. I always tuck a few extra pieces into wax paper bags for unexpected guests.
Chocolate Choices Matter
Semi-sweet chips are the classic choice, but I have used dark chocolate when I wanted something less sweet and milk chocolate when the kids were in charge of dessert. A pinch of flaky sea salt on top before the sprinkles takes it from good to unforgettable.
Storing Your Fudge Properly
Keep the fudge in an airtight container in the refrigerator and it stays fresh for up to two weeks. Let it sit at room temperature for about fifteen minutes before serving so the texture softens perfectly.
Getting Clean, Pretty Squares
A hot knife makes all the difference when cutting fudge. Run the blade under hot water, dry it quickly, and make your cut in one confident motion.
- Dip the knife in hot water between every few cuts for the neatest squares.
- If the fudge cracks, let it warm up for a few more minutes before trying again.
- Always use a straight downward press rather than sawing back and forth.
 Save
Save Every December I make this fudge at least twice, once for sharing and once for sneaking squares from the refrigerator when nobody is looking. Some traditions are worth keeping exactly as they are.
Common Recipe Questions
- → Can I use milk or dark chocolate instead of semi-sweet chips?
-
Absolutely. Milk chocolate will produce a sweeter, creamier fudge, while dark chocolate adds a deeper, more intense cocoa flavor. Adjust based on your preference—just keep the quantity the same.
- → How long does the fudge need to chill before cutting?
-
Plan on at least 2 hours in the refrigerator for the fudge to fully set. If you're in a hurry, you can pop it in the freezer for about 45 minutes, but the refrigerator yields a better texture.
- → Can I freeze Christmas fudge for later?
-
Yes, this fudge freezes beautifully. Wrap individual squares or the whole block tightly in plastic wrap, then place in a freezer-safe container. It keeps well for up to 3 months. Thaw in the refrigerator before serving.
- → Why is my fudge grainy or separated?
-
Grainy fudge usually results from cooking over heat that's too high. Keep the burner on low and stir constantly to ensure the chocolate melts smoothly. Removing the pan from heat as soon as everything is melted prevents scorching and separation.
- → What type of sprinkles work best on top?
-
Use jimmies or round nonpareils rather than sugar shapes or dragees, as they adhere well and won't bleed color into the fudge. Press them gently into the warm surface so they stick once chilled.
- → Can I add nuts or other mix-ins to this fudge?
-
Certainly. Stir in about half a cup of chopped walnuts, pecans, or even crushed candy canes right before spreading the mixture into the pan. Fold gently so the fudge stays smooth and creamy.
