 Save
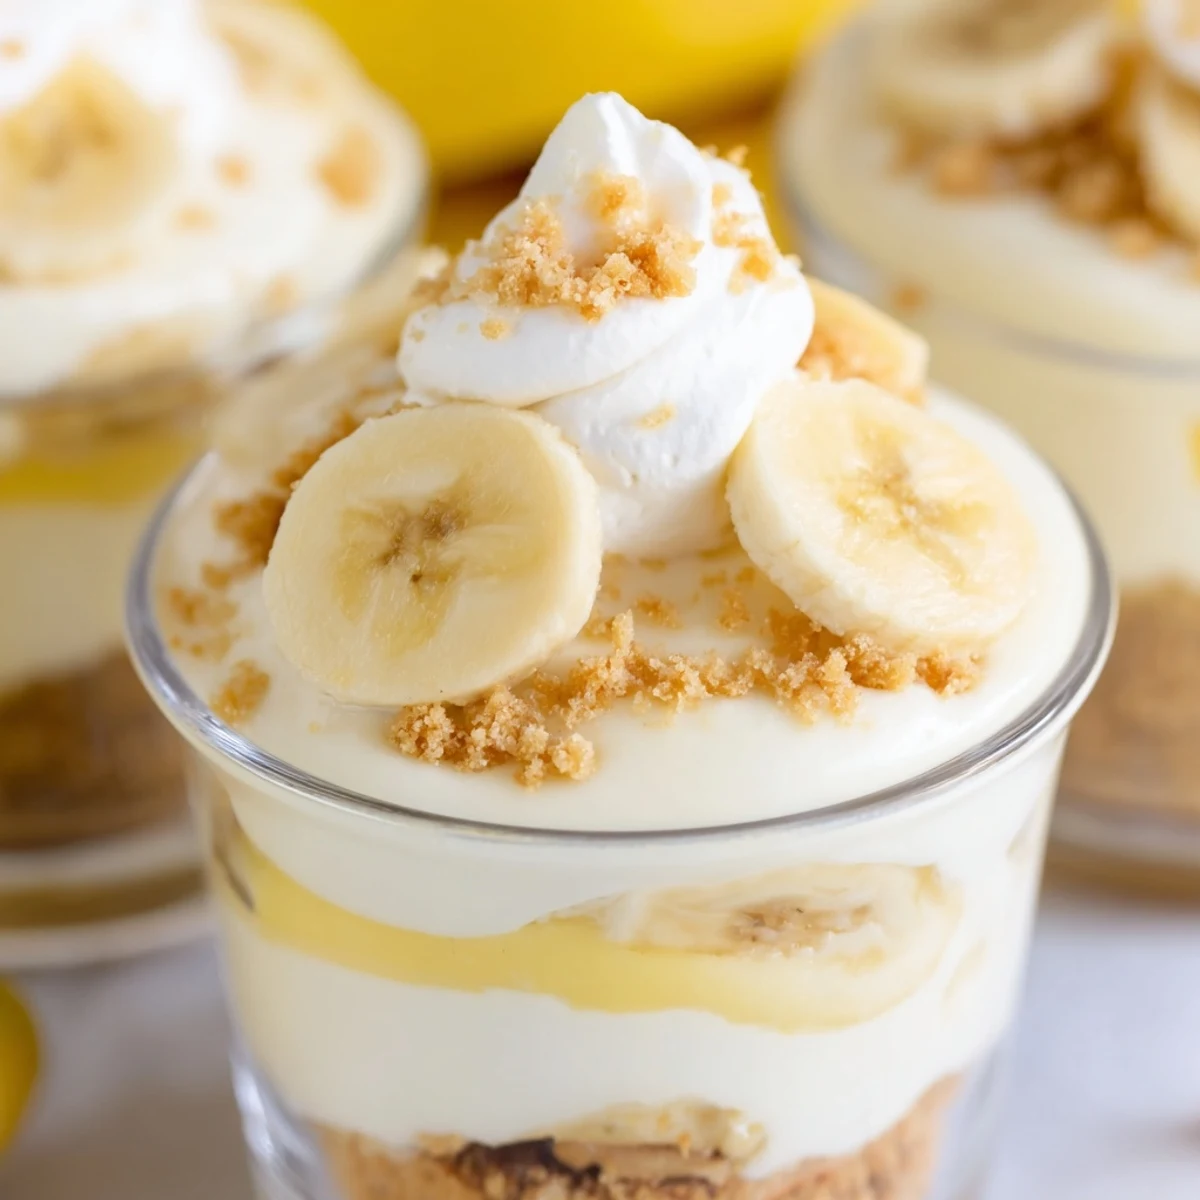
Save These individual cups combine the rich creaminess of cheesecake with classic banana pudding flavors in a convenient, no-bake format. A buttery vanilla wafer crust forms the base, followed by layers of velvety cheesecake filling, fresh sliced bananas, and sweet banana pudding. Each cup is finished with a topping of crunchy wafer crumbs, additional banana slices, and optional whipped cream.
The dessert requires only 20 minutes of active preparation time and needs at least 2 hours to chill before serving, making it an ideal make-ahead treat for gatherings. The contrast between the smooth cheesecake, creamy pudding, fresh fruit, and crisp cookie crumbles creates an irresistible texture combination.
The first time I made these, I was running thirty minutes late for a potluck and frantically crushing vanilla wafers with a wine bottle because I couldn't find my food processor. My neighbor walked in mid-crisis, took one look at the chaos, and asked if she should grab a spoon and start eating the crumbs straight from the bowl.
My aunt taught me to toss banana slices in lemon juice to keep them from turning brown, which I forgot entirely until I saw them darkening on the counter. We ate them anyway because honestly, at that point, they still tasted like heaven and nobody was brave enough to complain.
Ingredients
- 1 cup vanilla wafer cookies, crushed: These classic wafers are non-negotiable for that nostalgic crunch and authentic flavor
- 2 tbsp unsalted butter, melted: Use melted butter for easier pressing into the cups
- 8 oz (225 g) cream cheese, softened: Let it sit out for a full hour to avoid any stubborn lumps in your filling
- 1/3 cup granulated sugar: Just enough sweetness to balance the tang without overpowering the banana
- 1 tsp pure vanilla extract: I tried skipping this once and the filling tasted flat, so now I double down
- 1 cup heavy whipping cream, cold: Cold cream whips up faster and holds its structure better
- 1 (3.4 oz/96 g) package instant banana pudding mix: The shortcut that makes this recipe actually doable on a weekday
- 1 1/4 cups cold whole milk: Whole milk makes for a creamier, more luxurious pudding layer
- 2 ripe bananas, sliced: Yellow with some brown spots means maximum banana flavor
Instructions
- Build the crust foundation:
- Mix crushed vanilla wafers with melted butter until evenly moistened and press about 2 tablespoons into the bottom of each serving cup
- Whip up the cheesecake filling:
- Beat cream cheese, sugar, and vanilla until smooth, then fold in whipped cream until no white streaks remain
- Prepare the pudding layer:
- Whisk banana pudding mix with cold milk for 2 minutes until it thickens into a silky custard
- Layer everything like a pro:
- Start with cheesecake filling, add banana slices, spoon over pudding, and finish with remaining cheesecake mixture
- Top and chill:
- Sprinkle with extra wafer crumbs and fresh banana slices, then refrigerate for at least 2 hours to set
 Save
Save These became my go-to contribution for every gathering after my sister requested them for her birthday instead of a traditional cake. She said it was the best decision she made all year, which coming from her meant absolutely everything.
Make Ahead Magic
You can assemble everything except the fresh banana topping up to 24 hours in advance. The flavors actually meld together beautifully overnight, making this perfect for parties when you want zero stress.
Serving Suggestions
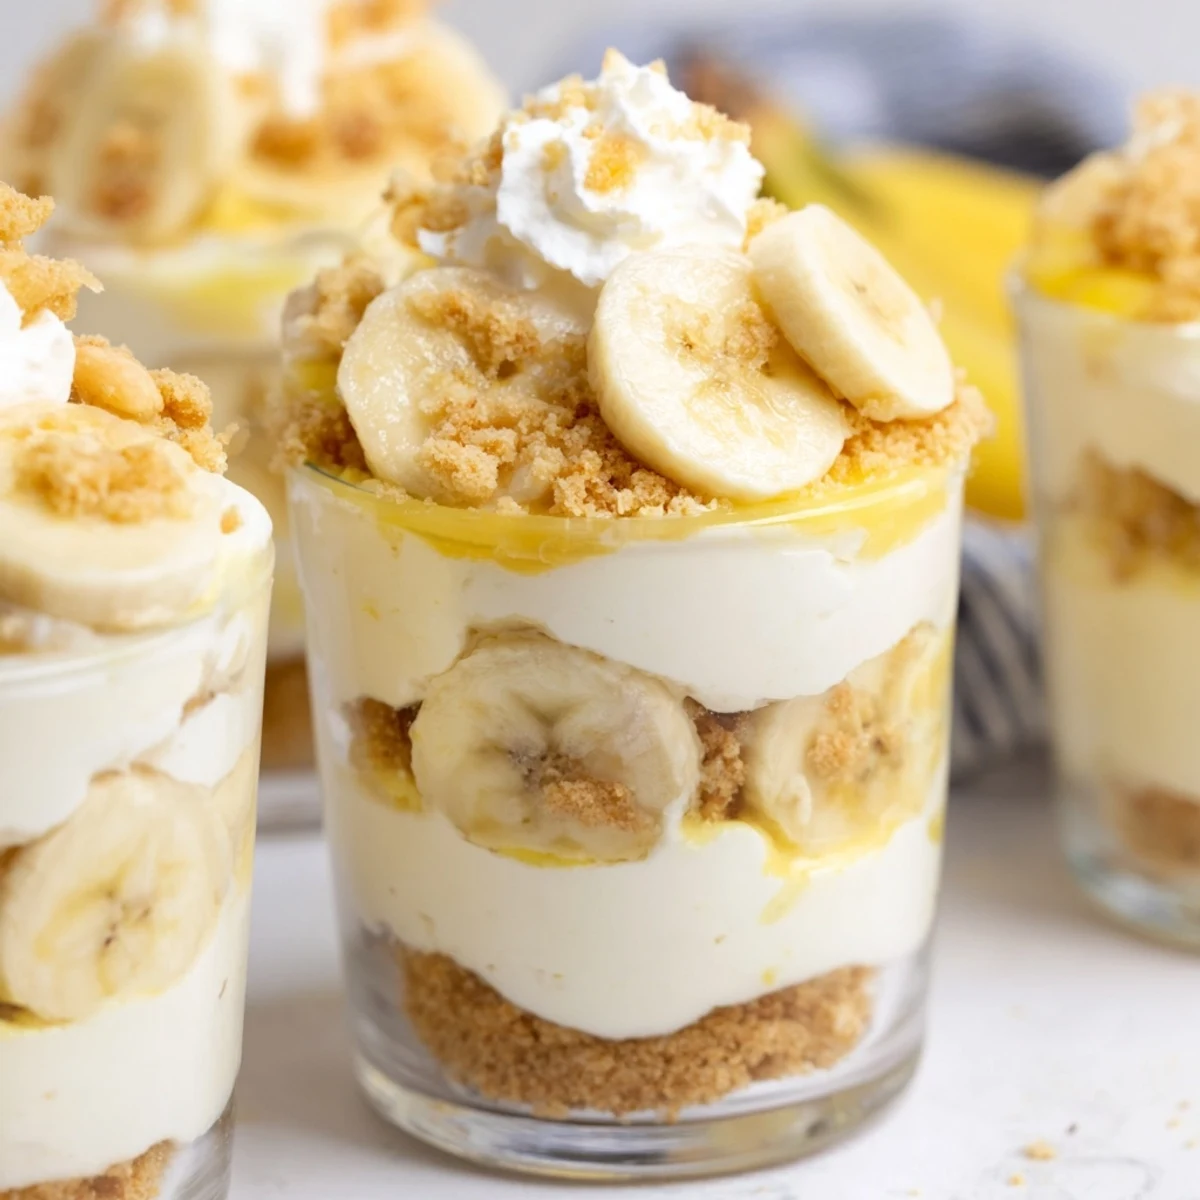
Clear glass cups show off those gorgeous layers and make these feel like something from a fancy bakery. I use whatever pretty vessels I have, from champagne flutes to mason jars.
Topping Tricks
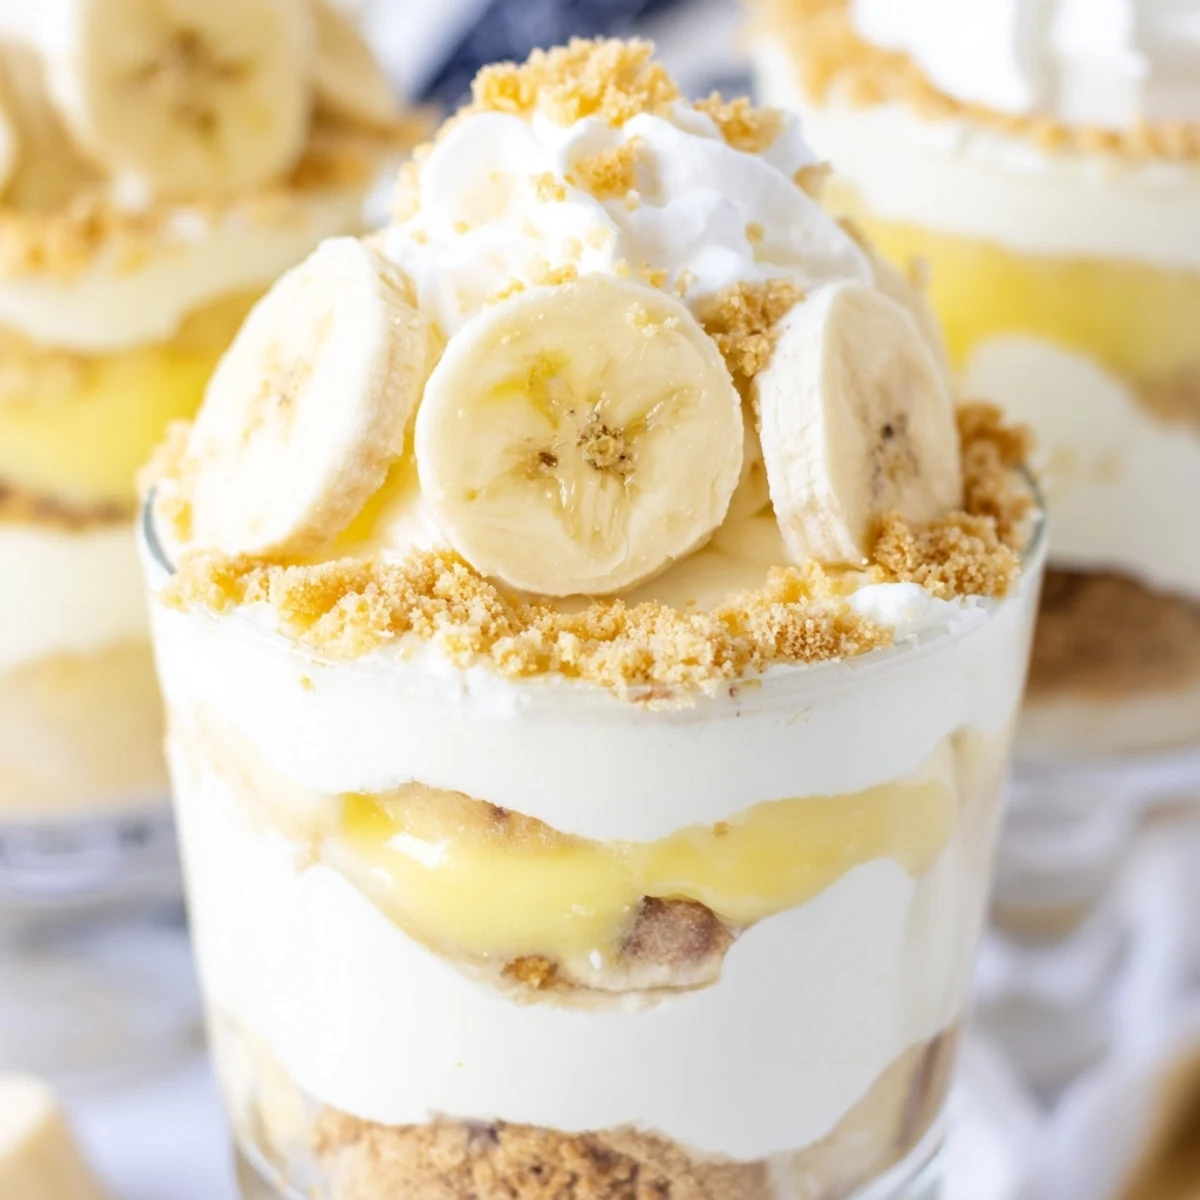
A dollop of fresh whipped cream on top takes these over the top, especially if you sprinkle it with a pinch of cinnamon like the notes suggest.
- Keep sliced bananas from browning by tossing them in lemon juice before adding
- Add the final wafer crumbs right before serving so they stay crunchy
- For extra indulgence, drizzle with caramel sauce just before serving
 Save
Save Watching friends dig into their own cups, scraping the sides to get every last bite of that creamy goodness, that is what dessert should always be about.
Common Recipe Questions
- → How long do the cups need to chill before serving?
-
Refrigerate the cups for at least 2 hours to allow the layers to set properly and flavors to meld together. For the best texture and taste, they can be made up to 24 hours in advance, though fresh banana toppings should be added just before serving to prevent browning.
- → Can I make these ahead of time for a party?
-
Yes, these cups are perfect for preparing ahead. You can assemble everything except the fresh banana topping up to 24 hours in advance. Store them covered in the refrigerator. Add fresh banana slices and any whipped cream just before serving to maintain optimal appearance and texture.
- → What type of serving cups work best?
-
Clear glass cups, mason jars, or small dessert bowls work wonderfully as they allow you to see the beautiful layered presentation. Each serving should hold approximately 6-8 ounces. You'll need six individual vessels for this yield.
- → How do I prevent the bananas from turning brown?
-
Toss the sliced bananas lightly in lemon juice before adding them to the cups. This helps prevent oxidation and browning while not significantly affecting the flavor. Alternatively, add fresh banana slices immediately before serving rather than during assembly.
- → Can I substitute the vanilla wafers with other cookies?
-
Vanilla wafers provide the traditional flavor, but you can substitute with graham crackers, butter cookies, or digestive biscuits for the crust. Keep in mind that the flavor profile will change slightly with different cookie varieties.
- → Is there a way to make this lighter?
-
You can use reduced-fat cream cheese and light whipped cream to decrease the fat content. However, keep in mind that these substitutions may affect the creamy texture and richness that make this dessert special.
