 Save
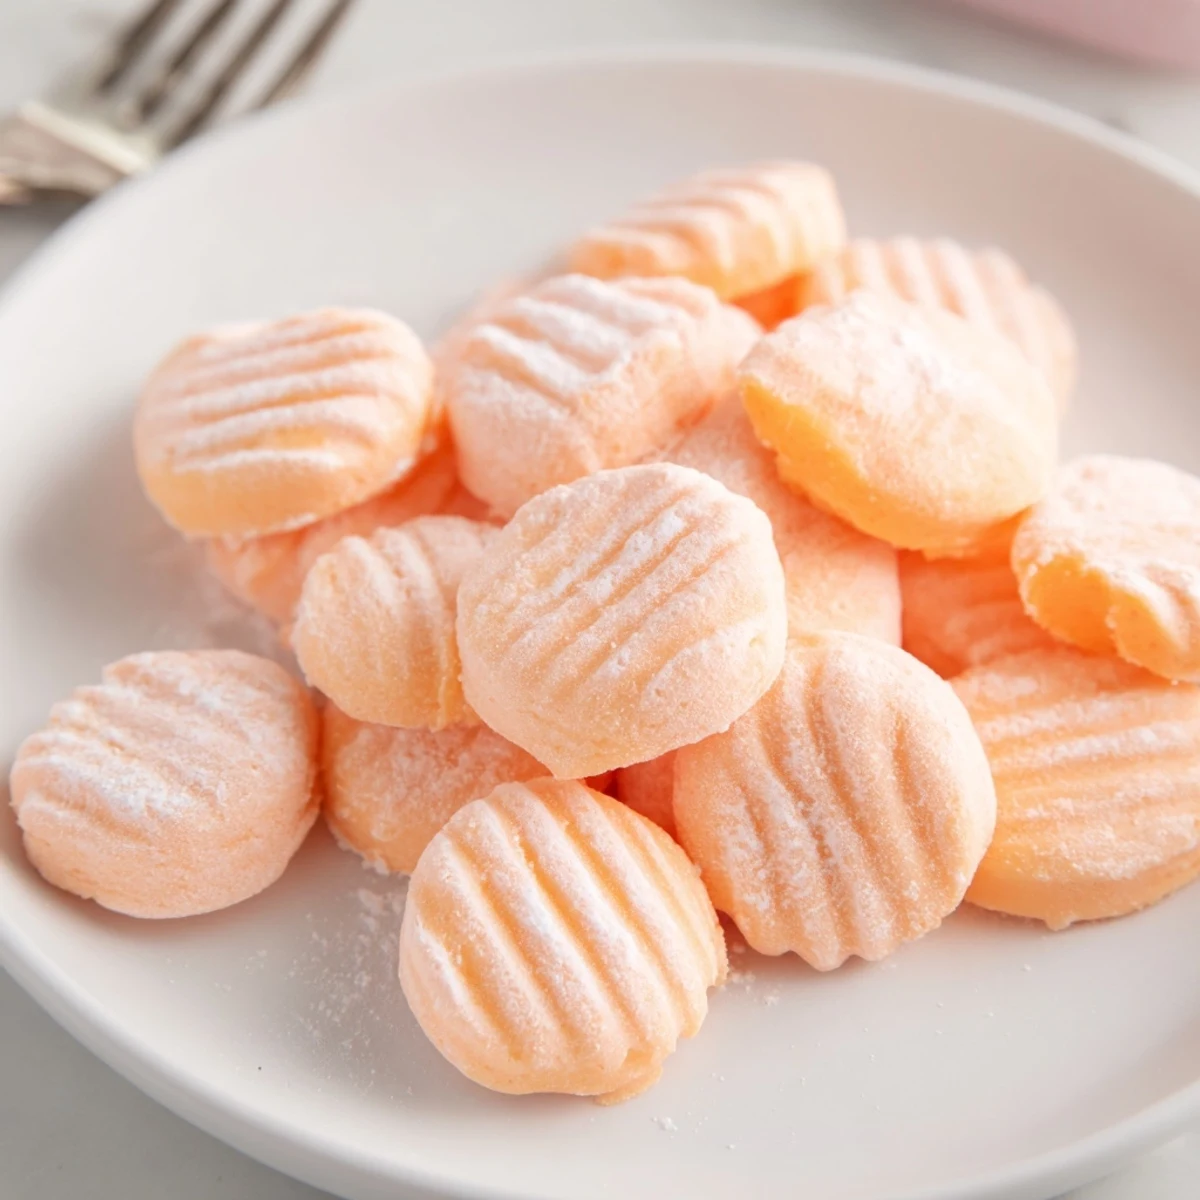
Save These delightful orange mints combine smooth cream cheese with butter and bright orange extract for a confection that literally melts on your tongue. The dough comes together quickly—just beat, tint, shape, and chill. Each tiny mint delivers a burst of citrus sweetness that's refreshingly light.
I love making these for special occasions because they look elegant gathered on crystal platters but require zero baking. The texture is incredibly smooth, almost like a cheesecake truffle. You can easily customize the orange shade to match any event theme, and a simple fork press creates those classic ridged patterns.
They keep beautifully in the refrigerator for over a week, or freeze them for up to two months if you want to prep ahead. Just 30 minutes total time yields about sixty mints—perfect for sharing.
The first time I made these orange cream cheese mints was for my sister's baby shower. I wanted something that felt special but wouldn't keep me in the kitchen for hours. When guests started asking where I'd bought them, I knew these little mints were something special.
Last Christmas, I made a triple batch with different colors for each family gathering. My niece insisted on helping me press the fork patterns into each one, turning what could have been tedious work into the sweetest memory. Now every time I see those little ridges, I think of her flour-dusted hands working beside mine.
Ingredients
- 4 oz cream cheese, softened: Room temperature cream cheese blends smoothly without any lumps
- 2 tbsp unsalted butter, softened: Adds richness and helps the mints hold their shape
- 1/2 tsp orange extract: Pure orange extract gives the brightest, most authentic flavor
- 2 1/2–3 cups powdered sugar, sifted: Sifting prevents any lumps and ensures silky smooth dough
- Orange food coloring: Gel coloring works best and won't thin out the mixture
- Extra powdered sugar: Essential for dusting your work surface and hands
Instructions
- Beat the creamy base:
- In a medium bowl, beat the softened cream cheese and butter until completely smooth and no lumps remain. This usually takes about 2 minutes with an electric mixer.
- Add the orange essence:
- Mix in the orange extract and a few drops of food coloring until evenly distributed. Start with less coloring than you think you need.
- Build the dough:
- Gradually beat in powdered sugar, half a cup at a time, until the mixture forms a soft dough that holds together but isn't sticky.
- Taste and adjust:
- Take a tiny taste and add more extract or coloring if needed. The flavor should pop without being overwhelming.
- Shape the mints:
- Dust your counter with powdered sugar and roll the dough into 3/4-inch balls. Gently flatten each with a fork, creating those classic ridges.
- Chill until firm:
- Place mints on parchment paper and refrigerate for at least an hour. They should feel firm and hold their shape.
- Store properly:
- Keep in an airtight container in the fridge for up to a week or freeze for longer storage.
 Save
Save These became my go-to hostess gift after I brought them to a dinner party and the host actually tucked the container away before serving dessert. She said they were too pretty to share with everyone. I took that as the highest compliment.
Getting the Perfect Texture
The secret to that melt-in-your-mouth texture is patience during the mixing process. I've rushed this step before, and the mints ended up with tiny grainy spots. Taking your time to beat the cream cheese and butter until they're genuinely smooth makes all the difference. The dough should feel like soft Play-Doh when it's ready.
Flavor Variations
While orange is classic, I've experimented with lemon, peppermint, and even almond extract. Each variation brings its own charm. For winter holidays, I love making half peppermint and half vanilla, then swirling them together. The key is starting with less extract than you think you need and building up.
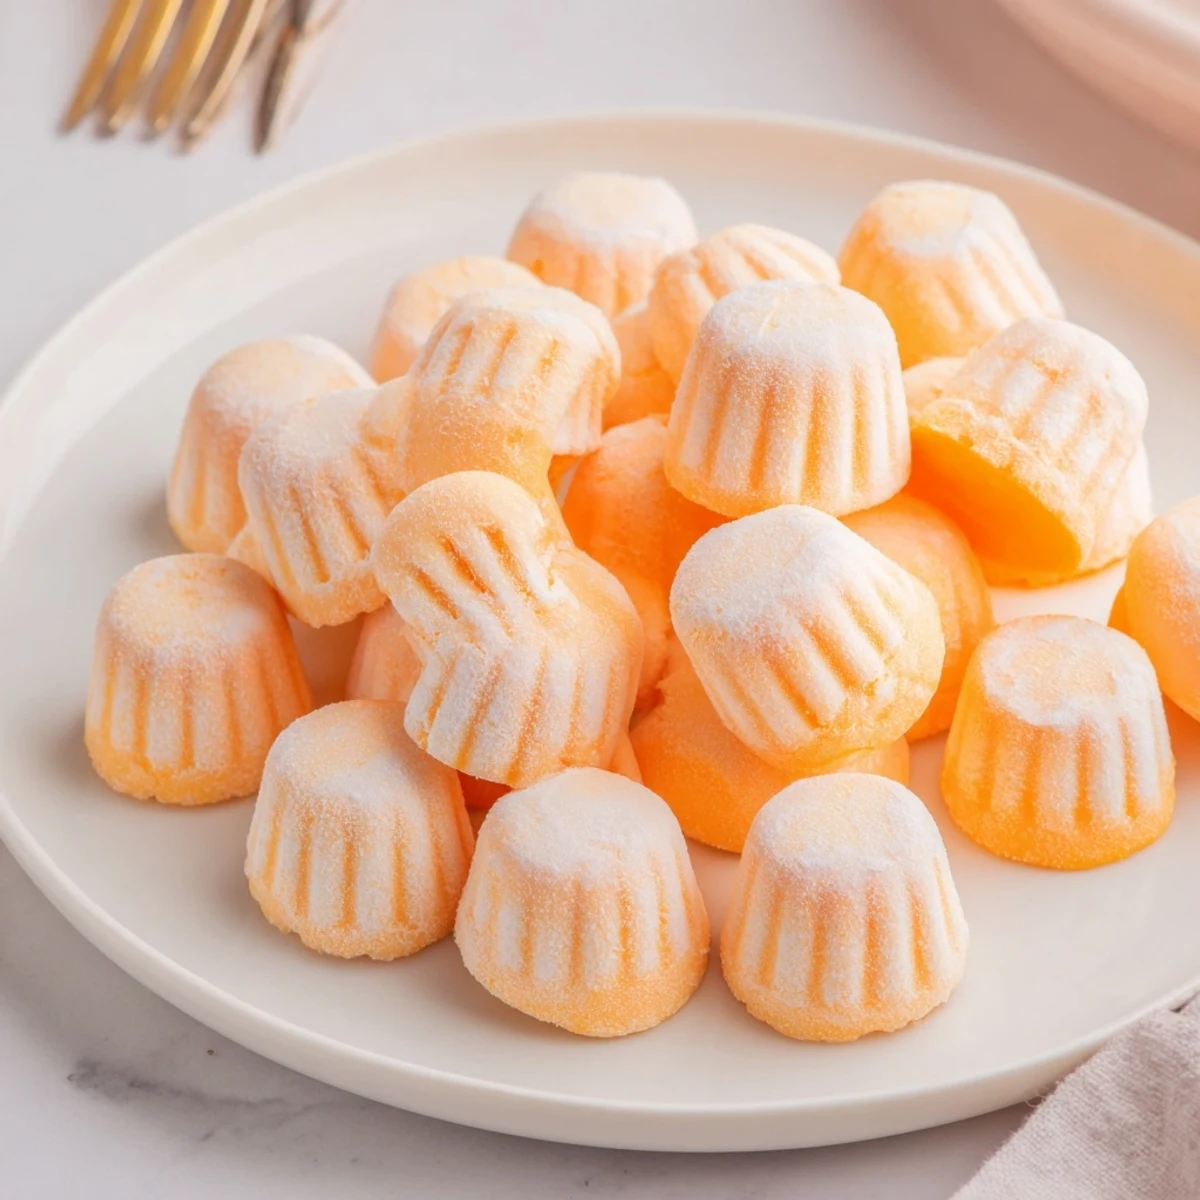
Presentation Ideas
I've served these in everything from vintage crystal dishes to simple mason jars lined with parchment paper. For weddings, I've placed them in mini cupcake papers with personalized tags. The presentation elevates these humble mints into something that looks professionally made.
- Try dipping the bottoms in melted dark chocolate for an extra fancy touch
- Roll edges in edible glitter for holidays or special occasions
- Package in clear bags with ribbon for effortless party favors
 Save
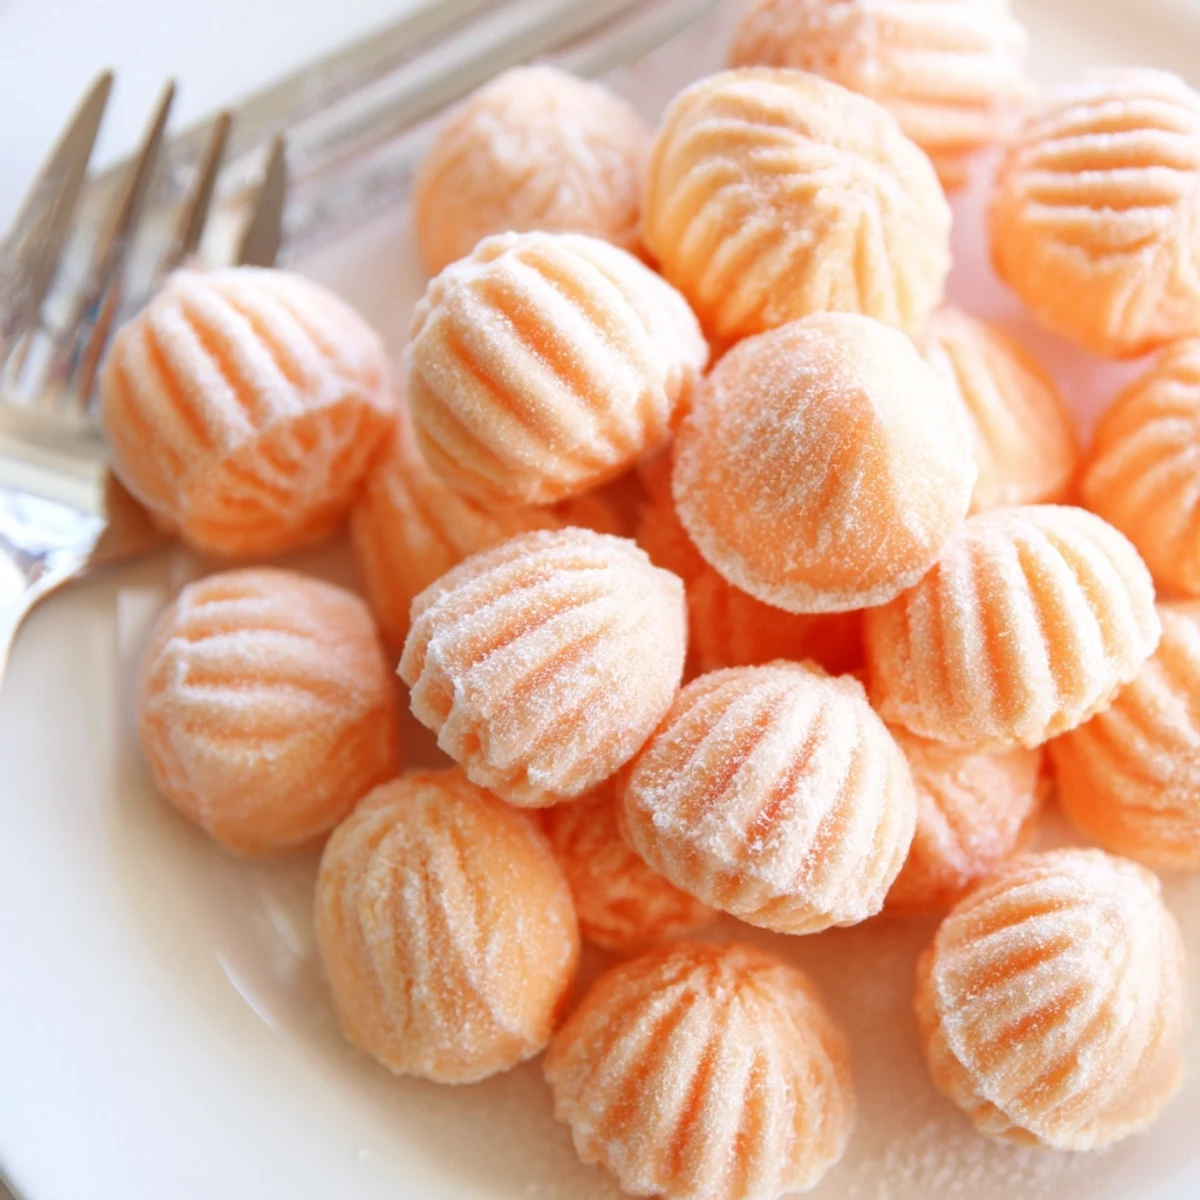
Save There's something deeply satisfying about popping one of these creamy mints into your mouth and having it dissolve into sweet orange bliss. They're the kind of treat that makes people pause and ask, What's in these?
Common Recipe Questions
- → How do I store orange cream cheese mints?
-
Keep them in an airtight container in the refrigerator for up to one week. For longer storage, place in a freezer-safe bag and freeze for up to two months. They thaw quickly at room temperature.
- → Can I use lemon extract instead of orange?
-
Absolutely. The same ratios work perfectly with lemon, lime, or even almond extract. You could also divide the dough and create multiple flavors from one batch.
- → Why is my dough too sticky to shape?
-
The dough needs more powdered sugar. Add it gradually, about half a cup at a time, until it feels like soft play dough that doesn't stick to your fingers. Humidity can affect how much sugar you'll need.
- → Do these need to be refrigerated before serving?
-
Yes, chilling for at least one hour helps them firm up and develop that smooth, melt-in-your-mouth texture. They're best served slightly chilled but can sit at room temperature for a few hours during events.
- → Can I make these without food coloring?
-
Certainly. They'll have a natural cream color from the cream cheese and butter. Some people prefer the classic white appearance, especially for weddings or formal events.
- → What's the best way to get uniform shapes?
-
Use a small cookie scoop to portion the dough before rolling. This ensures all your mints are the same size. A fork dipped in powdered sugar prevents sticking while creating those decorative ridges.
