 Save
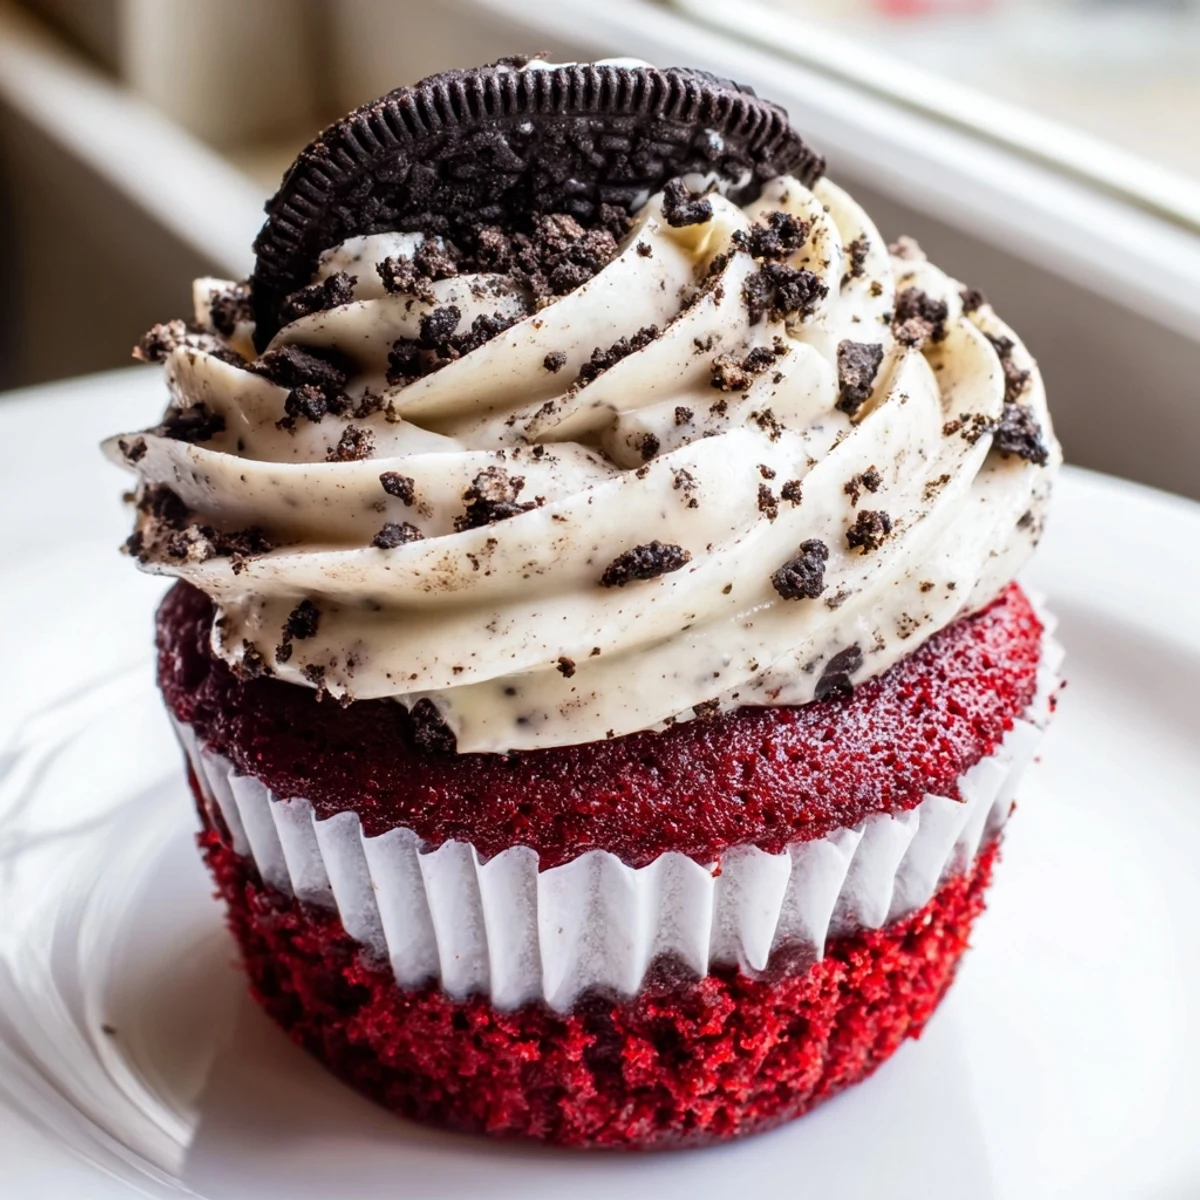
Save These red velvet Oreo cupcakes bring together two beloved desserts in one irresistible bite. Each cupcake starts with a whole Oreo cookie tucked at the bottom of the liner, followed by a tender red velvet batter infused with cocoa powder and vibrant red food coloring.
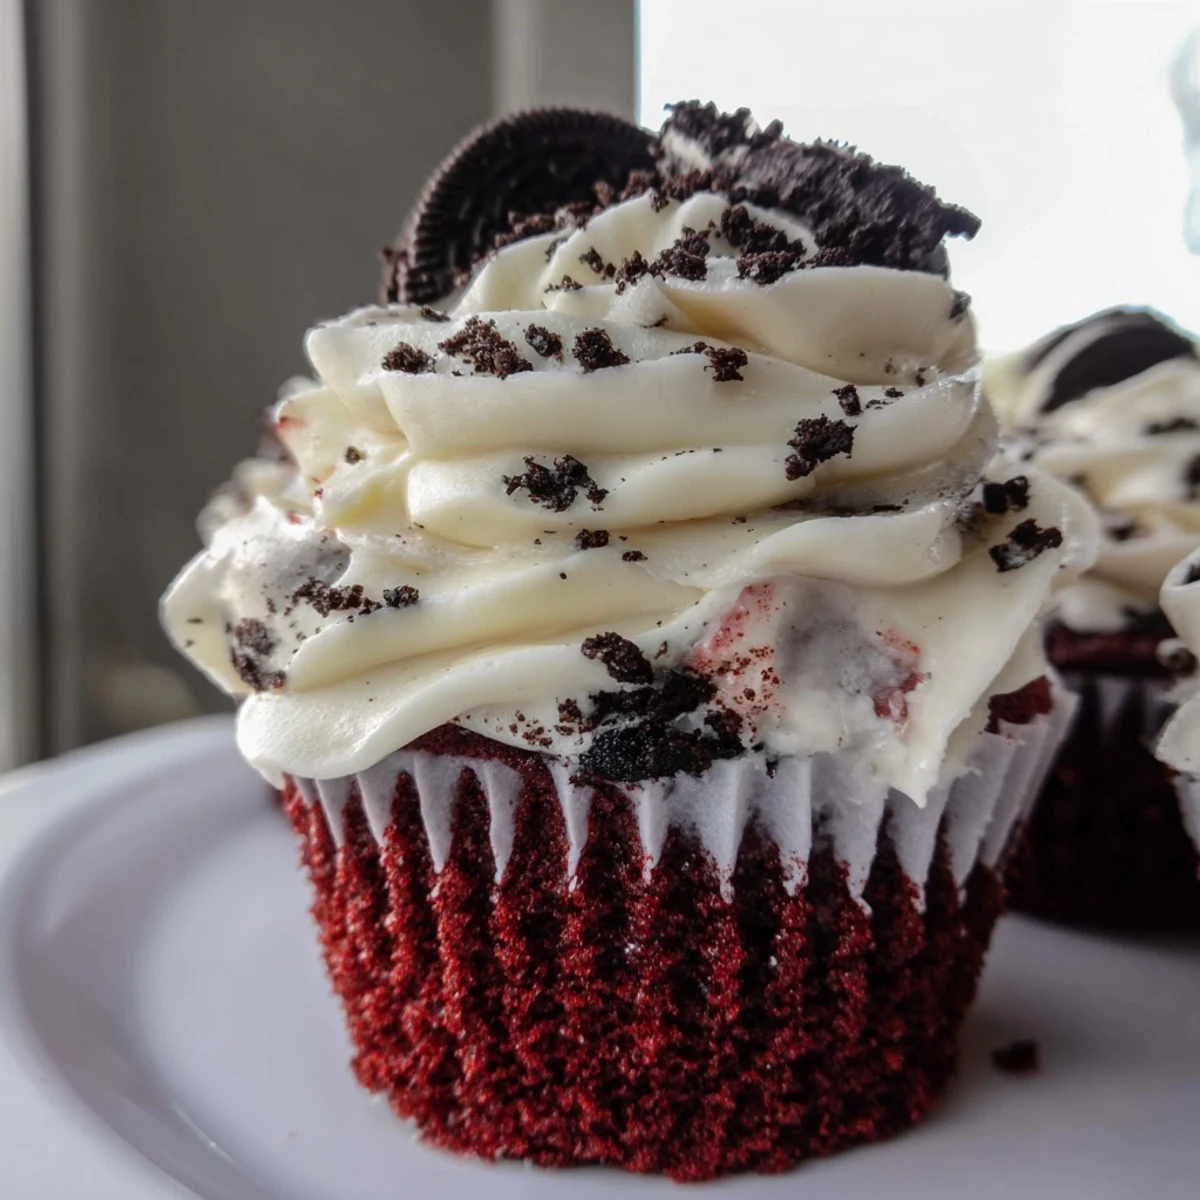
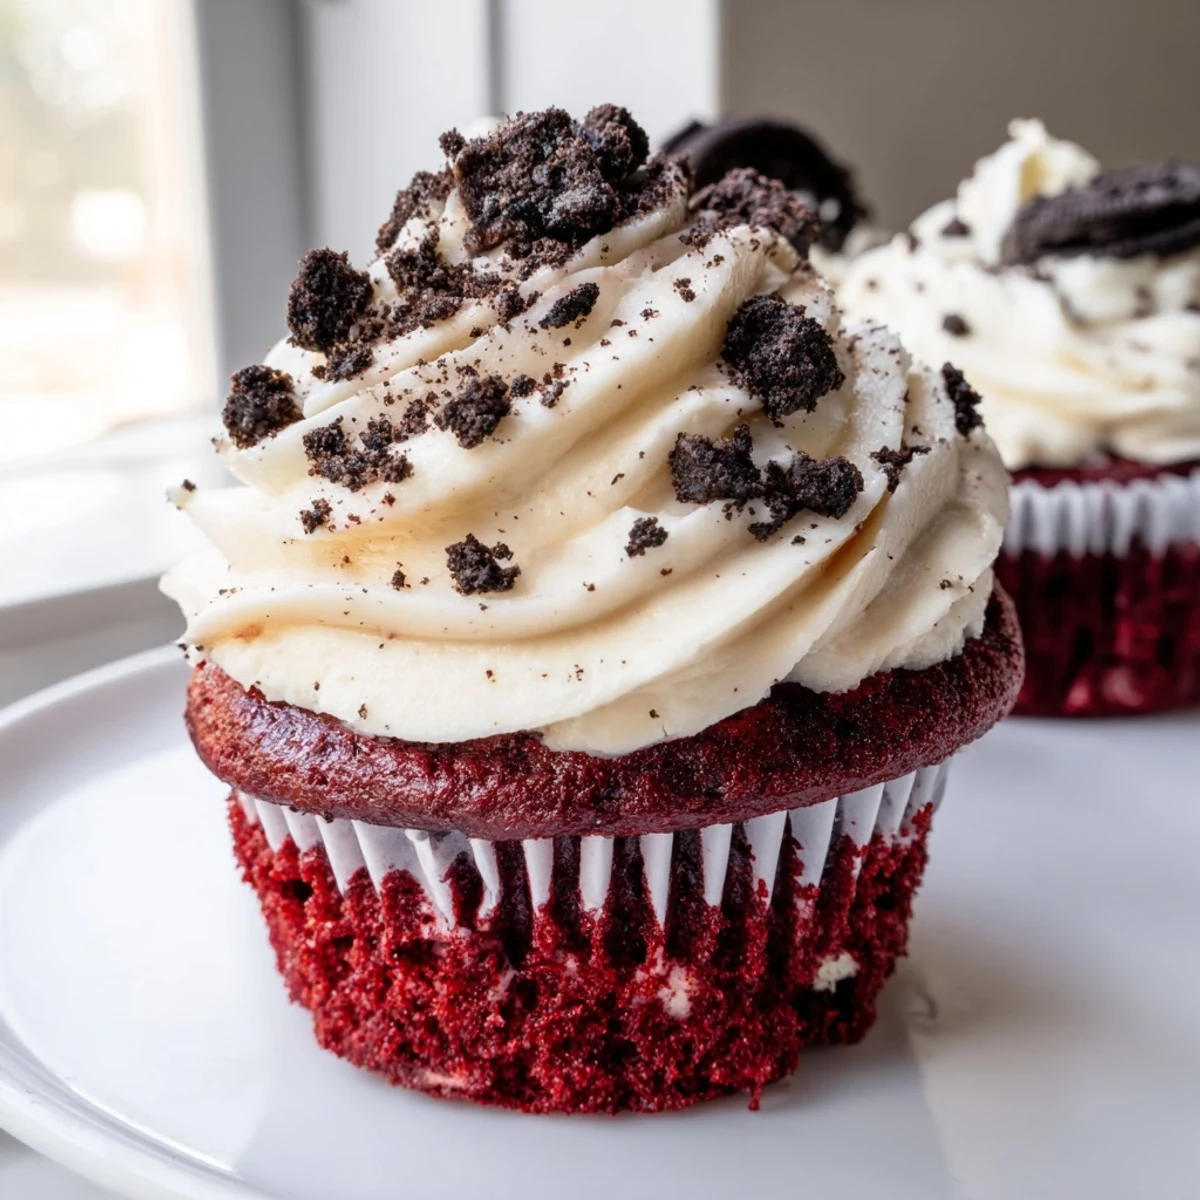
Once baked and cooled, they're generously topped with a luscious cream cheese frosting loaded with crushed Oreo pieces for added crunch and cookies-and-cream flavor. A garnish of Oreo crumbs or mini cookies finishes them off beautifully.
Ready in just 40 minutes, these cupcakes yield 12 generous servings and are perfect for birthdays, holidays, or any occasion that calls for something special.
The kitchen smelled like a birthday party waiting to happen the afternoon I first dropped a whole Oreo into the bottom of a cupcake liner. It felt mischievous, like hiding a secret at the foundation of something beautiful. That single impulse turned into the most requested dessert in my house, and honestly, I have not been allowed to show up to a potluck without them since.
My neighbor Sarah once stood in my kitchen eating two of these in complete silence, frosting on her chin, and simply said, do not ever lose this recipe. I made a double batch for her birthday the following week and realized that the real gift was watching someone forget about everything else for five minutes.
Ingredients
- All-purpose flour (1 cup, 125 g): Provides the tender structure without making the crumb dense, so measure with a light hand.
- Unsweetened cocoa powder (2 tbsp, 15 g): Just enough to give red velvet its signature subtle chocolate undertone without overpowering the flavor.
- Baking soda (1/2 tsp) and salt (1/4 tsp): Work together for lift and to balance the sweetness throughout the cake.
- Unsalted butter (1/2 cup, 115 g, softened): Softened butter creams properly with sugar, creating the air pockets that keep cupcakes soft.
- Granulated sugar (1 cup, 200 g): Sweetens and also helps create that fluffy, light texture when beaten with butter.
- Large eggs (2, room temperature): Room temperature eggs blend more smoothly and help the batter hold its structure while baking.
- Buttermilk (1/2 cup, 120 ml, room temperature): The tang and acidity react with baking soda for a tender, moist crumb you cannot get with regular milk.
- Vanilla extract (1 tsp for batter, 1 tsp for frosting): Rounds out every flavor and gives the frosting its warm, familiar depth.
- Red food coloring (1 tbsp, liquid or gel): Gel gives a bolder, richer color with less liquid, but either works beautifully here.
- Oreo cookies (12 whole, plus extra for garnish): These sit at the bottom of each liner and soften into a cakey, fudgy surprise during baking.
- Cream cheese (8 oz, 225 g, softened): The backbone of the frosting, so make sure it is fully softened to avoid lumps.
- Unsalted butter for frosting (1/2 cup, 115 g, softened): Adds silkiness and helps the frosting hold its shape when piped.
- Powdered sugar (2 cups, 240 g, sifted): Sifting is nonnegotiable here unless you enjoy crunchy frosting.
- Crushed Oreo cookies (4, for folding into frosting): These give the frosting speckled visual appeal and little pockets of crunch.
Instructions
- Preheat and prepare:
- Set your oven to 350 degrees F (175 degrees C) and line a 12 cup muffin tin with paper liners so nothing sticks.
- Plant the surprise:
- Nestle one whole Oreo cookie flat side down into the bottom of each liner and resist the urge to eat them before the batter is ready.
- Whisk the dry team:
- In a medium bowl, whisk together the flour, cocoa powder, baking soda, and salt until evenly distributed and free of clumps.
- Cream butter and sugar:
- In a large bowl, beat the softened butter and sugar together until the mixture looks pale, light, and cloudlike, then add the eggs one at a time, mixing well after each.
- Add color and flavor:
- Pour in the buttermilk, vanilla extract, and red food coloring, mixing until the batter turns a gorgeous even crimson throughout.
- Combine wet and dry:
- Gradually add the dry ingredients to the wet mixture, stirring gently until just combined and you see no more dry streaks.
- Fill the liners:
- Divide the batter evenly over the waiting Oreos, filling each liner about three quarters full to leave room for rising.
- Bake and cool:
- Bake for 18 to 20 minutes until a toothpick inserted into the cake portion comes out clean, then let the cupcakes cool completely before frosting.
- Make the frosting:
- Beat the cream cheese and butter together until silky smooth, then add the sifted powdered sugar and vanilla, mixing until fluffy before gently folding in the crushed Oreos by hand.
- Finish with love:
- Pipe or spread the frosting generously onto each cooled cupcake and garnish with extra Oreo crumbs or mini cookies if you want to make them irresistible.
 Save
Save The moment someone breaks through the frosting, hits the red velvet crumb, and discovers the Oreo hidden underneath, their expression shifts from enjoyment to pure delight.
Storage That Actually Works
These cupcakes keep well in the refrigerator for up to three days, but always let them sit at room temperature for about twenty minutes before serving so the frosting softens back to its proper texture.
Worth Knowing About Color
Liquid food coloring works fine, but if you want that dramatic, bakery style crimson, gel food coloring is the way to go and you will need less of it, which keeps the batter from becoming too wet.
Little Details That Matter
Softened ingredients are not optional here, cold butter or cream cheese will leave you with lumpy frosting and uneven batter, so plan ahead and let everything sit out for about an hour.
- A pinch of espresso powder in the batter deepens the chocolate flavor without making the cupcakes taste like coffee.
- Always sift the powdered sugar for the frosting to keep it perfectly smooth.
- Remember that these contain wheat, eggs, milk, and soy, so check the Oreo packaging for possible nut traces if allergies are a concern.
 Save
Save Every time I make these, someone asks for the recipe, and I always tell them the real secret is patience while the cupcakes cool. Frosting a warm cupcake is a mistake you only make once.
Common Recipe Questions
- → Can I make these cupcakes without food coloring?
-
Yes, you can omit the red food coloring, but the cupcakes will have a more brownish cocoa color rather than the signature red velvet hue. If you prefer to avoid artificial dyes, try using natural alternatives like beet juice or beet powder, though the color will be slightly less vibrant.
- → Why do I need to put a whole Oreo at the bottom of each liner?
-
Placing a whole Oreo at the bottom creates a delightful cookie crust layer as the cupcake bakes. The cookie softens slightly while maintaining its structure, adding a pleasant textural contrast to the fluffy cake and creamy frosting on top.
- → How should I store these cupcakes?
-
Due to the cream cheese frosting, these cupcakes should be stored in the refrigerator in an airtight container for up to 3 days. Let them sit at room temperature for about 15 minutes before serving to allow the frosting to soften and the flavors to develop fully.
- → Can I freeze red velvet Oreo cupcakes?
-
Yes, you can freeze them either frosted or unfrosted. Wrap each cupcake individually in plastic wrap and place them in a freezer-safe container. They will keep well for up to 2 months. Thaw overnight in the refrigerator before bringing them to room temperature.
- → What can I substitute for buttermilk?
-
If you don't have buttermilk on hand, add 1 tablespoon of white vinegar or lemon juice to a measuring cup, then fill with regular milk up to the 1/2 cup mark. Let it sit for 5 minutes until it curdles slightly before using. This will provide the same tangy acidity and tenderizing effect.
- → How do I get a more vibrant red color in the batter?
-
Using gel food coloring instead of liquid will give you a much more intense red color with less product. Start with 1 teaspoon of gel coloring and add more if needed. A small pinch of espresso powder in the batter also enhances the cocoa flavor and can help deepen the overall color.
