 Save
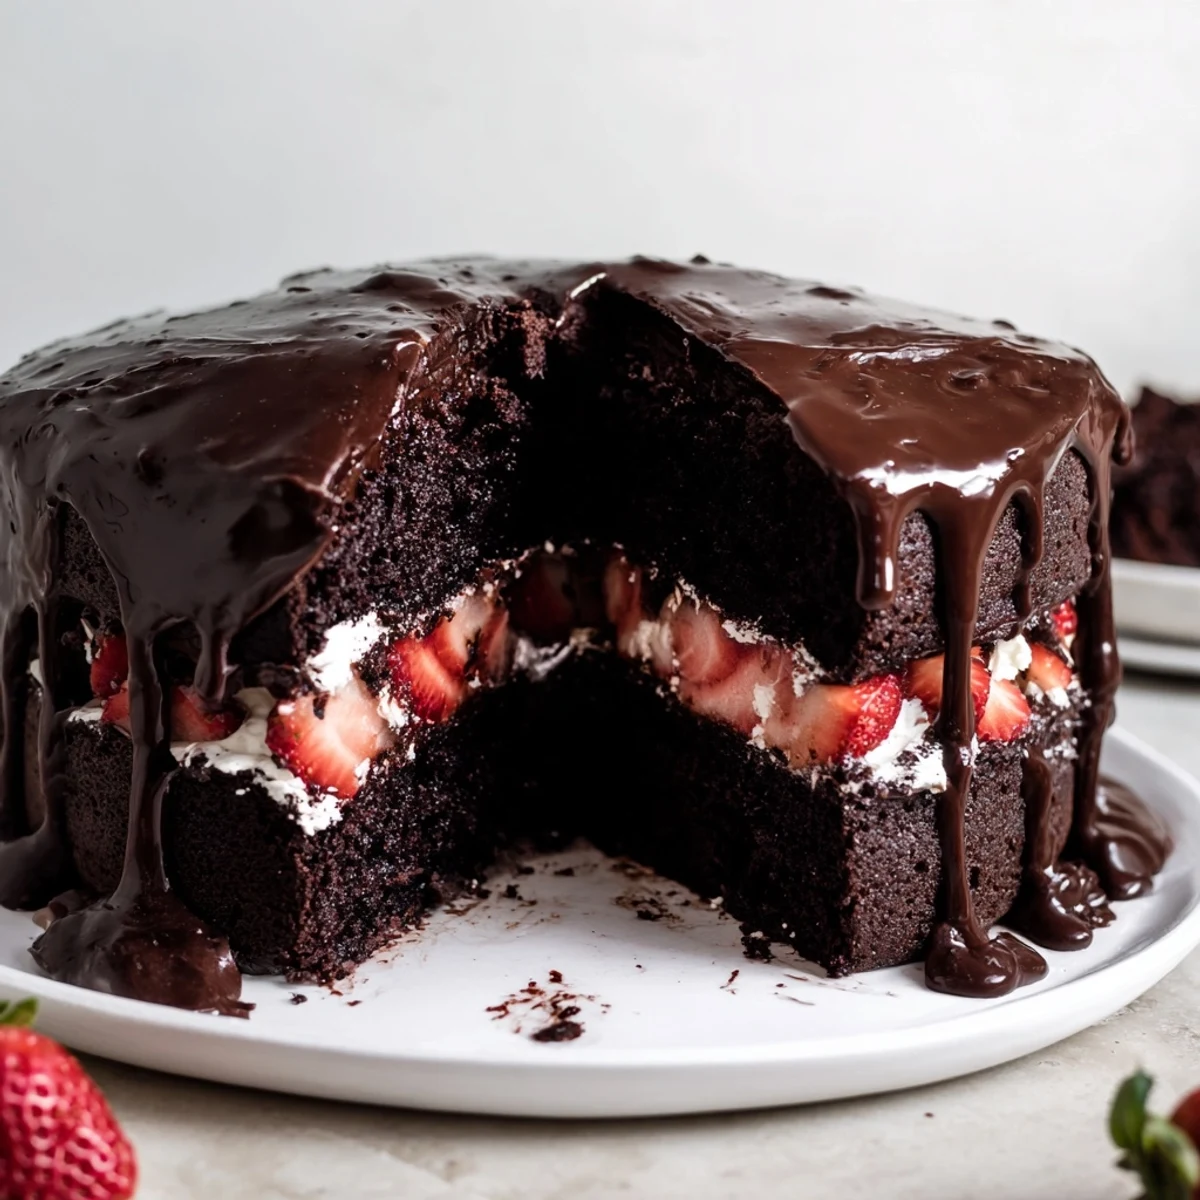
Save This stunning dessert combines a moist, tender chocolate cake with layers of fresh macerated strawberries and silky chocolate ganache. The cake bakes up light and fluffy thanks to the addition of boiling water to the batter, creating a crumb that perfectly balances the rich chocolate flavors.
Fresh strawberries are tossed with sugar and lemon juice to release their natural juices, creating a bright, fruity contrast to the deep chocolate notes. The ganache topping adds luxurious richness while optional whipped cream provides lightness.
Though it looks impressive, this cake comes together in just over an hour with straightforward techniques. The result is a showstopping centerpiece that tastes even better than it looks, ideal for birthdays, holidays, or any special occasion.
The rain was hammering against the kitchen window the afternoon I threw together my first strawberry chocolate cake, mostly out of stubbornness and a crate of strawberries that were one day from turning. I had no intention of making anything beautiful. But when that dark ganache met those bright red berries on the first slice, I stood there with flour on my forehead and thought, oh, this is dangerous. That lopsided cake became the most requested dessert in my house for three years running.
I made this for my friend Danielas birthday last March and she literally refused to blow out the candles because she wanted to photograph the ganache drip first. We stood around the kitchen island, spoons already in hand, waiting while she found the right light. By the time she gave us permission to cut into it, the ganache had set into this perfect glossy shell and the strawberries had soaked their juices right into the cake.
Ingredients
- All-purpose flour (1 3/4 cups, 220 g): Gives structure without making it dense, and sifting it with the cocoa makes a real difference in the final texture.
- Granulated sugar (2 cups, 400 g): This cake is sweet and unapologetic about it, though the bitterness of the cocoa and the tartness of the berries keep everything balanced.
- Unsweetened cocoa powder (3/4 cup, 65 g): Use a good quality one if you can, because this is where all the chocolate depth comes from before the ganache even enters the picture.
- Baking powder and baking soda (1 1/2 tsp each): Both are necessary because the acid in the cocoa reacts with the soda while the powder gives it an extra reliable lift.
- Salt (1 tsp): Do not skip this, it is the quiet ingredient that makes every chocolate flavor louder.
- Large eggs (2): Room temperature eggs blend more smoothly into the batter and help create a lighter crumb.
- Whole milk (1 cup, 240 ml): The fat content matters here, so avoid substituting skim milk if you want that tender, velvety texture.
- Vegetable oil (1/2 cup, 120 ml): Oil keeps this cake moister than butter ever could, and it stays soft even after a day in the fridge.
- Vanilla extract (2 tsp): A generous amount rounds out the chocolate and adds warmth to every layer.
- Boiling water (1 cup, 240 ml): This blooms the cocoa powder and thins the batter, and I promise it will look wrong before it looks right.
- Fresh strawberries (2 cups, 300 g, hulled and sliced): The riper and more fragrant they are, the better the maceration works and the more their juices soak into the cake.
- Granulated sugar for strawberries (2 tbsp): Draws out the natural juices and creates a light syrup that seeps into the layers beautifully.
- Lemon juice (1 tbsp): Just enough to brighten the berries and keep them tasting fresh against all that richness.
- Heavy cream (1 cup, 240 ml): The base of the ganache, and heating it just to a simmer without boiling is the trick to a silky finish.
- Semisweet chocolate, chopped (8 oz, 225 g): Chopping it yourself rather than using chips ensures it melts evenly and creates a smoother ganache.
- Heavy whipping cream, powdered sugar, and vanilla (optional, for whipped cream): Adds a cloud-like layer between the berries and the cake that makes the whole thing feel even more indulgent.
Instructions
- Prepare your pans and preheat:
- Set the oven to 350 degrees F (175 degrees C), then grease and flour two 9-inch round cake pans, tapping out the excess flour so you do not get dusty patches on the outside of your layers.
- Sift the dry ingredients together:
- In a large bowl, sift the flour, sugar, cocoa powder, baking powder, baking soda, and salt together until evenly combined and free of lumps. Take a moment to really work the sieve because this step is where the lightness begins.
- Build the batter:
- Add the eggs, milk, oil, and vanilla to the dry mixture and beat until just combined, then slowly pour in the boiling water while mixing until the batter is smooth and impossibly thin. It will feel wrong in your hands but trust the process completely.
- Bake and cool the layers:
- Divide the batter evenly between your two prepared pans and bake for 30 to 35 minutes until a toothpick inserted in the center comes out clean. Let the cakes rest in their pans for 10 minutes before turning them out onto wire racks to cool completely, because a warm cake will melt your fillings into a mess.
- Macerate the strawberries:
- Toss the sliced strawberries with sugar and lemon juice in a bowl and set them aside for at least 20 minutes so they release their juices and become glossy and intensely flavored.
- Make the ganache:
- Heat the heavy cream in a small saucepan just until it simmers at the edges, then pour it directly over the chopped chocolate and let it sit undisturbed for two full minutes. Stir gently from the center outward until you have a smooth, glossy mixture, then let it cool until it thickens slightly but still pours.
- Whip the cream if using:
- Beat the heavy whipping cream with powdered sugar and vanilla until soft peaks form, being careful not to overwhip or you will end up with butter instead of a silky topping.
- Assemble the cake:
- Place the first cake layer on a serving platter and arrange the macerated strawberries over the top, reserving a few for garnish, then spread half the ganache over the berries. Add the whipped cream layer if you are using it, then gently set the second cake layer on top.
- Finish with ganache and garnish:
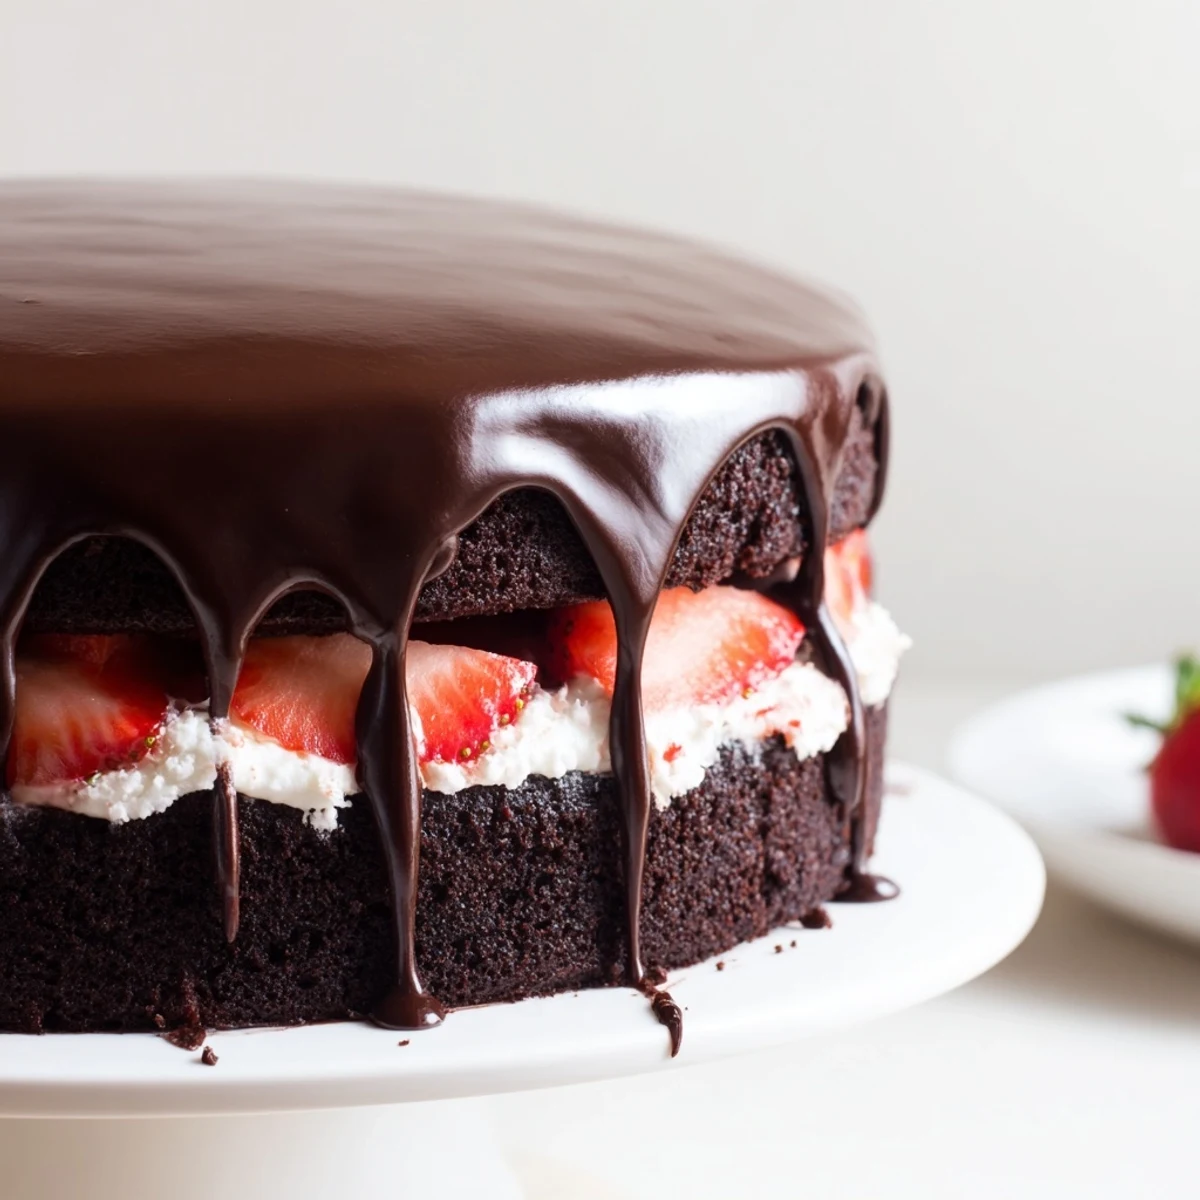
- Pour the remaining ganache over the top of the cake, letting it naturally drip down the sides, and scatter the reserved strawberries over the surface while the ganache is still wet so they stick.
- Chill before serving:
- Refrigerate the assembled cake for at least one hour so the layers set and the ganache firms up enough to cut clean, beautiful slices.
 Save
Save There is something about carrying this cake to the table that makes the whole room slow down for a second. It has presence. The dark gloss of the ganache, those ruby red strawberries perched on top, and the anticipation in everyones faces as the knife goes in.
Choosing Your Chocolate
The chocolate you select for the ganache will define the entire personality of this cake. I once used a bargain brand because it was all I had on hand, and while the cake was still perfectly fine, the ganache lacked that deep, resonant finish that makes people ask what brand you used. Semisweet is the sweet spot here because it balances the sugar in the cake without tipping into bitterness, and chopping it from a bar rather than scooping from a bag of chips gives you a noticeably silkier melt.
Working With Seasonal Strawberries
In the height of summer when strawberries are tiny and bursting with flavor, I barely add any sugar to the maceration because the fruit does all the work on its own. In winter or early spring when berries travel from farther away and need a little help, that extra sugar and the squeeze of lemon become essential to coax out the juice and brightness the cake needs. Taste one of the berries before you start, and let that guide how much sugar you actually use.
Serving and Storing This Cake
This cake actually tastes better on the second day when the strawberry juices have had time to soak into the chocolate layers and everything melds into something almost truffle-like. Keep it covered in the refrigerator and bring it to room temperature for about twenty minutes before serving so the ganache softens and the flavors open up.
- A sharp knife run under hot water and wiped dry between cuts will give you the cleanest, most photogenic slices.
- If you need to transport this cake, chill it thoroughly first and keep it level, because a tilted ganache drip is a heartbreaking sight.
- Leftovers will keep well covered in the fridge for up to three days, though in my experience they never last that long.
 Save
Save Every time I make this cake I think about that rainy afternoon and the happy accident that started it all. Some recipes become traditions, and this one deserves a place at your table too.
Common Recipe Questions
- → Can I make this cake ahead of time?
-
Yes, you can bake the cake layers up to 2 days in advance. Wrap them tightly in plastic wrap and store at room temperature. The ganache can be made 1 day ahead and refrigerated—gently reheat before using. Assemble the cake no more than 6 hours before serving for best texture.
- → How should I store leftovers?
-
Store the assembled cake in the refrigerator, covered loosely with plastic wrap or in a cake container. It will keep for 3-4 days. Bring to room temperature for 30 minutes before serving for the best flavor and texture.
- → Can I use frozen strawberries?
-
Fresh strawberries work best as they hold their shape and provide better texture. If using frozen, thaw completely and drain excess liquid before macerating. Note that frozen berries may create a slightly softer layer.
- → What type of chocolate is best for the ganache?
-
Semisweet chocolate (60-65% cocoa) creates the ideal balance of sweetness and depth. High-quality baking bars or chips yield the smoothest results. Avoid chocolate chips meant for cookies as they contain stabilizers that affect texture.
- → Can I make this cake gluten-free?
-
Substitute the all-purpose flour with a 1:1 gluten-free baking blend that contains xanthan gum. The texture may be slightly denser but still delicious. Ensure all other ingredients, including baking powder and vanilla extract, are certified gluten-free.
- → Why add boiling water to the cake batter?
-
Boiling water helps bloom the cocoa powder, intensifying the chocolate flavor. It also creates a thinner batter that produces an exceptionally moist, tender cake. Don't worry—the batter will bake into a perfectly structured cake.
