 Save
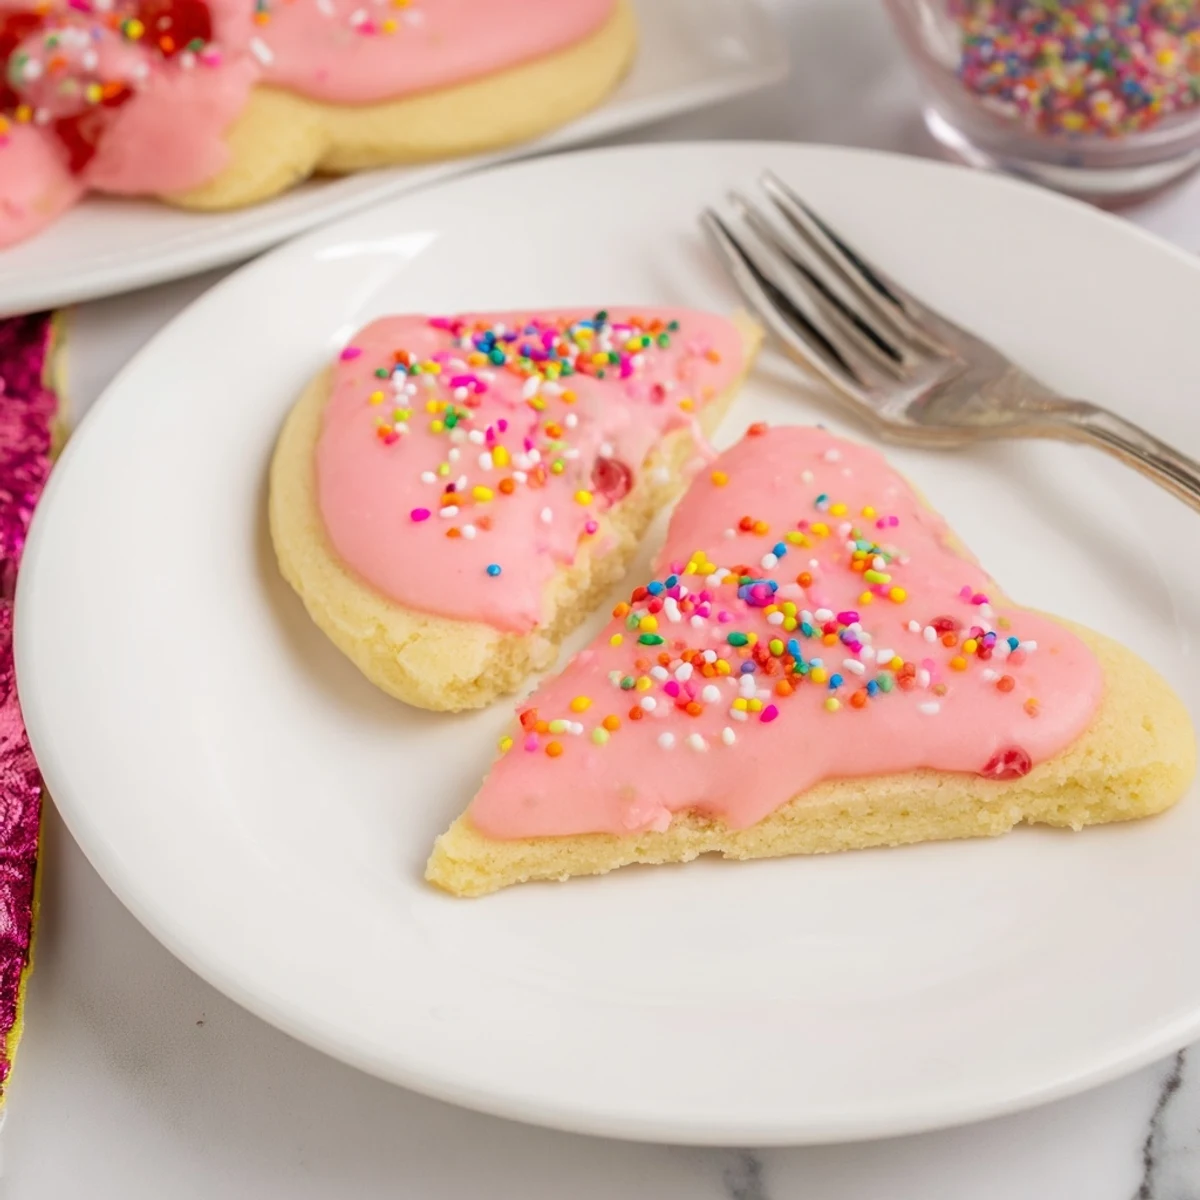
Save These nostalgic treats combine the comfort of soft buttery cookies with the classic strawberry Pop-Tart flavor everyone loves. Each cookie features a tender, golden exterior hiding a sweet strawberry jam center that bakes into gooey perfection. The homemade vanilla glaze adds just the right amount of sweetness, while colorful sprinkles bring that playful bakery-style finish.
Perfect for dessert tables, lunchbox surprises, or afternoon treats, these cookies come together in under 40 minutes. The dough is forgiving and easy to work with—simply flatten, spoon in your favorite jam, seal, and bake. Swap the strawberry jam for raspberry, blueberry, or apricot to create your own flavor variations.
Store in an airtight container and they'll stay fresh for up to four days—though they rarely last that long!
My sister and I used to race to the kitchen every Saturday morning, fighting over the last frosted strawberry Pop-Tart in the box. Decades later, I found myself standing in my kitchen at midnight with a jar of jam and a wild urge to capture that same excitement in cookie form. These soft, jam-filled cookies draped in pink glaze and showered with sprinkles are exactly what childhood tasted like. They vanished from my cooling rack before the glaze even had time to set.
I brought a tray of these to a neighborhood potluck last summer and watched a very serious grown man eat five of them while pretending to inspect the dessert table. My daughter now requests them for every school bake sale, and I have stopped arguing because they genuinely take almost no effort. The hardest part is waiting for them to cool before adding the glaze, which I have failed at more times than I care to admit.
Ingredients
- 2 1/4 cups (280 g) all-purpose flour: This gives the cookies their soft, tender structure without making them tough.
- 1/2 teaspoon baking powder: Just enough lift to keep them pillowy without puffing them into dome shapes that crack open.
- 1/2 teaspoon salt: A small amount that makes the butter and sugar taste exponentially better.
- 3/4 cup (170 g) unsalted butter, softened: Leave it on the counter for an hour before starting because cold butter will ruin your creaming step and you will know immediately.
- 3/4 cup (150 g) granulated sugar: Works with the brown sugar to create a balanced sweetness that does not overwhelm the jam.
- 1/4 cup (50 g) light brown sugar: Adds a whisper of caramel depth that plain white sugar cannot achieve on its own.
- 2 large eggs: Bind everything together and contribute to that chewy center we are after.
- 2 teaspoons vanilla extract: Use the real stuff here because artificial vanilla will announce itself in the worst way.
- 3/4 cup (210 g) strawberry jam or preserves: The star of the filling, so pick a jam you would happily eat straight from the jar with a spoon.
- 1 cup (120 g) powdered sugar: Creates that signature Pop-Tart style glaze that hardens into a sweet, crackly shell.
- 2 tablespoons milk: Thins the glaze to the perfect drizzling consistency without making it runny.
- 1/2 teaspoon vanilla extract (for glaze): Rounds out the sweetness of the powdered sugar glaze beautifully.
- Pink or red food coloring (optional): Totally optional but it makes them look like the real deal and adds to the fun.
- Sprinkles, for topping: Do not skip these because the sprinkles are what make people smile before they even take a bite.
Instructions
- Preheat and prepare:
- Set your oven to 350 degrees Fahrenheit and line two baking sheets with parchment paper so nothing sticks and cleanup is effortless.
- Whisk the dry ingredients:
- In a medium bowl, whisk together the flour, baking powder, and salt until evenly distributed and free of any stubborn clumps.
- Cream the butter and sugars:
- Beat the softened butter, granulated sugar, and brown sugar in a large bowl for about two to three minutes until the mixture looks pale, fluffy, and absolutely irresistible.
- Add eggs and vanilla:
- Drop in one egg at a time, beating after each addition, then pour in the vanilla and mix until the batter smells like a bakery.
- Combine wet and dry:
- Gradually add the flour mixture to the butter mixture, stirring just until the last streak of flour disappears because overmixing will make the cookies tough.
- Fill and shape the cookies:
- Scoop two tablespoon portions of dough, flatten each into a disc in your palm, place one teaspoon of jam in the center, then fold the dough over the jam and pinch the edges closed before gently rolling into a ball.
- Arrange on baking sheets:
- Place the filled dough balls on your prepared sheets with about two inches of breathing room between them so they can spread without merging into one giant cookie.
- Bake to golden perfection:
- Bake for eleven to thirteen minutes until the edges are set but the centers still look slightly soft and underbaked because they will continue cooking on the hot pan.
- Glaze and decorate:
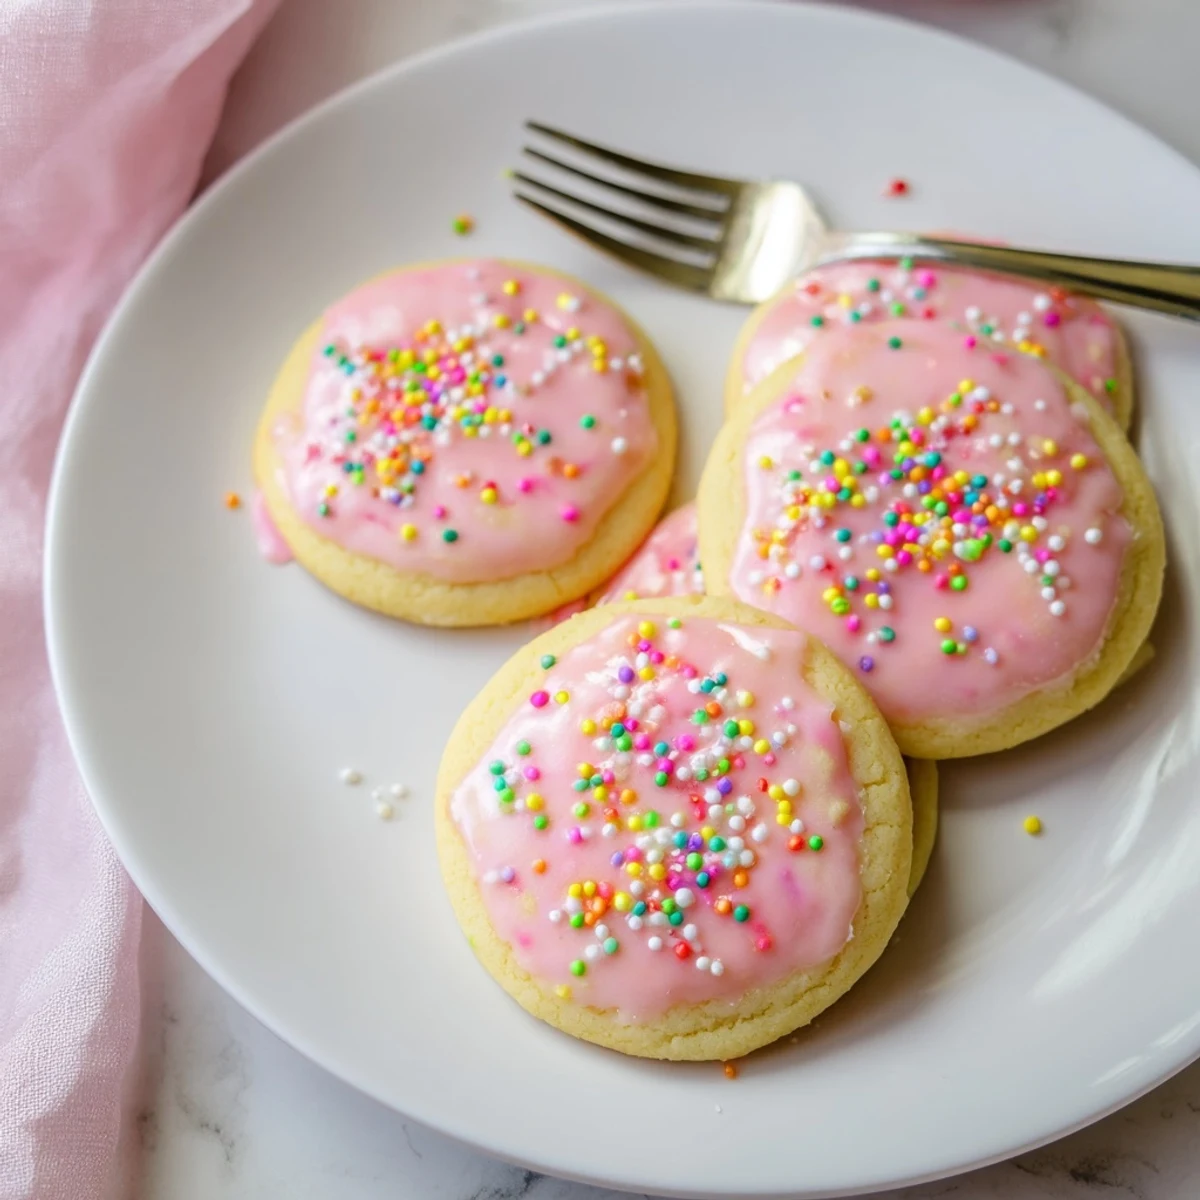
- Once the cookies are completely cool, whisk together the powdered sugar, milk, vanilla, and a drop of food coloring until smooth, then drizzle generously over each cookie and shower with sprinkles before the glaze sets.
 Save
Save The moment these cookies came out of the oven with their golden edges and jammy centers peeking through, I knew they would become a permanent fixture in my kitchen. Watching my family crowd around the counter, fingers already reaching for warm cookies before I could even grab the glaze, reminded me why I love baking in the first place.
Storing Your Cookies
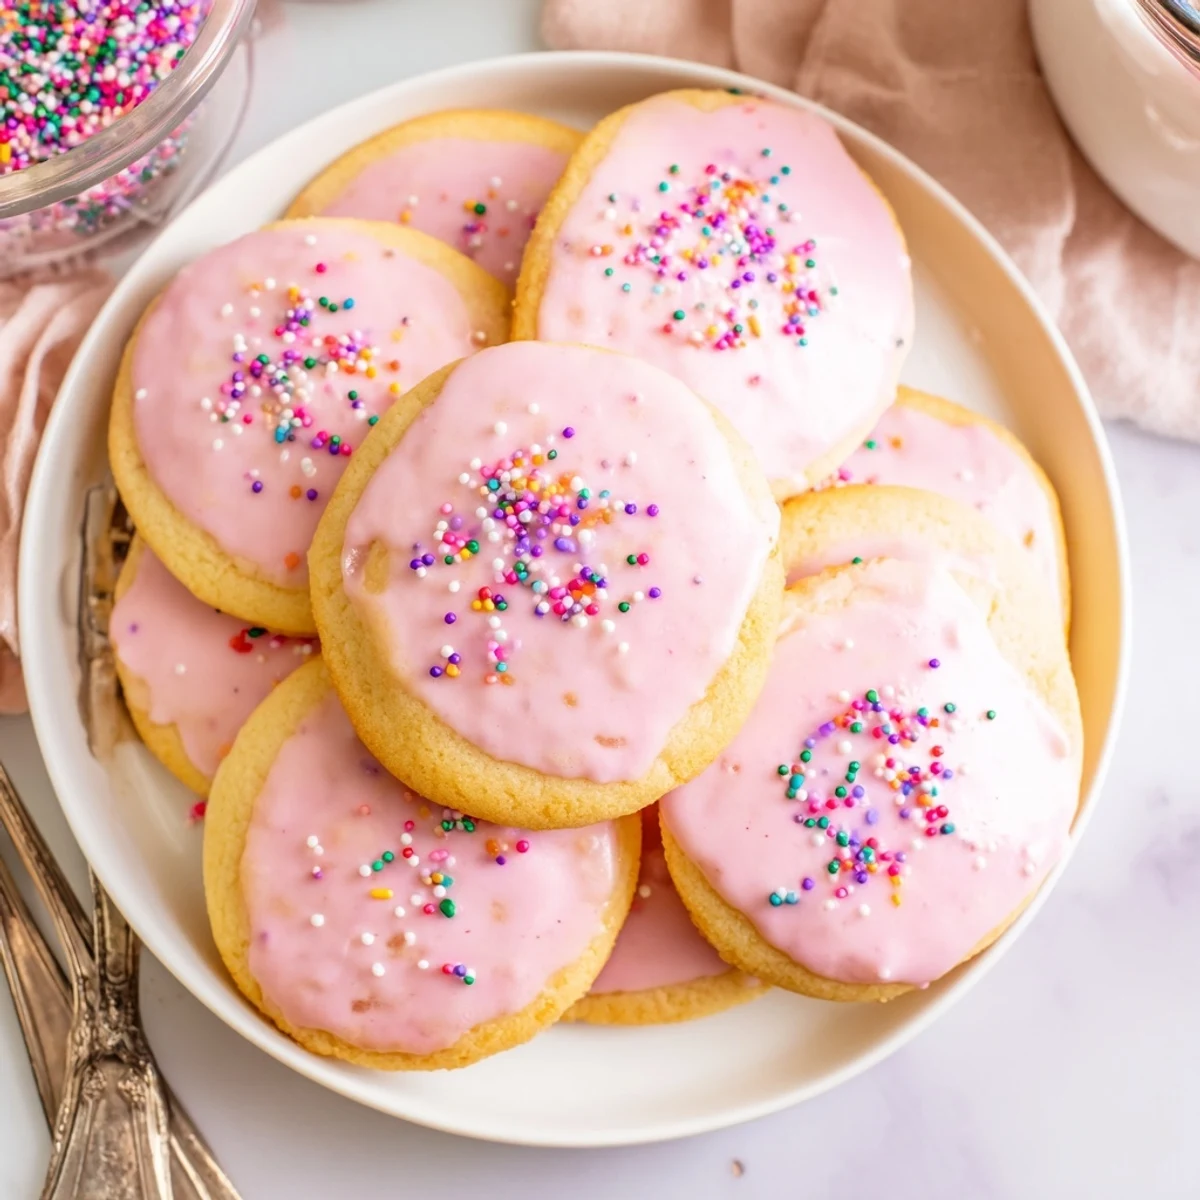
Keep these in an airtight container at room temperature and they stay soft and delicious for up to four days, though mine have never lasted that long. The glaze firms up nicely after a few hours, making them easy to stack with a sheet of parchment between layers.
Flavor Variations Worth Trying
Swap the strawberry jam for raspberry, blueberry, or apricot preserves and suddenly you have an entirely new cookie that feels just as exciting as the original. I made a batch with lemon curd once for a spring brunch and they disappeared faster than any dessert I have ever served.
What to Watch Out For
The filling step takes a little patience the first time around, but by the third or fourth cookie you will find a rhythm that makes it feel almost meditative.
- Use a small cookie scoop for the dough portions so every cookie is the same size and bakes evenly.
- If the dough gets too warm and sticky while you are working, pop it in the fridge for ten minutes and it will firm right up.
- Always check your jam label for allergens because some brands process alongside nuts and that matters if you are sharing.
 Save
Save These cookies are pure joy on a plate, the kind of recipe that makes people close their eyes and grin with the first bite. Bake a batch this weekend and watch them disappear.
Common Recipe Questions
- → Can I use different jam flavors?
-
Absolutely! Raspberry, blueberry, apricot, or even mixed berry preserves work beautifully. Feel free to experiment with your favorite flavors.
- → Why do my cookies leak jam while baking?
-
This happens if the dough isn't sealed tightly around the filling. Pinch the edges firmly and smooth the dough well to create a proper seal before baking.
- → Can I make the dough ahead of time?
-
Yes! The dough can be refrigerated for up to 2 days before baking. Let it soften slightly at room temperature for easier shaping.
- → How do I know when the cookies are done?
-
The edges should be set and lightly golden, while the centers may still look slightly soft. They'll firm up as they cool on the baking sheet.
- → Can I freeze these cookies?
-
You can freeze the unbaked dough balls for up to 3 months. Bake from frozen, adding 1-2 minutes to the baking time. Glazed cookies are best enjoyed fresh but can be frozen unglazed.
- → What if I don't have an electric mixer?
-
You can cream the butter and sugars by hand with a sturdy spoon and some elbow grease. It will take a bit longer, but the results will still be delicious.
