 Save
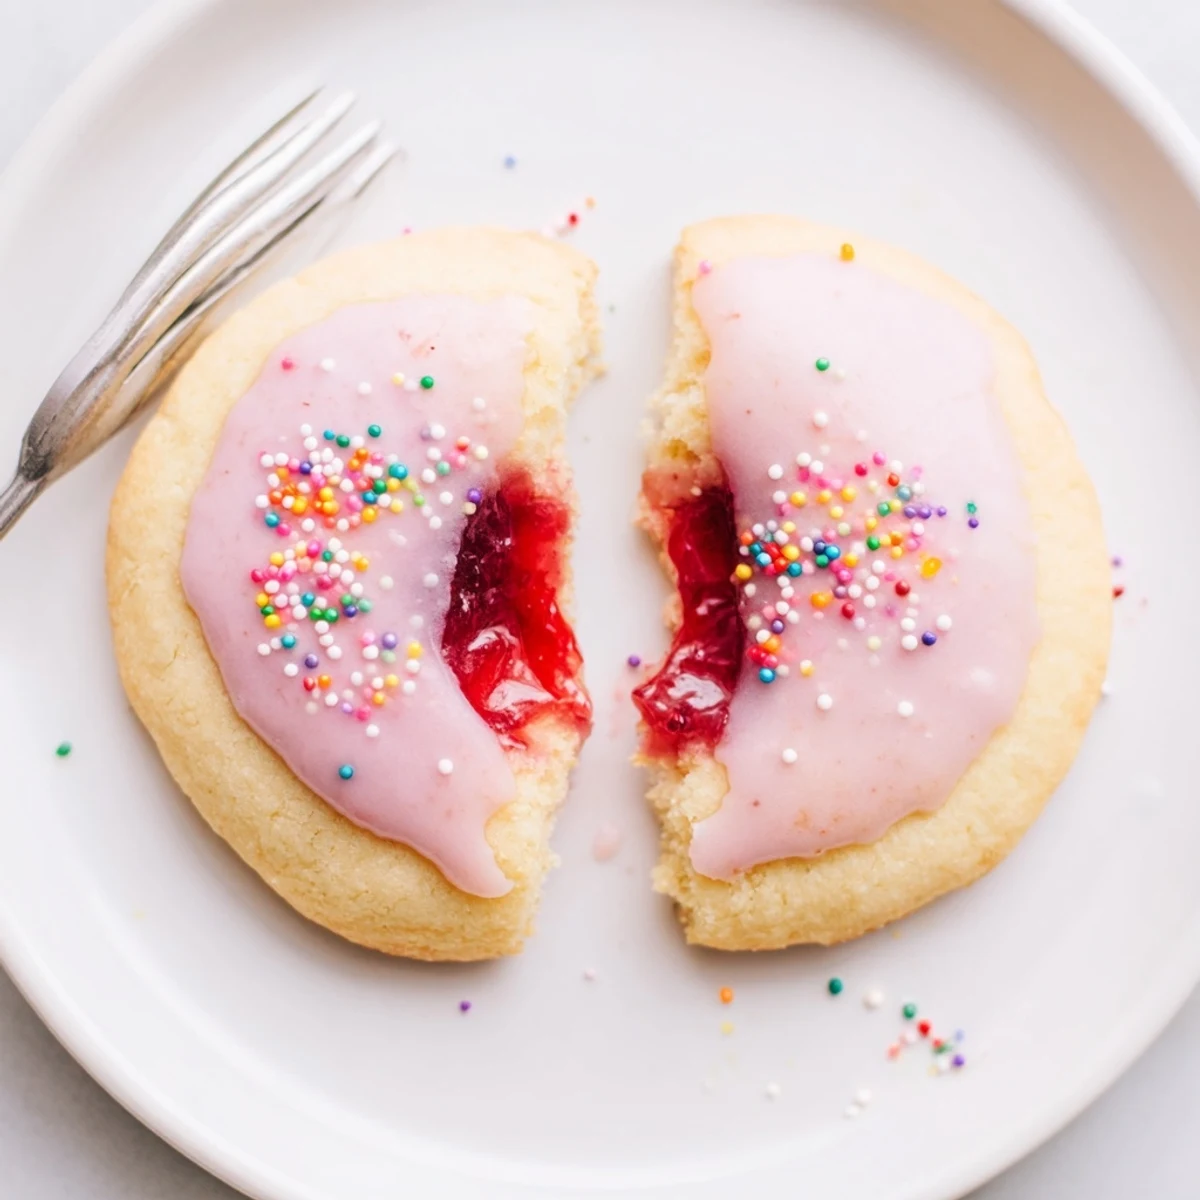
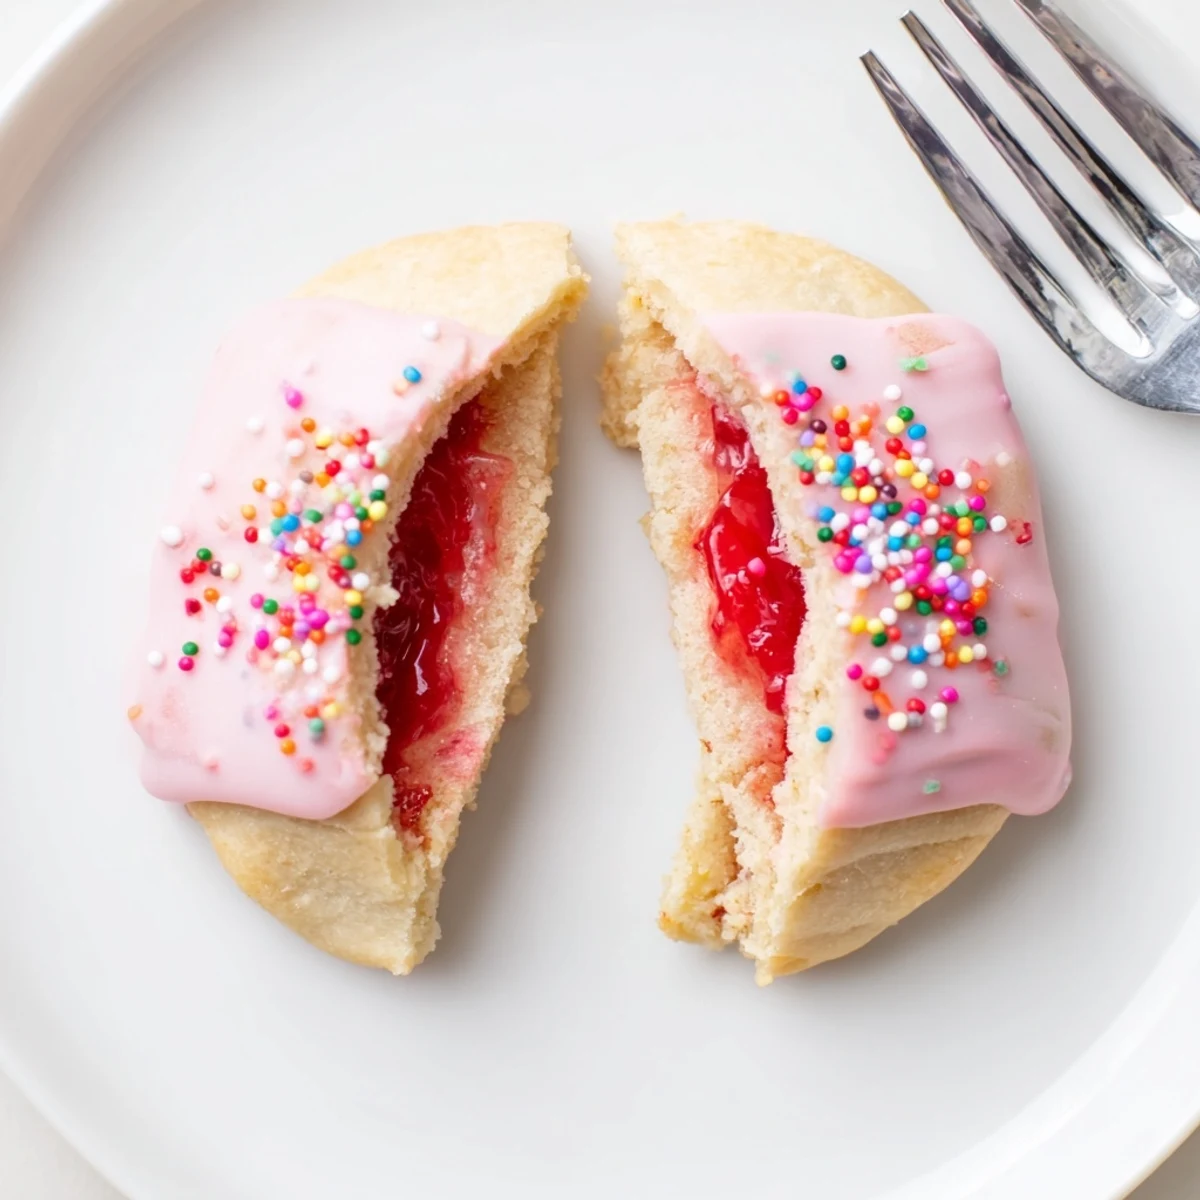
Save These buttery sugar-cookie rounds are filled with strawberry jam, baked until edges are lightly golden, then glazed and dotted with sprinkles. The dough comes together quickly after creaming butter and sugars; portion chilled jam into the centers and seal edges well to avoid leaks. Bake about 12 minutes, cool, then spread a simple powdered sugar glaze and decorate. Makes roughly 20 cookies.
My niece walked into the kitchen last summer holding a box of strawberry Pop Tarts and asked if we could make cookies that tasted like her favorite breakfast. I laughed, but then I actually thought about it and realized the idea was brilliant. We spent the afternoon covered in flour and jam, and by evening we had invented something neither of us expected to love this much. Now she requests these every time she visits, and I always say yes.
I brought a plate of these to a neighborhood block party and they disappeared within fifteen minutes. Three people texted me that night asking for the recipe, and one neighbor still jokes that I owe her a fresh batch every month. Something about that combination of buttery cookie and fruity jam makes people completely lose their restraint.
Ingredients
- All-purpose flour (2 1/2 cups, 315 g): The backbone of the cookie, and spooning it into the measuring cup rather than scooping directly from the bag keeps the dough from getting tough.
- Baking powder (1/2 teaspoon): Just enough lift to keep these soft without turning them into little cakes.
- Salt (1/2 teaspoon): Do not skip this, because it balances the sweetness of the jam and glaze beautifully.
- Unsalted butter, softened (1 cup, 225 g): Pull it out of the fridge an hour ahead, since properly softened butter creams better and creates a lighter cookie.
- Granulated sugar (3/4 cup, 150 g): Gives the edges a slight crispness that contrasts perfectly with the gooey center.
- Packed light brown sugar (1/4 cup, 50 g): A small amount that adds warmth and chew to the texture.
- Large egg: Binds everything together, and having it at room temperature helps it incorporate smoothly.
- Vanilla extract (2 teaspoons): Use the real stuff here because you will taste the difference in such a simple dough.
- Strawberry jam (1/2 cup, 160 g): The heart of the cookie, and a thicker jam works best so it does not seep out during baking.
- Powdered sugar (1 cup, 120 g): Creates that iconic Pop Tart style glaze on top.
- Milk (2 tablespoons): Thins the glaze to just the right consistency for spreading.
- Vanilla extract (1/2 teaspoon, for glaze): A little extra vanilla in the glaze ties the whole flavor together.
- Red or pink food coloring (optional): Purely for fun, and my niece insists on the pinkest possible shade every time.
- Rainbow sprinkles: Nonnegotiable if you want the full Pop Tart experience.
Instructions
- Get your oven ready:
- Preheat to 350 degrees Fahrenheit and line two baking sheets with parchment paper so nothing sticks.
- Whisk the dry stuff:
- In a medium bowl, whisk together the flour, baking powder, and salt until evenly distributed.
- Cream the butter and sugars:
- Beat the softened butter, granulated sugar, and brown sugar in a large bowl until the mixture looks pale, fluffy, and absolutely irresistible.
- Add egg and vanilla:
- Drop in the egg and vanilla extract, then beat until everything is smooth and combined, scraping down the sides of the bowl as needed.
- Bring the dough together:
- Gradually add the dry ingredients to the wet mixture, stirring gently just until the dough comes together without any dry streaks.
- Stuff and seal:
- Scoop one tablespoon of dough, flatten it in your palm, place a half teaspoon of strawberry jam in the center, and top with another tablespoon of dough before pinching the edges shut and rolling gently into a ball.
- Arrange and bake:
- Space the cookies two inches apart on your prepared sheets and bake for twelve minutes or until the edges are just barely golden.
- Cool completely:
- Let them rest on the baking sheet for five minutes, then move to a wire rack and wait until they are completely cool before glazing.
- Glaze and celebrate:
- Whisk the powdered sugar, milk, vanilla, and food coloring if using until smooth, spread over each cooled cookie, and shower with sprinkles before the glaze sets.
 Save
Save The morning after that first batch, I found my niece sitting cross-legged on the kitchen floor eating the last cookie straight from the container she had hidden behind the cereal boxes. She looked up at me with crumbs on her cheeks and said she was saving it for breakfast, which felt pretty on brand. That moment sealed these cookies as a permanent fixture in our family.
Flavor Variations Worth Trying
Raspberry jam swaps in beautifully if you want something a little more tart, and blueberry jam gives a deeper, almost jammy pie flavor that tastes completely different but equally addictive. A friend of mine added a pinch of cinnamon to the dough once and swore it made them taste even more like the real thing. I have also used lemon curd for a bright spring version that disappeared faster than the original.
Storage and Make Ahead Tips
These cookies keep well in an airtight container at room temperature for about four days, though the glaze softens slightly over time. You can freeze the unbaked stuffed dough balls on a sheet pan, then transfer them to a bag and bake from frozen, adding just one extra minute to the bake time. Baked and glazed cookies also freeze well for up to two months if you layer them between sheets of parchment.
Troubleshooting Common Issues
If your cookies spread too much, the butter was probably too warm, so try chilling the assembled dough balls for twenty minutes before baking. Dough that cracks when you try to seal it around the jam needs a minute or two in your hands to warm up and become pliable. Glaze that seems too thin just needs another tablespoon of powdered sugar whisked in patiently.
- If jam keeps leaking no matter what, try using less filling rather than more and really focus on pinching the seams flat.
- A toothpick pressed gently around the seal line helps close any tiny gaps you might not see.
- Always let the glaze set for at least twenty minutes before stacking or packing these cookies.
 Save
Save These cookies are pure joy in handheld form, and they remind me that the best recipes come from playful moments in the kitchen. Share them generously, and watch how quickly they become someones new favorite.
Common Recipe Questions
- → How do I prevent jam from leaking during baking?
-
Use chilled, slightly reduced jam or a thicker preserve and seal the cookie edges thoroughly by pressing and crimping. Chill shaped cookies briefly before baking to help maintain their shape and reduce spreading.
- → Can I swap the strawberry jam for another filling?
-
Yes — raspberry or blueberry jam, lemon curd, or a thicker fruit conserve all work well. For very runny fillings, simmer briefly to thicken or strain excess syrup before using.
- → What yields and timing should I expect?
-
This batch yields about 20 cookies. Prep takes roughly 25 minutes and baking about 12 minutes per sheet; cooling and glazing add additional time for setting.
- → How can I make the cookies crisper or softer?
-
For crisper edges, bake until edges are golden and use a bit less brown sugar. For a softer center, slightly underbake by a minute and allow cookies to finish on the warm sheet before transferring to a rack.
- → Any tips for a smooth glaze and neat decoration?
-
Whisk glaze until lump-free and spread while cookies are fully cooled. If glaze is too thick, add milk a drop at a time; if too thin, add a touch more powdered sugar. Add sprinkles before the glaze sets.
- → Can these be frozen for later?
-
Freeze unglazed, filled dough balls on a tray, then transfer to a sealed container for up to 2 months. Thaw and bake from cold, adding a minute or two to the bake time. Freeze glazed cookies only if well hardened and wrapped tightly.
