 Save
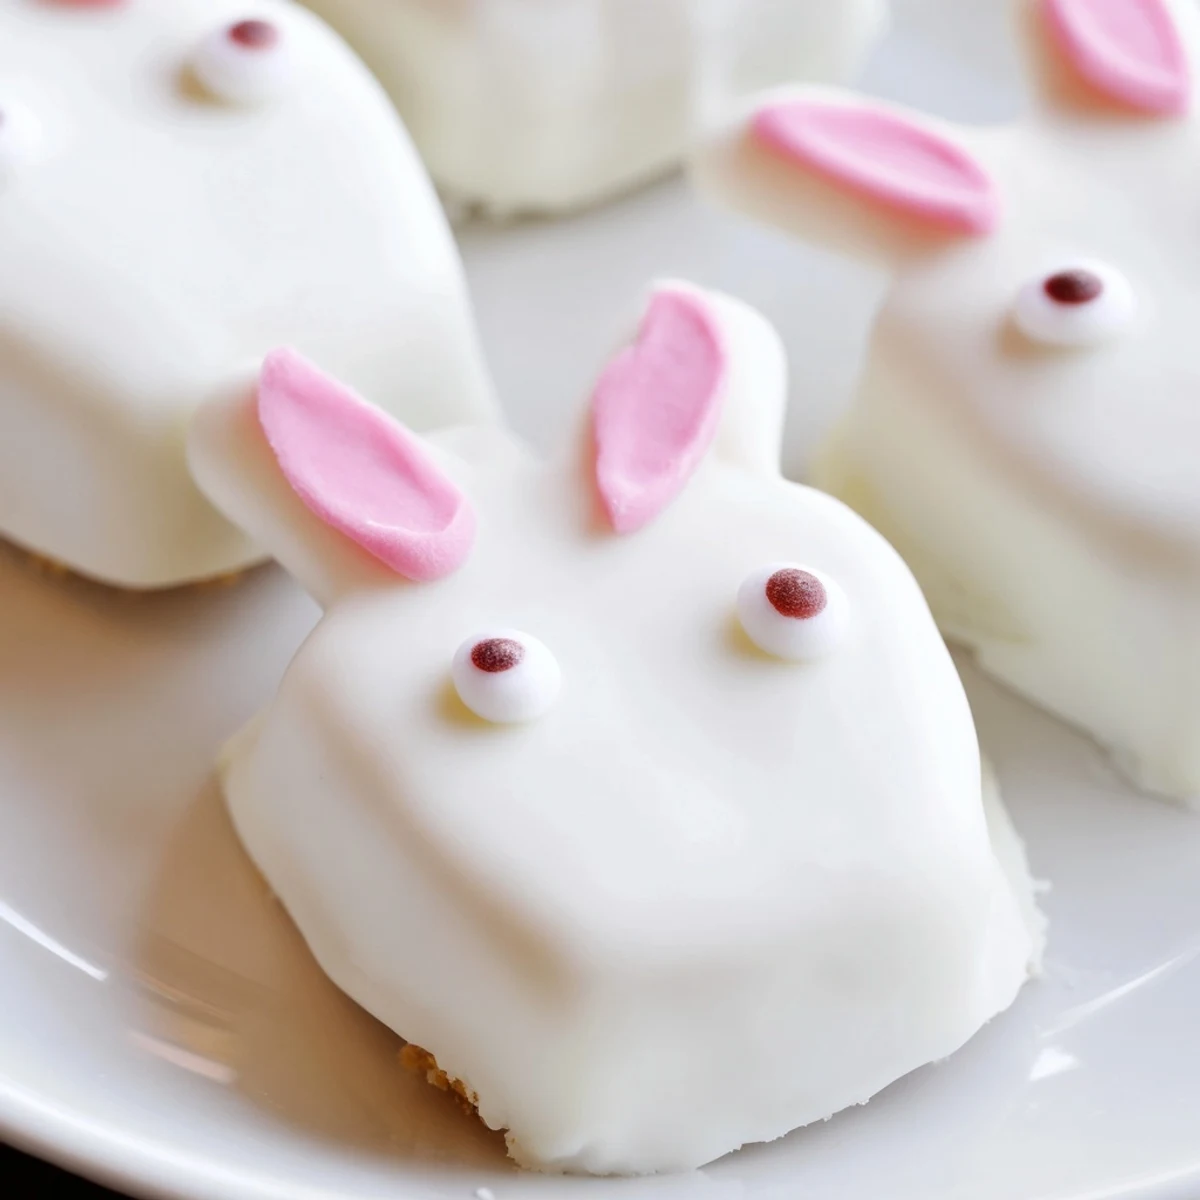
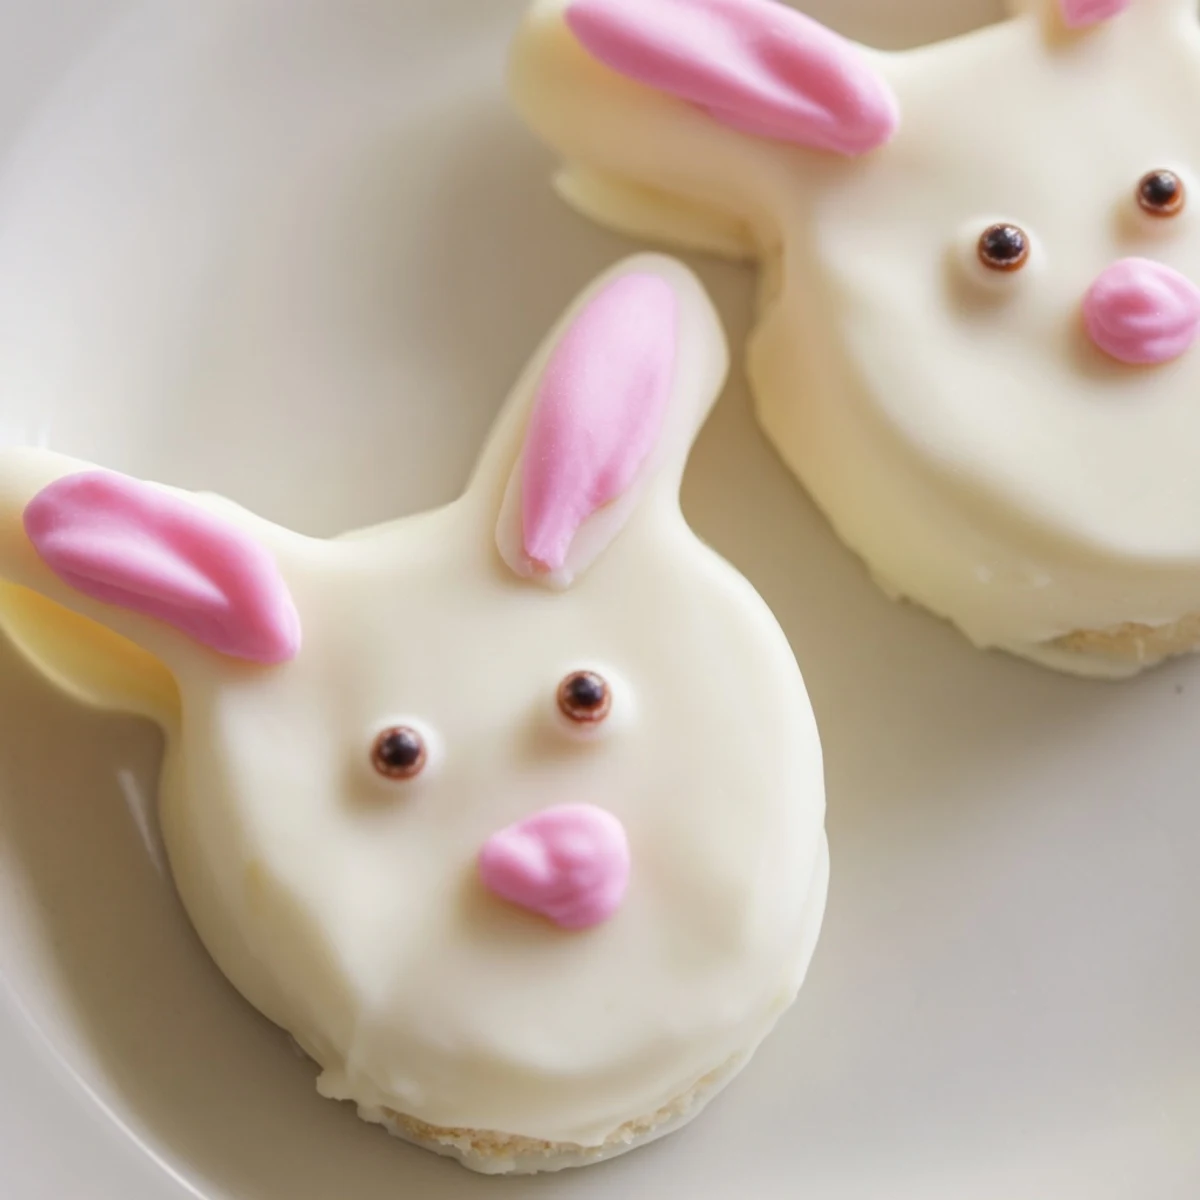
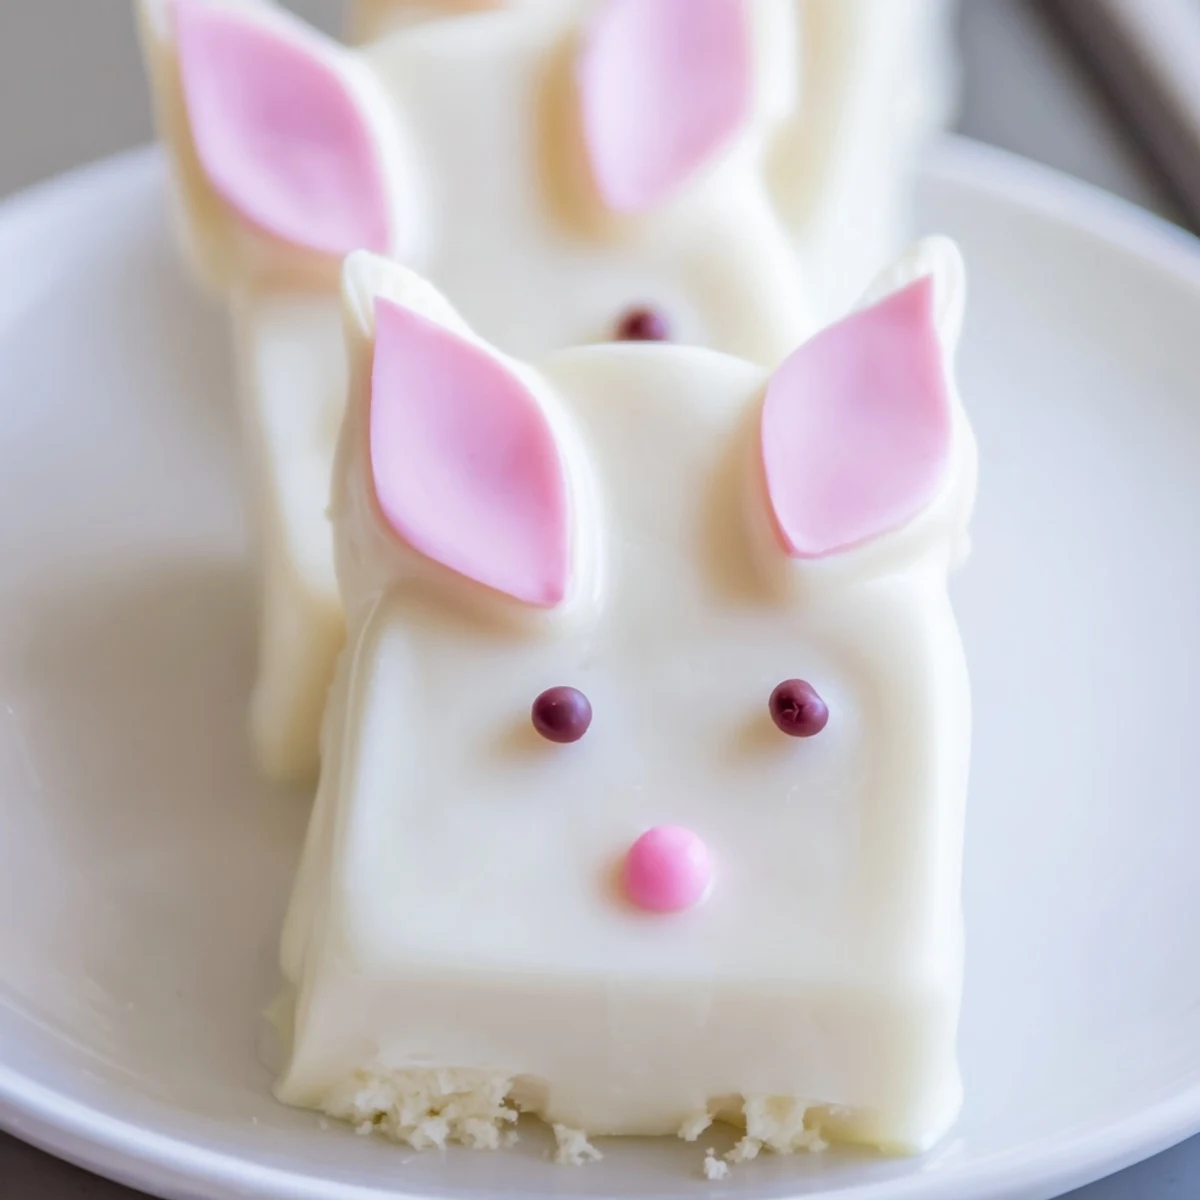
Save These delightful bunny-shaped treats combine moist vanilla cake with rich white chocolate coating. The cake mixture binds perfectly with cream cheese and butter, creating a dough that shapes beautifully into adorable bunny faces. Each cakesicle gets dipped in smooth melted white chocolate and decorated with candy eyes, sprinkles, or fondant details. The result is a festive Easter dessert that looks impressive and tastes even better. Perfect for spring gatherings, these handheld treats are fun to make with kids and customize with different colors and decorations. Store them in the fridge for up to three days, though they rarely last that long!
The year my daughter turned six, she requested bunny-shaped everything for her Easter birthday party. I stumbled upon cakesicles quite by accident while frantically searching Pinterest at midnight, cake crumbles scattered across my counter. That first batch was a glorious disaster of lopsided ears and melted chocolate, but the kids squealed with delight anyway. Now these have become our signature spring tradition, imperfect ears and all.
Last spring, my niece and I spent an entire afternoon covered in white chocolate smudges, debating whether bunnies look better with pink or blue ears. We made eighteen cakesicles, each one more eccentric than the last, and lined them up on the counter like a tiny army of dessert soldiers. The adults at dinner could not stop taking photos, and honestly, neither could we.
Ingredients
- Vanilla cake crumbs: Homemade or store bought work equally well, though slightly dry cake actually binds better than fresh, moist slices
- Cream cheese: Room temperature is non negotiable here, or you will end up with lumpy pockets that refuse to blend smoothly
- Unsalted butter: The fat content helps create that fudgy, truffle like interior that makes these feel indulgent rather than just sweet
- Powdered sugar: This sweetens the dough without adding graininess, and helps firm everything up for dipping
- Vanilla extract: Do not skip this, as it ties together the simple ingredients and makes them taste bakery made
- White chocolate: High quality melts create that smooth, professional looking coating, but candy melts work in a pinch
- Edible gel food coloring: Gel colors will not seize your chocolate like liquid food coloring does, which is a lesson I learned the messy way
- Cakesicle sticks: Paper sticks are charming, but sturdy wooden ones prevent tragic handle midparty disasters
- Sprinkles and decorations: Have fun with these, but apply quickly before the chocolate sets, or nothing will stick
Instructions
- Mix the cake dough:
- Combine all cake ingredients in a medium bowl, mixing with clean hands or a sturdy spatula until the mixture holds together when squeezed like Play Doh
- Shape your bunnies:
- Form the dough into flattened ovals about the size of your palm, gently pressing two small indentations for ear pockets at the top
- Insert the sticks:
- Push each stick about halfway into the center of each bunny shape, wiggling slightly to help the dough grip the wood for stability
- Chill thoroughly:
- Refrigerate for at least 20 minutes, because warm cake centers will melt your chocolate coating into a sad, streaky mess
- Melt the coating:
- Heat white chocolate in 30 second bursts, stirring between each interval, until you achieve a silky, pourable consistency
- Dip carefully:
- Holding the stick at an angle, submerge each bunny completely into the chocolate, then gently tap against the bowl edge to remove excess drips
- Add decorations fast:
- While the coating is still wet, attach candy eyes, press in fondant ears, or arrange sprinkles before the chocolate firms up
- Set completely:
- Let them rest at room temperature for about 15 minutes, or pop them in the fridge for 5 minutes if you are impatient like me
 Save
Save My neighbor texted me at 11pm the night before her sons Easter party, panic stricken because she had forgotten to order dessert. I showed up with a box of these the next morning, and she literally hugged me in the doorway. The kids fought over who got the bunny with the crooked ear, which I think is the highest compliment a dessert can receive.
Making These Ahead
You can prepare the cake dough shapes up to two days in advance, storing them tightly wrapped in the refrigerator. The coating needs to be done the day of serving for the freshest appearance, though they will still taste delicious if made earlier. I have learned through experience that sprinkles can get soggy in the fridge, so apply those as close to serving time as possible.
Working With White Chocolate
White chocolate is notoriously finicky and can seize at the slightest provocation, so keep all water away from your melting bowl. If your chocolate becomes too thick for dipping, add a teaspoon of coconut oil or vegetable shortening to smooth it out again. A wider, shallower bowl makes dipping much easier than a deep narrow one, giving you better coating coverage with less mess.
Decoration Ideas
The possibilities for customizing these bunnies are endless once you start experimenting with different techniques. Use a toothpick to drag pink food coloring through the white coating for a marbled effect that looks incredibly professional. We have also used crushed candy canes for snowy bunnies and colored sugar for speckled egg versions.
- Swap vanilla cake for lemon or funfetti for surprise flavor variations
- Use dark chocolate coating instead of white for dramatically different bunny silhouettes
- Try pretzel sticks for ears instead of fondant if you want extra crunch
 Save
Save These silly little bunny cakesicles have brought more joy to our Easter table than any traditional dessert ever could. There is something wonderfully imperfect and handmade about them that feels exactly right for spring.
Common Recipe Questions
- → How do I prevent the cake mixture from falling off the sticks?
-
Refrigerate the shaped cakesicles for at least 20-30 minutes before dipping. This firms the mixture and helps it adhere to the sticks during coating.
- → Can I make these ahead of time for an Easter celebration?
-
Yes! These keep beautifully in an airtight container in the refrigerator for up to 3 days. Add decorations like candy eyes just before serving for best results.
- → What's the best way to melt white chocolate for coating?
-
Melt in 30-second bursts in the microwave, stirring between each interval. This prevents seizing and ensures smooth, pourable chocolate perfect for dipping.
- → Can I use different cake flavors?
-
Absolutely! Chocolate, lemon, strawberry, or red velvet cake crumbs work wonderfully. Just ensure the crumb-to-binder ratio stays consistent for proper shaping.
- → Do I need a special cakesicle mold?
-
While molds help create uniform shapes, they're not essential. You can hand-shape the mixture into flattened ovals and insert sticks manually, then refrigerate before dipping.
